
Typically:
Dealing with a problem on your Whirlpool front-load washer can be daunting, especially if you’re attempting a DIY fix that involves removing the front panel.
Thankfully:
Josh, a certified appliance technician on our team, was kind enough to share some insight to simplify the process.
With his guidance, I have pooled together tips, experiences, and detailed breakdowns offered by users and professionals to make this task a cakewalk.
So, let’s get started!
Table of Contents
SimplySwider’s Recommended Tools for the Job
Taking any machine apart is no small feat. Moreso, a washing machine is pretty intimidating in size.
However, Josh helped me understand the importance of having the right tools for the job.
As such:
Removing the front panel doesn’t need to be intimidating. The process is pretty straightforward once you have the proper tools.
So…
What tools do you need?
Well:
Here’s a short list of the tools featured in this repair. I’ve also included Amazon links for your convenience.
When asked about the Whirlpool front load washer, Josh said, “You must disassemble other parts of your Front Loader before removing the entire front panel.”
Each part involved requires one or more of the tools above.
Now:
Let’s dive into the steps required to remove the front panel on your Whirlpool Front Load Washer.
How to Remove the Front Panel on Your Whirlpool Front Load Washer
To ensure the steps are easy to follow, I’ve consulted a few Whirlpool front load washer users.
As such:
I have broken down the disassembly into key steps. Follow them in order before attempting to remove the front panel.
1. Removing the Washer Door
Why is this step important?
Well:
Josh, a certified appliance technician with ten years of experience, explained that it keeps the washer door safe while you remove the front panel.
Setting this aside early will protect it from damage during the rest of the disassembly.
Also:
Removing the front door grants easier access to the tub. This is handy if your Whirlpool washer isn’t agitating properly and you want to fix it.
So, without further ado, let’s go through the steps you need to follow.
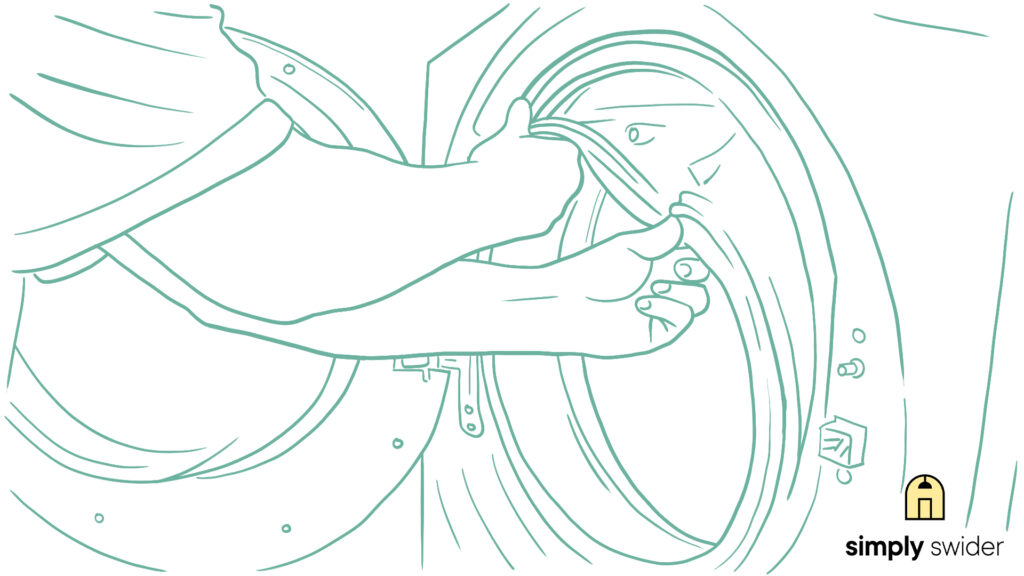
Step 1: Open the washer door fully, allowing it to rest on its hinges.
Step 2: Grab your T25 Torx Bit and locate the screws securing the hinges.
Step 3: Use the Torx Bit to unscrew all four screws that hold the door to the front panel.

Step 5: Carefully store the screws on a cloth. Lift the door hinge and gently remove it.
Step 6: Set the door aside and take note of all disassembled parts.
Step 7: Get your needle-nose pliers.
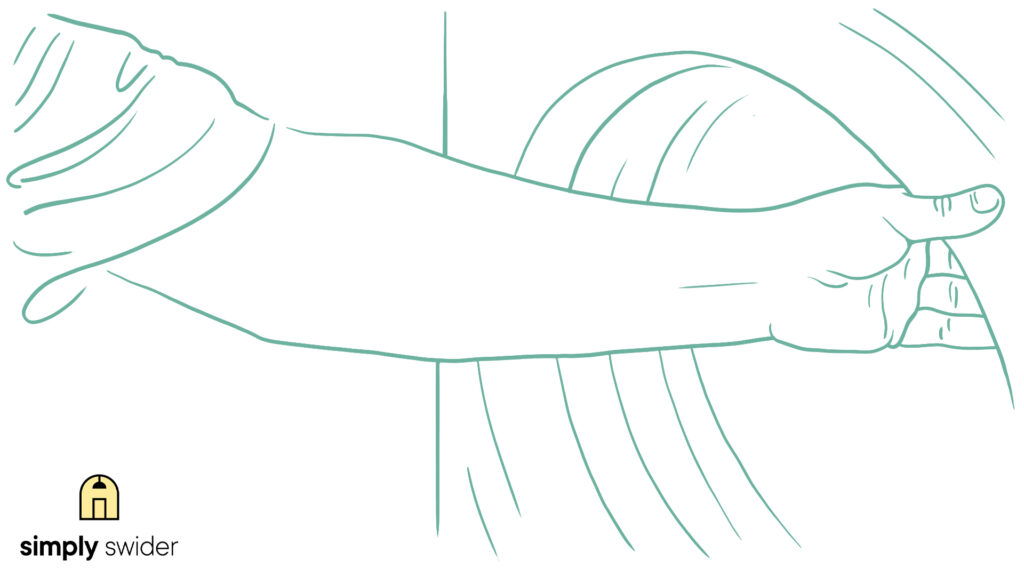
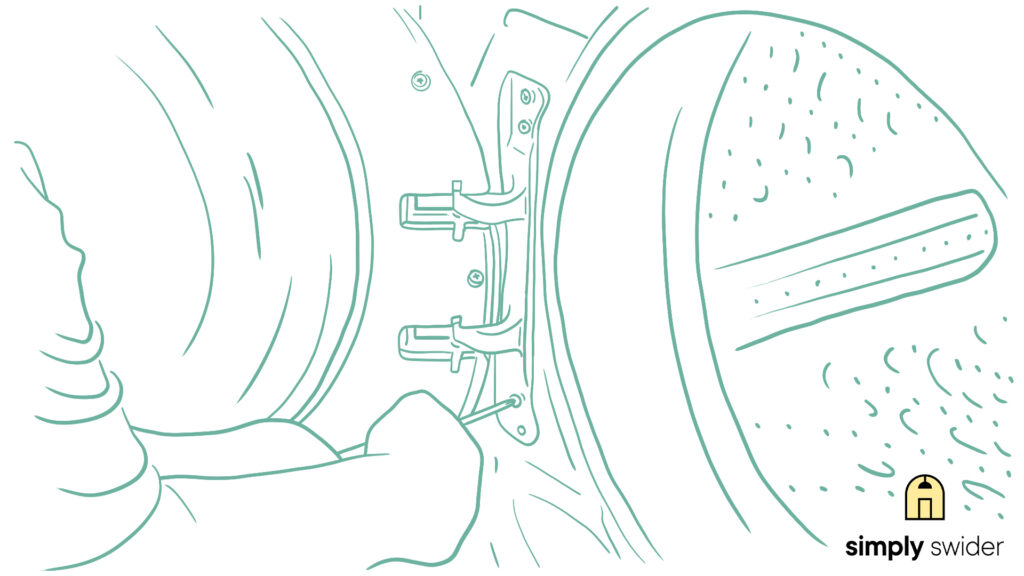
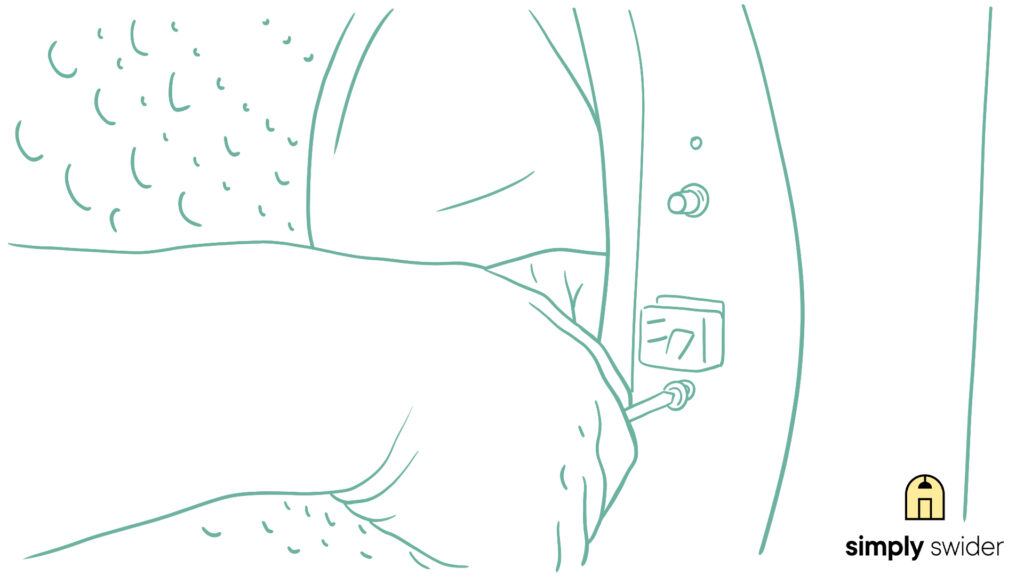
Step 8: Lift the door seal to reveal the spring securing it.
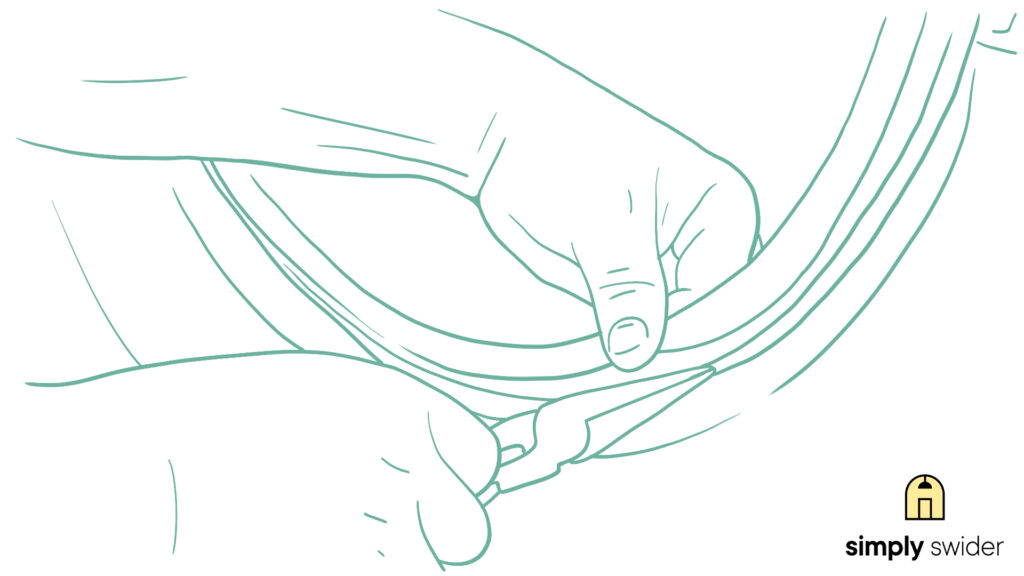
Step 9: Employ the pliers to undo the safety spring.
Step 10: Detach the rubber seal from the front panel.
You can safely remove the front panel with these parts out of the way.
Thankfully:
We are only two more parts away from successfully removing the front panel.
Next:
We will discuss removing your Whirlpool front loader’s top panel.
2. Removing the Top Panel
The ultimate goal of this guide is to help you remove the front panel. However, Josh explained that achieving this is impossible without first taking off the top panel.
Why?
Well, he demonstrated that it assists in securing the front panel of your Whirlpool washer in place.
Also:
The wiring of your machine’s touch controls is often hidden under the top panel. You will want access when fixing a faulty Whirlpool touchscreen.
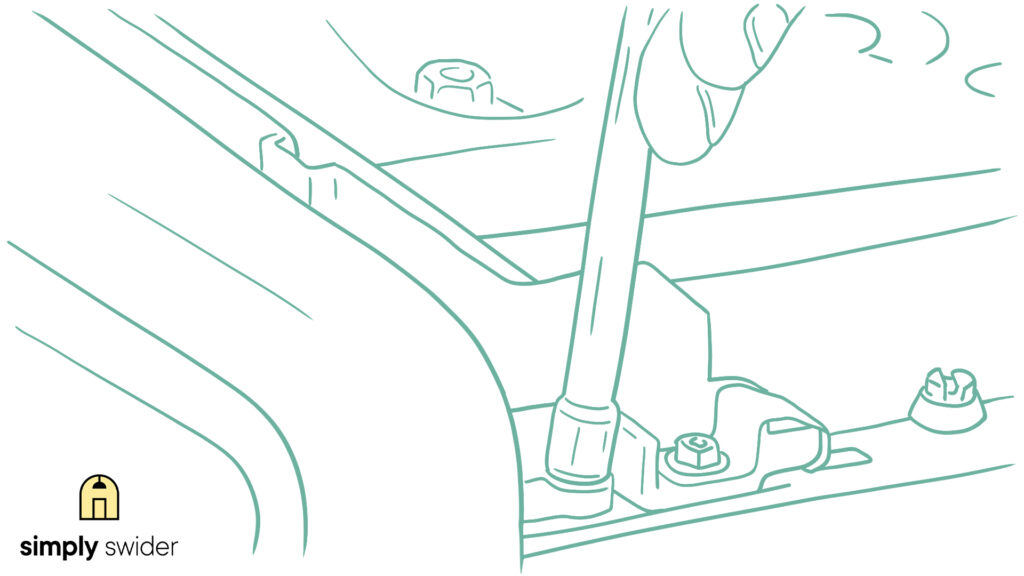
Step 1: Pick up your ¼ inch socket driver.
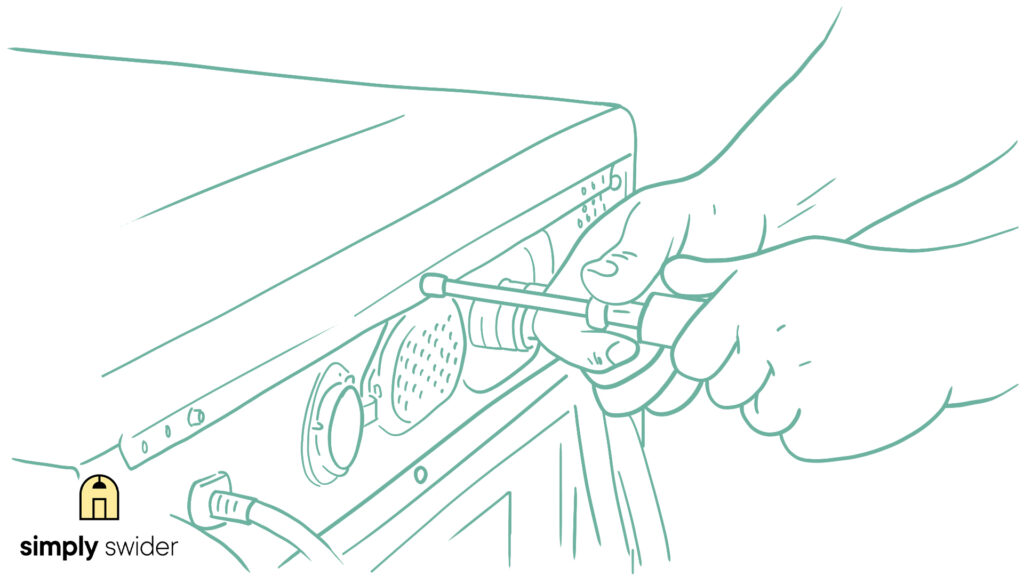
Step 2: Utilize the ¼ inch socket driver to remove the screws at the back of your Whirlpool front loader.
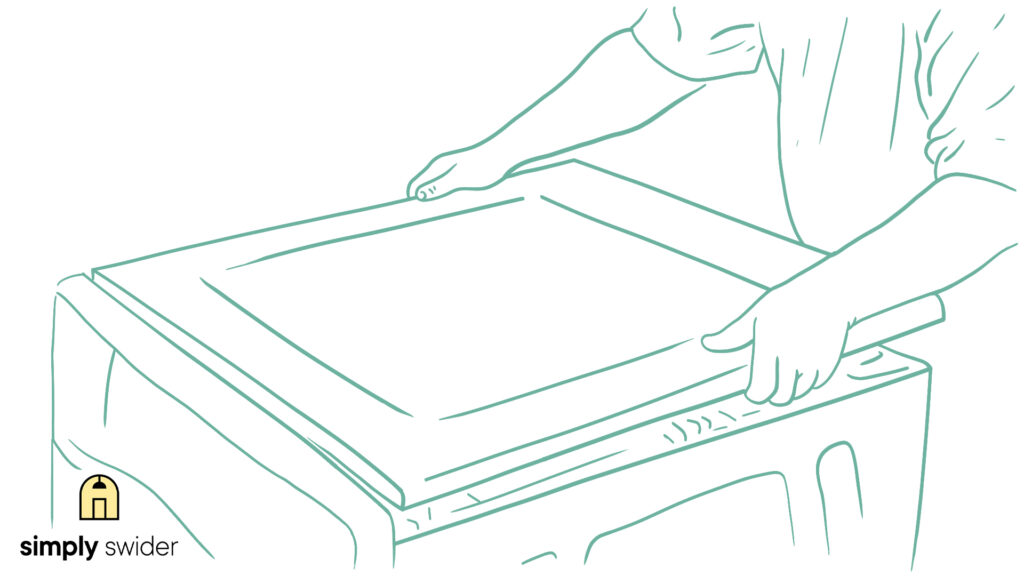
Step 3: Carefully slide the top panel back to disengage the safety latch. Lift it and set it aside.
You should now how a clear view of some key components. This should be sufficient to troubleshoot the water inlet valve, control board, or pressure switch.
Thankfully:
The Whirlpool control board is the only part left to disassemble. We will discuss how to safely remove this part in the next section.
3. Removing the Control Panel
The control panel enables you to program your Whirlpool washer. It sits just atop the front panel.
Thankfully:
Josh was more than willing to guide me through this process, one step at a time. Here’s how:
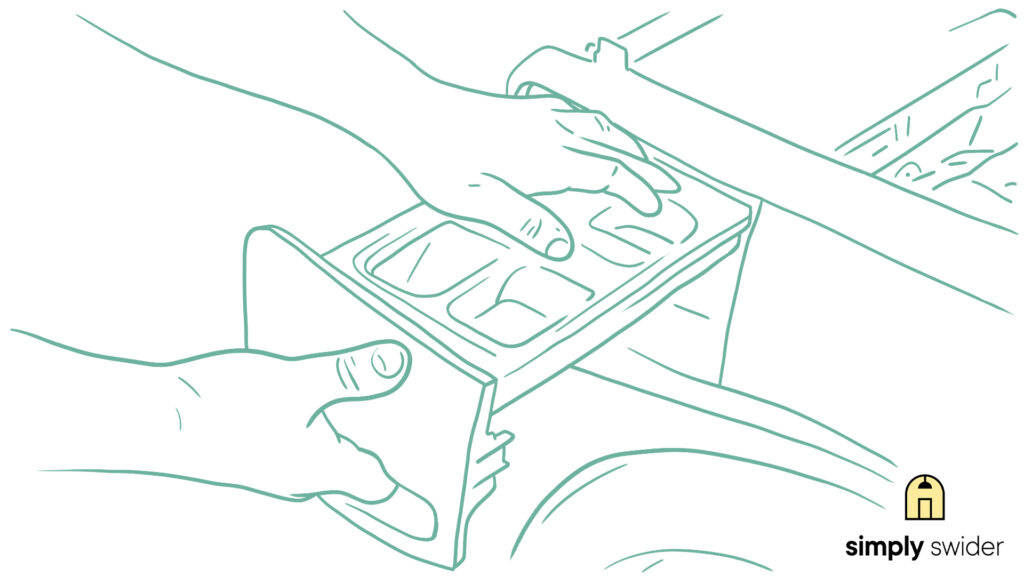
Step 1: Start by removing the detergent dispenser. Take note of the safety latch at the back that holds it in place. Press down on the latch and gently slide the drawer out.
Step 2: You should see two screws in the soap dispenser housing. Use a T20 Torx bit to remove them.
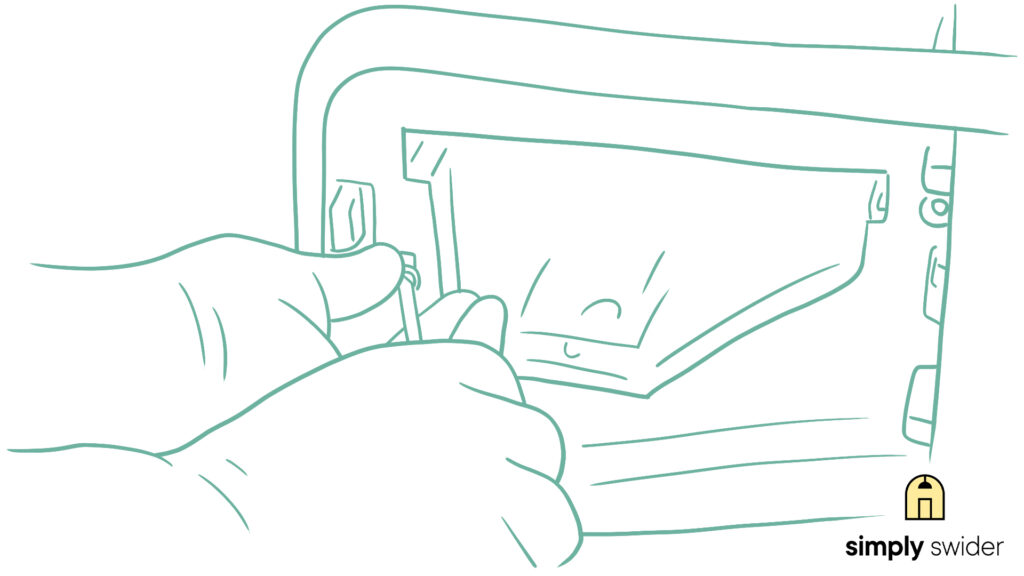
Step 3: Grab the T25 Torx bit and remove the control panel screws. They are located on both top corners.
Step 4: Safety tabs still secure the control panel housing. Lift the tabs to detach them and gently pull the panel forward.
Some of the control wirings should still be in place. Gently set the panel down atop the machine while minding the wires.
Removing the control panel reveals three screws that keep the front panel locked in place.
Now:
All the preliminary disassembly is out of the way. We can finally tackle the focus of this guide. Gather your tools and take a moment to catch your breath if needed.
4. Removing the Front Panel
Josh explained that I needed something stable to prop up the washing machine.
Why?
Some of the safety screws are located on the bottom tab. Luckily, a large book did the trick for me.
Here’s a quick rundown of the processes involved:
Step 1: Use a T20 bit to undo the two screws securing the washer door assembly. This will allow you to remove your Whirlpool washer’s front panel safely.
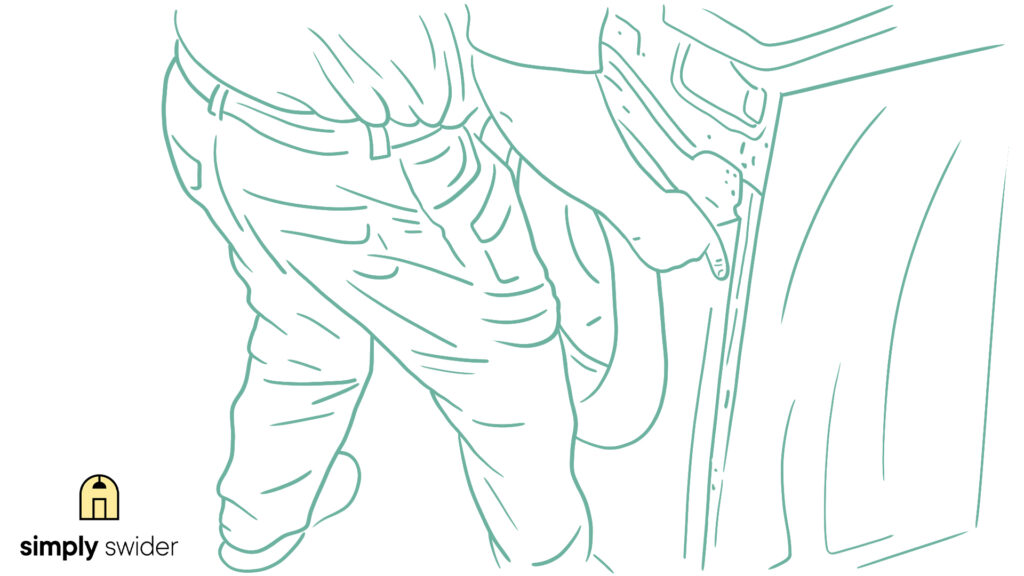
Step 2: Be extra careful with this next part. Take the books you found and prop up your Whirlpool Front Load washer like so.

You should now have a clear view of the screws underneath.
Step 3: Use a ¼-inch nut driver to remove the four safety screws on the bottom tab.
Step 4: Set your machine down once all four screws have been removed.
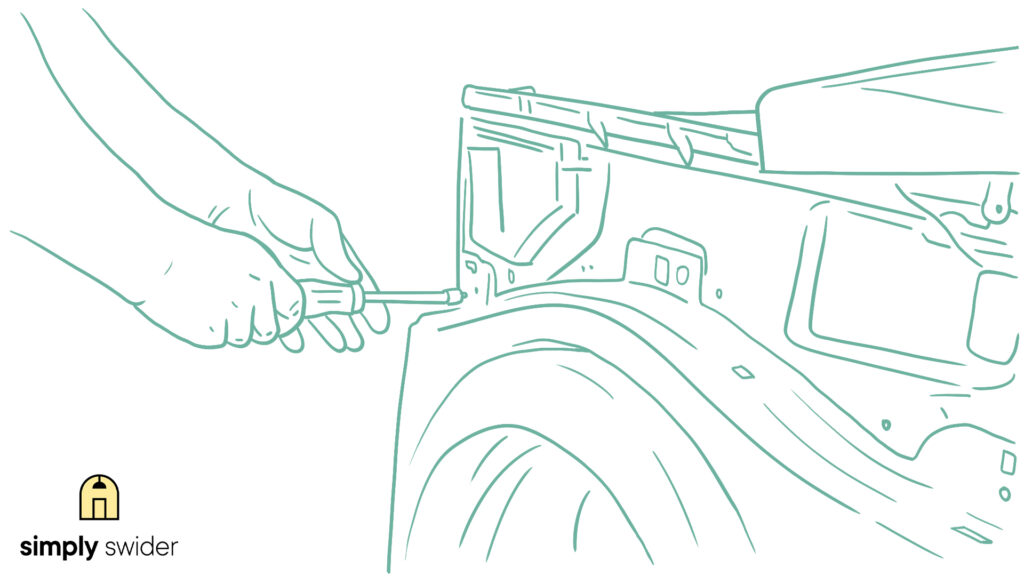
Step 5: The top three screws will require a 5/16-inch nut driver. As mentioned earlier, removing the washer control panel should expose all three screws.
Step 6: Lift the panel and pull forward to detach it from the washer.
Removing the front panel will reveal some key parts of your washer. This will make fixing or replacing your tub or tub shock absorbers easier.
I realized:
The task of taking off the front panel required preliminary disassembly.
Thankfully:
Doing so has also helped inform you how to remove other parts of your washer safely.
Note:
Keep all disassembled parts carefully. One missing part could cause further harm to your Whirlpool Front-load washer.
Stay Protected With SimplySwider’s Nifty Safety Tips
Now:
I contacted my friend Kevin, a DIY safety expert. Kevin has been working on his appliances for over twenty years and had a lot to share.
He said, “A Whirlpool front-loader washer is large and heavy. It is also an electrical appliance. This combination of traits could lead to some unfortunate accidents.”
Thankfully:
Kevin shared a few safety tips you can utilize when working on a Whirlpool front-load washer.
- The edges of exposed panels can be significantly sharp. As such, you should handle the panels with care to avoid injury.
- Due to your Whirlpool washer’s weight, ensure to use something sturdy, like a heavy book, when propping up your washer.
- Unplug your Whirlpool washer first! You can take it apart once disconnected from a power source.
- It is important to stow away your screws as you are removing them. You can accomplish this with a few small magnets.
- Small parts could be a choking hazard for infants. Keep this in mind.
Conclusion
Ultimately:
The point of this guide was to show you how to remove the front panel. This task might initially seem intimidating, but we hope that is no longer true.
Remember:
This guide follows an order. You need to disassemble…
- The washer door.
- The top panel.
- The control panel.
- The front panel.
We hope this guide provides you with all the necessary information. Do not hesitate to contact Whirlpool customer service if you need further assistance.
Why?
Well, Whirlpool is obliged to fix your problems for free. This applies if you still fall under the warranty. According to the Whirlpool corporation, the Warranty applies for a full year.
Finally:
Feel free to ask us anything in the comments below. We look forward to hearing from you.
Frequently Asked Questions
Yes, you can fix some problems on your own. Stick to the safety rules when working on your washer, and you will be fine. However, you should call a professional for complex problems.
Unplug your washer from the wall. Be careful of sharp edges when removing parts. Also, group the small parts together, so you don’t lose them.
Flip the outlet switch off before disconnecting the power cable. Make sure to shut off the water before unscrewing the faucets.
Rushed disassembly could leave a scratch on some of the parts. You may also destroy the control panel if you yank it before disconnecting the wires. The best way to avoid damage is to be gentle and orderly when removing these parts.
Lay down each part on a soft surface if possible.
Yes, you can. Use the recommended screwdriver to fix the part back in place. Also, don’t forget to tighten each screw adequately before moving on to the next part.