
Fact:
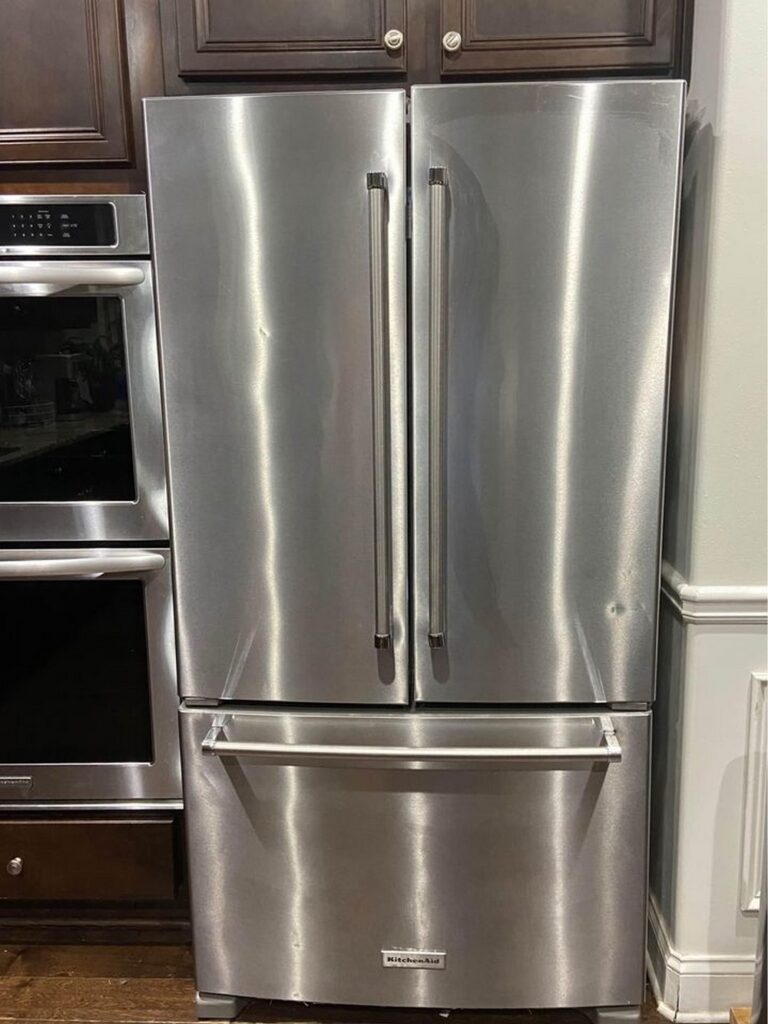
KitchenAid is a popular brand in the home appliance industry and is known for producing high-quality refrigerators.
But:
Nobody enjoys opening their refrigerator to a warm interior. So it’s understandable if you’re disappointed that your ice cream melted after sitting in the refrigerator all night.
Therefore:
Suppose your KitchenAid refrigerator has stopped cooling. Well, we’ve got what you need to change the narrative.Simply follow our recommendations in this guide to get your refrigerator performing optimally again.
Shall we?
Table of Contents
KitchenAid Refrigerator Not Cooling
If your KitchenAid refrigerator isn’t cooling, it could be something as simple as a dirty condenser coil (which you can clean by yourself) or something more complex like a faulty evaporator fan motor, which would require professional assistance. You might also want to make sure your refrigerator doors are properly closed.

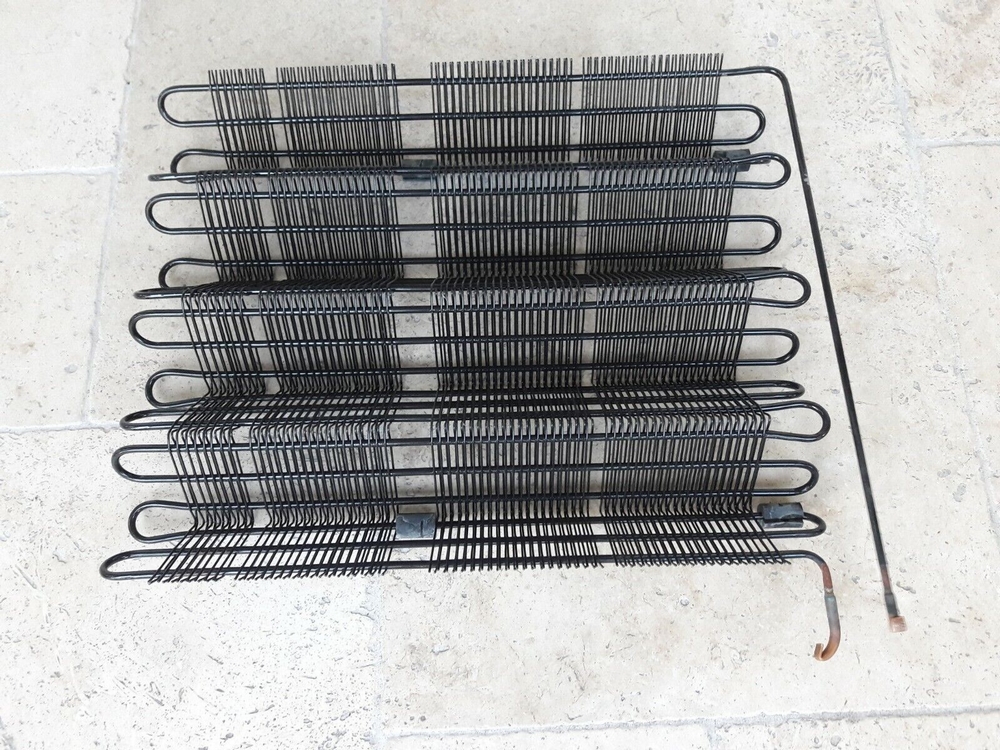
1. Dirty Condenser Coils
To start with:
This is a very common cause for a KitchenAid refrigerator not cooling. The condenser works like a radiator. It must stay clean to remove heat from inside the refrigerator.
However:
If the coils are very dirty, they become less efficient and will not be able to cool the inside of the refrigerator to your desired temperature.
Therefore:
You should clean the refrigerator’s condenser coil to get them back to work. For this, it is advisable to use a vacuum cleaner with a gentle brush or a refrigerator coil brush. The Whirlpool Maintenance Brush (4210463RW) comes highly recommended.
But note:
Some refrigerator models can only be cleaned by a certified technician. As such, you should contact KitchenAid customer support for assistance in this regard.
Fortunately:
You can clean your KitchenAid refrigerator condenser coil with these simple steps:
- Step 1: Disconnect your KitchenAid refrigerator from its power source.
- Step 2: Step 2: Remove the base grille at the lower parts of the refrigerator. Open both doors, then place your hands along the ends of the grille, pressing in on the top while pulling up at the bottom.
- Step 3: Use a vacuum cleaner with a gentle brush or a refrigerator coil brush to clean the grille and the open areas behind and in front of it.
- Step 4: Align the grille support tabs with the metal clips and replace the base grille by pushing it firmly into place.
- Step 5: Plug in your refrigerator.
Finally:
In a home operating environment, there is usually no need for routine condenser cleaning. However, if the environment is dusty or greasy, or if it’s a household with pets, you should clean the condenser coils every 2 to 6 months to ensure maximum efficiency.
2. Blocked Air Vents
Now:
To maintain the proper temperature in your KitchenAid refrigerator, you need to allow room for proper airflow between the freezer and the refrigerator compartment.
Ideally:
Cool air enters and exits the refrigerator compartment from the freezer compartment through the vents. These vents are located in different places depending on the model of your KitchenAid refrigerator.
Consequently:
Blocked air vents decrease airflow, which would, in turn, lead to inconsistent or fluctuating temperatures and excessive frost.
So how do you fix that?
The solution is as simple as locating the air vents in both your refrigerator and freezer and making sure that no item is placed directly in front of the vents.
Additionally:
You can check to see if there is a layer of ice blocking the air vent. If so, gently scrape it away.
Easy peasy!
3. Faulty Refrigerator Thermistor
First of:
The thermistor is responsible for keeping track of the internal temperature of your refrigerator. It relays that information to the control board, which controls what the compressor and evaporator fan should do to maintain optimal internal temperature.
Now:
If the thermistor is defective, your control board will receive a wrong reading, and your refrigerator will not be able to stay cool.
Luckily:
You can test the thermistor with a multimeter to determine if it’s still functioning. If there’s no continuity or the reading is incorrect, then the thermistor is faulty.
If that’s the case:
You will have to change the thermistor. You can either have KitchenAid Customer Support for repairs or you follow the steps below:
It’s your decision.
- Step 1: Disconnect your KitchenAid refrigerator from its power source.
- Step 2: Locate the thermistor. You can consult your owner’s guide if you are unsure where it is.
- Step 3: Depress the retaining tab to release the thermistor cover from the evaporator access panel.
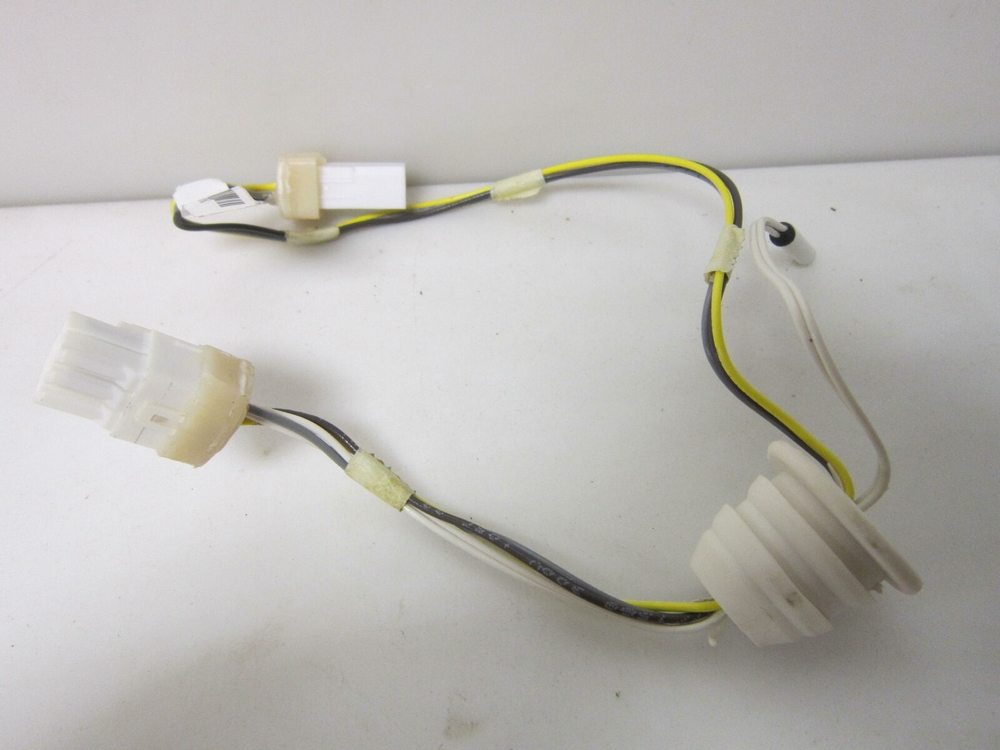
- Step 4: Pull the thermistor out of the cover and unplug the wire harness.
- Step 5: Attach the new thermistor to the wire harness and place it back into the cover.
- Step 6: Reattach the thermistor’s cover and reinstall any shelves you removed.
- Step 7: Plug in your refrigerator.
Warning:
Ensure that you understand all the steps and can complete the repair before proceeding.
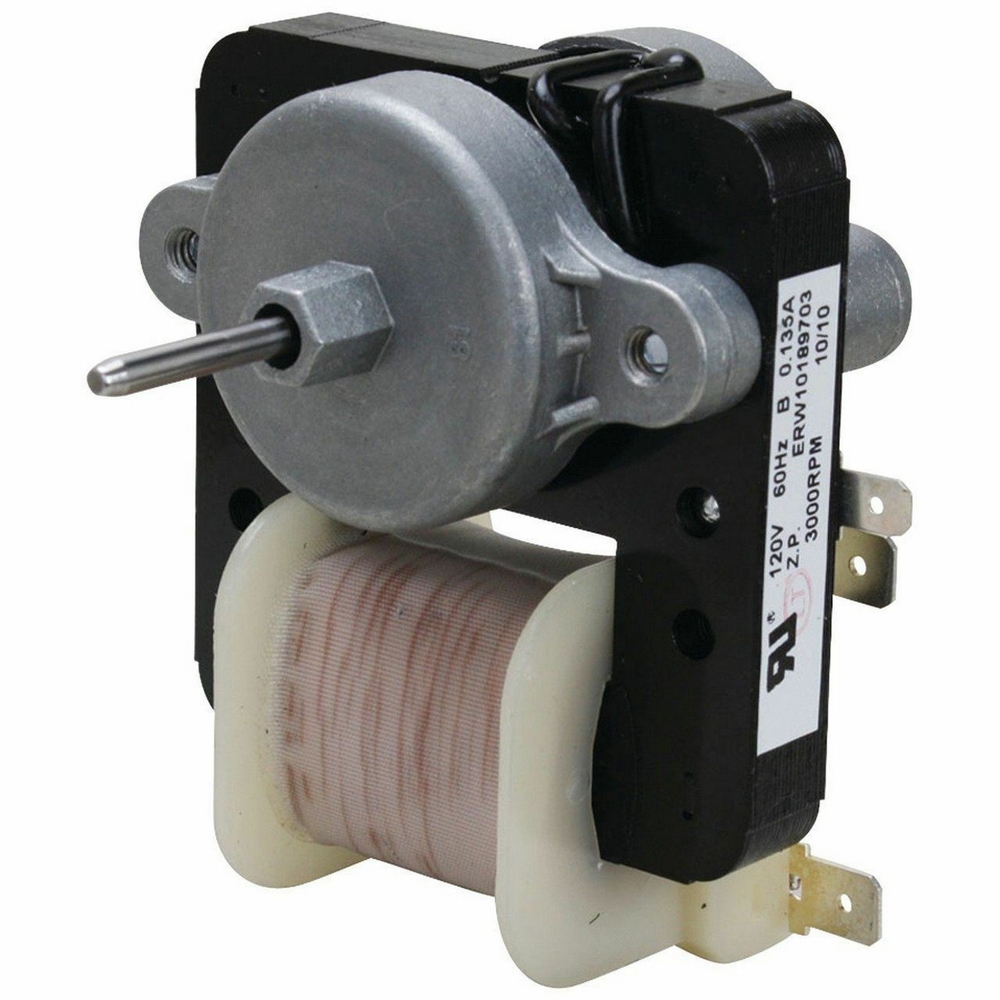
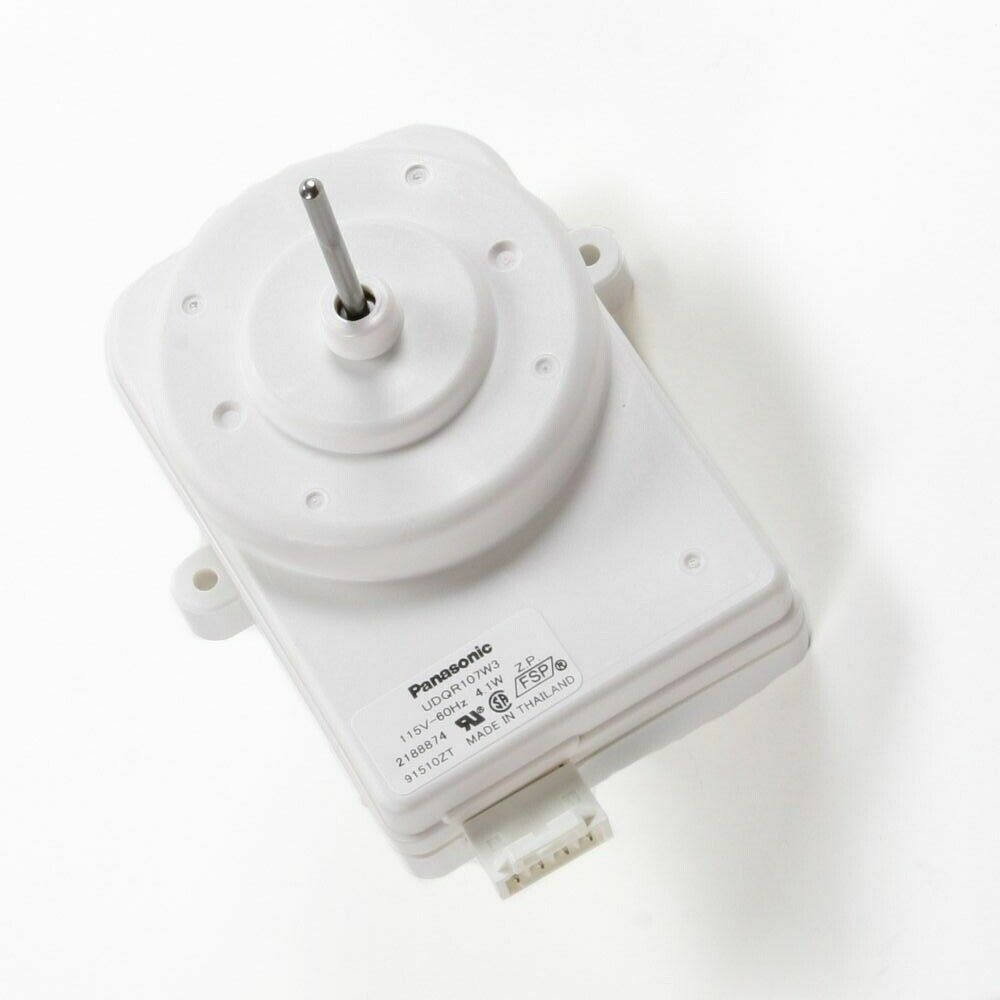
4. Faulty Evaporator Fan Motor
Get this:
The evaporator fan is a crucial part of your refrigerator.
Why?
It helps to circulate air from the freezer unit to the refrigerator, keeping everything at a perfect temperature. A faulty evaporator fan would lead to a rise in the internal temperature of the refrigerator.
Luckily:
You can use a digital multimeter to check for a continuous electrical route on a two-terminal fan motor. No continuity indicates that the motor is faulty and must be replaced.
In that case:
You can follow these steps to replace a faulty evaporator fan:
- Step 1: Disconnect your KitchenAid refrigerator from its power source.
- Step 2: Locate the evaporator fan motor. You should consult your owner’s guide for this.
- Step 3: Remove the screws from the evaporator panel, then pull the right side of the panel forward.
- Step 4: Remove the mounting clip that secures the fan assembly. Then, detach the fan blade and disconnect the wire harness.
- Step 5: Install the new evaporator fan motor.
- Step 6: Align the blade on the motor shaft and push until the blade is fully seated.
- Step 7: Reinstall the back panel and any shelves you removed.
- Step 8: Reconnect your refrigerator to its power source.
Alternatively:
You can contact KitchenAid Customer Support to help you with the repair.
5. Defective Start Relay

Now:
The start relay is a small device mounted to the compressor’s side. If the start relay is faulty, the compressor may run intermittently or not run at all, and the refrigerator will not get cool enough.
Why?
It’s because the start relay manages the compressor’s power supply.
As a result:
You can test it using a multimeter. If there’s no continuity or the reading is incorrect, then the start relay is faulty. Your refrigerator may also make clicking noises when its compressor tries to start.
What’s the solution?
Replace the start relay using the steps below:
- Step 1: Disconnect your KitchenAid refrigerator from its power source.
- Step 2: Remove the access panel at the back of your refrigerator.
- Step 3: Carefully disconnect the retainer clip that holds the start relay in place.
- Step 4: Uninstall the old start relay from the compressor terminals.
- Step 4: Install a new starter relay.
- Step 5: Replace the access panel.
- Step 6: Connect your refrigerator back to a power source.
Simple, right?
Alternatively:
You can contact KitchenAid Customer Support for assistance with this repair.
And another thing:
Read your owner’s manual before you begin the repair. Your refrigerator model may require you to carry out specific instructions.
6. Damaged Condenser Fan Motor
The refrigerator condenser fan plays a very important role in the refrigeration lifecycle.
Well, now you do!
Here’s the thing:
The sole function of the condenser fan motor is to draw air over the condenser coils to cool them.If the condenser fan motor is malfunctioning, there is a likelihood of the compressor overheating or shutting off, causing the internal temperature of your KitchenAid refrigerator to rise.
Therefore:
Your KitchenAid Refrigerator might not cool if the condenser fan motor is faulty or something is stuck in the motor blades.
So what do you do?
Try turning the blade by hand. If the motor is bound up tight or the shaft is hard to turn, you may be able to salvage it by spraying the blade with lubricant oil.
In addition to that:
You can use a digital multimeter to test the condenser fan motor. If there is no continuity or the reading is inaccurate, it is defective and requires repair.
Fortunately:
It is a simple repair, and you should be able to complete it with the help of the steps below.
- Step 1: Disconnect your KitchenAid refrigerator from its power source.
- Step 2: Remove the access panel at the back of your refrigerator and set it aside.
- Step 3: Reach in and pull the condenser fan blade off the motor shaft.
- Step 4: Disconnect wire connectors to remove the faulty motor.
- Step 5: Install the new condenser fan motor.
- Step 6: Align the blade on the motor shaft and push until the blade is fully seated.
Lastly:
Most condenser fan motors are unique to each refrigerator model, so you should confirm which motor is compatible with your refrigerator model.
That’s it!
7. Faulty Compressor
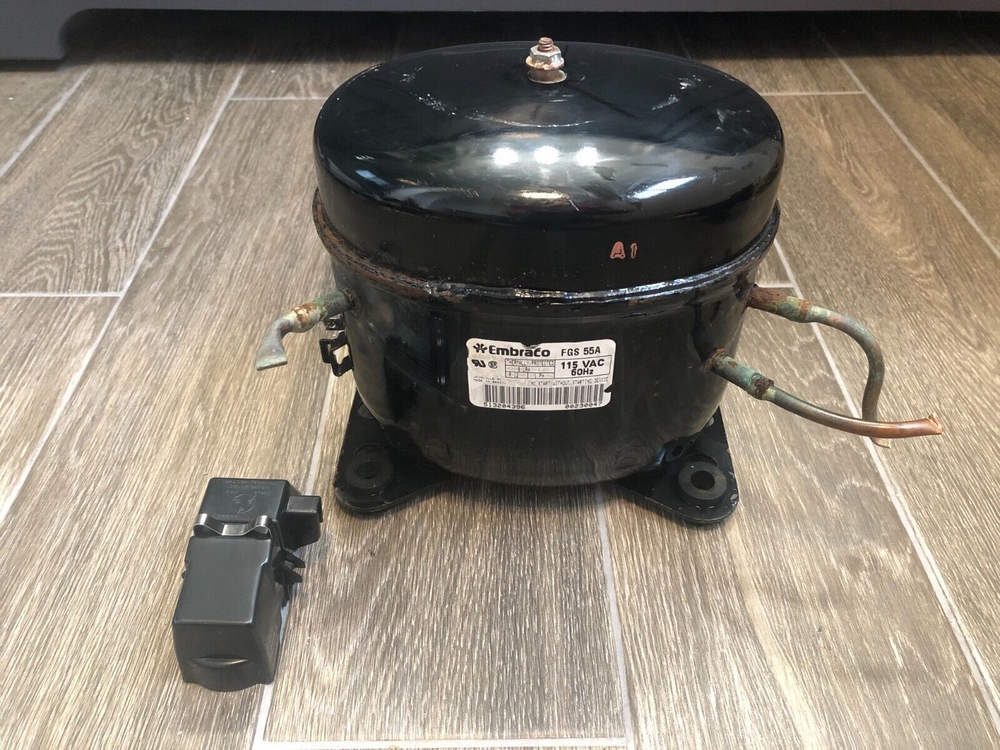
Note:
The compressor is a motor that condenses and circulates the refrigerant through the evaporator and condenser coils. If the compressor is broken, your KitchenAid refrigerator won’t cool.
Now:
Faulty compressors can affect other components that are responsible for cooling your refrigerator. Also, a faulty compressor makes an unusually loud noise.
What to do?
You can test the compressor with a multimeter by placing the probes on the pins on the compressor’s sides. If there’s no continuity or the reading is incorrect, your refrigerator’s compressor is faulty.
As a result:
You can consider replacing the compressor. Make sure you contact KitchenAid Customer Support because the process is technical.
8. Damaged Control Boards
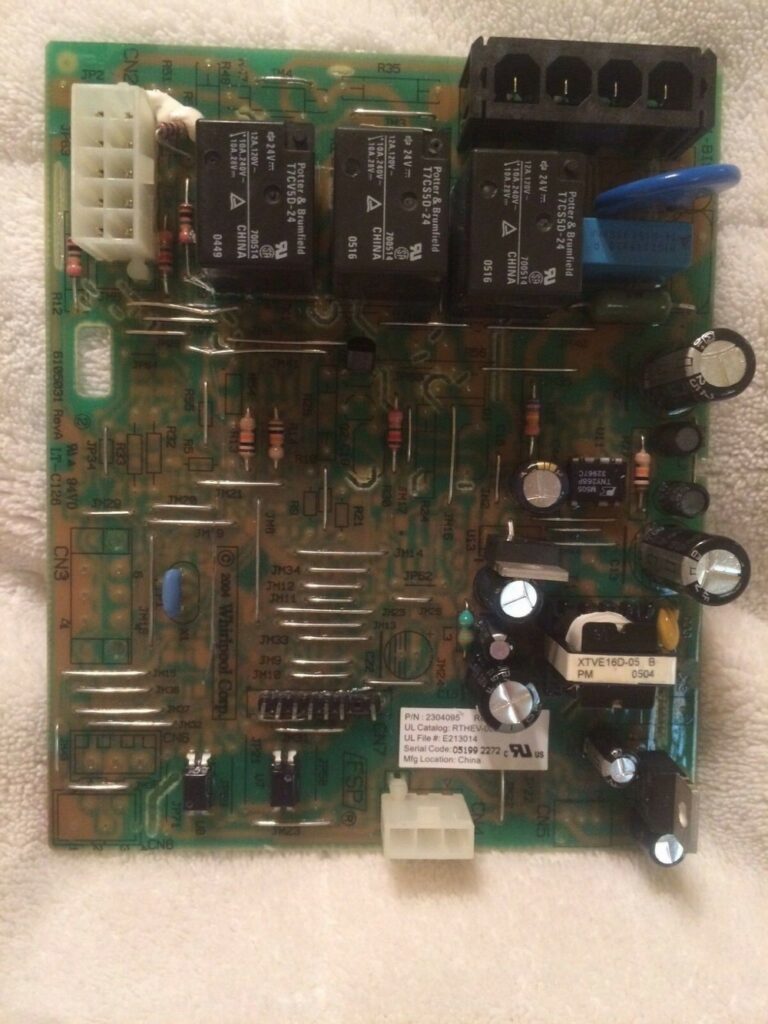
Did you know?
The control board is the brain of your KitchenAid refrigerator. It manages and controls the refrigerator components and functions.
Consequently:
If the board goes bad, your refrigerator will have difficulty cooling and defrosting and will eventually start to display an error code PO (Power Outage).
Note:
Exposure to heat, moisture, dirt, accidental impacts, and power surges are common causes of premature control board failure.
In addition:
Electrostatic discharge (ESD) at the assembly stage is also a cause of premature control board failure.
Sadly:
It is not a serviceable part. You have to replace it once it’s damaged. The control board is also one of the most expensive components to replace.
At this point:
You should contact KitchenAid Customer Support for the replacement. Don’t attempt to fix it yourself.
Most Affected Models
Typically:
KitchenAid makes one of the best refrigerators, but like all other appliances, they are liable to faults and would need repairs.
That being said:
Let us take a look at the most affected models.
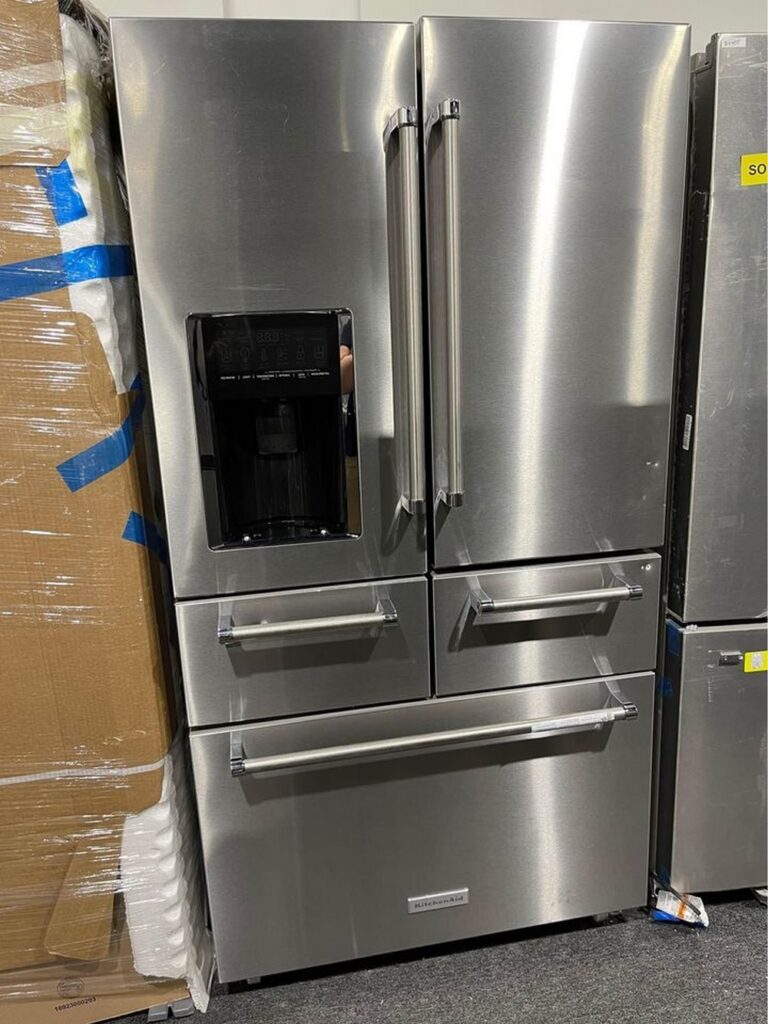
1. KitchenAid French Door
Fact:
This model comes with the Preserva® Food Care System, which utilizes two separate cooling systems. It is designed in various styles, sizes, and colors, so you can easily find a perfect fit.
Usually:
This model comes in two versions; The Built-In model and the Freestanding model.
But:
Customers say the doors may not always close properly, which might allow warm air to enter the refrigerator and change the internal temperature.
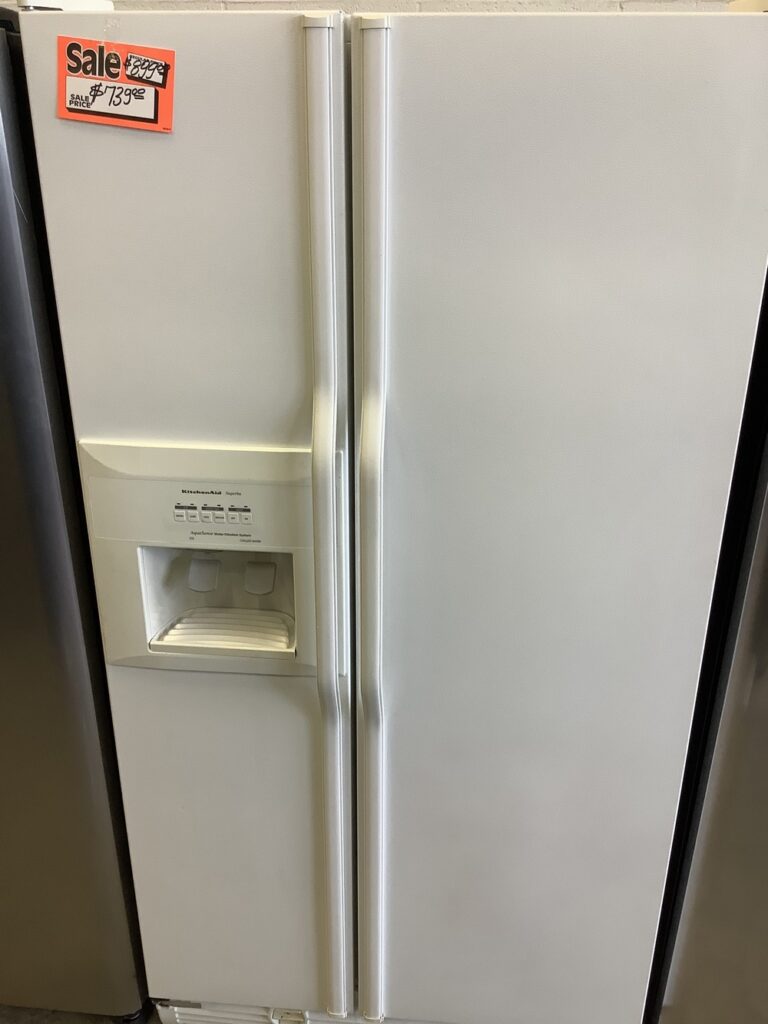
2. KitchenAid Side by Side
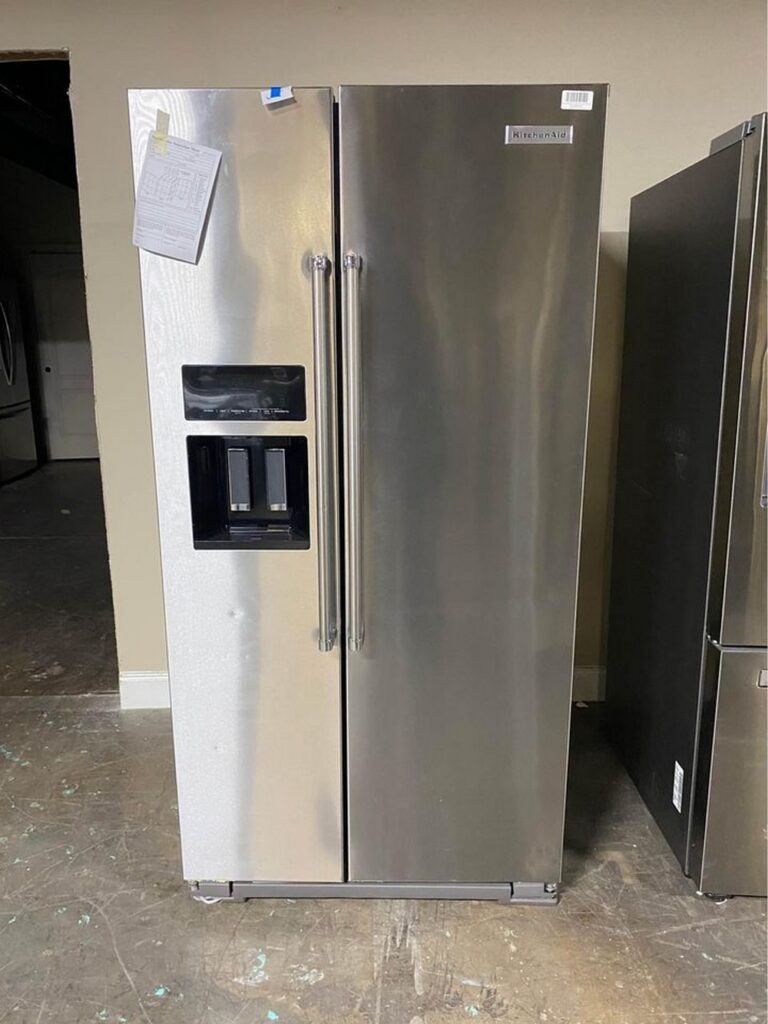
Fact:
The KitchenAid Side by Side refrigerators offer an excellent temperature control management system and absorb toxic ethylene gas. It has a stainless steel exterior and interior.
The catch?
These models are prone to high internal temperatures.
3. KitchenAid 5 Door
Fact:
This model offers customized temperature control and fresh flow air filtration to help minimize odors and store food items longer. They also have a door alarm that alerts you when you accidentally leave the door open to save energy.
Unfortunately:
Customers often complain about face wear and corrosion. Some models leak water continuously because their interiors are too heated by default.
4. KitchenAid Superba
Fact:
In addition to the sleek appearance,this model comes with ample space in both the refrigerator and freezer compartments. The shelves can be easily removed for cleaning.
Sadly:
Production for this particular model has been discontinued, so it is almost impossible to find spare parts in case anything goes wrong. You might want to go for a newer model.
Conclusion
Frankly:
We are all familiar with the feeling of frustration when an appliance malfunctions. You don’t want to spend your day figuring out what’s wrong with your KitchenAid refrigerator and how to fix it.
Do not fret:
The solution could be as simple as disconnecting your KitchenAid Refrigerator from a power source for at least a minute and then plugging it back in. You can also try resetting your refrigerator.
If the problem persists, you can follow these troubleshooting guidelines to fix your KitchenAid Refrigerator.
- Clean dirty condenser coils
- Replace faulty thermistors
- Replace faulty evaporator fan motor
- Replace damaged control boards
- Check if the compressor is faulty
Surely:
Your KitchenAid Refrigerator should start cooling again after following these guidelines. You can be confident that your food items won’t go bad, and you can enjoy a delicious cup of ice cream when you want to.
Regardless:
You should contact KitchenAid Customer Support if you’re having issues with any of the repairs, so you don’t cause any further damage.
Finally:
Remember to leave your questions and contributions in the comment section below!
Frequently Asked Questions
There are several possible ways to fix a refrigerator that is not cooling. You can clean the condenser coil, clear air vents, test and replace faulty parts such as control boards and condenser fan motors, and start relays.
Of the prevalent causes why your fridge might not be getting cold, a dirty condenser coil is common. Other reasons are faulty start relays, damaged control boards, and faulty thermistors.
This is because the evaporator fan motor is faulty. You should try whirling the blades of the evaporator fan. If it does not move, ensure to replace the motor.
To reset a KitchenAid refrigerator, you can either press and hold the water filter or the filter reset buttons. For the water filter button, press and hold until the filter icon on the display screen turns blue. For the filter reset button, press and hold until the flashing light showing the filter status goes off.
One year full warranty from the day of purchase. KitchenAid will pay for factory-specified replacement parts to correct defects in materials or workmanship in the sealed refrigeration system. These include the compressor, evaporator, condenser, dryer, and connecting tubing.