
Fact:
Going into your laundry room to find it completely drenched with water can be sickening.
The truth is:
Despite being a well-known top brand in the appliance sector, Kenmore products occasionally experience faults.
So:
If your Kenmore washer starts to leak, you should not get too worked up because the solution could be pretty easy, and you won’t need to hire an expensive professional.
The best part is:
It’s a common problem, and we will go over various solutions in this article to help you fix that leak.
Ready?
Table of Contents
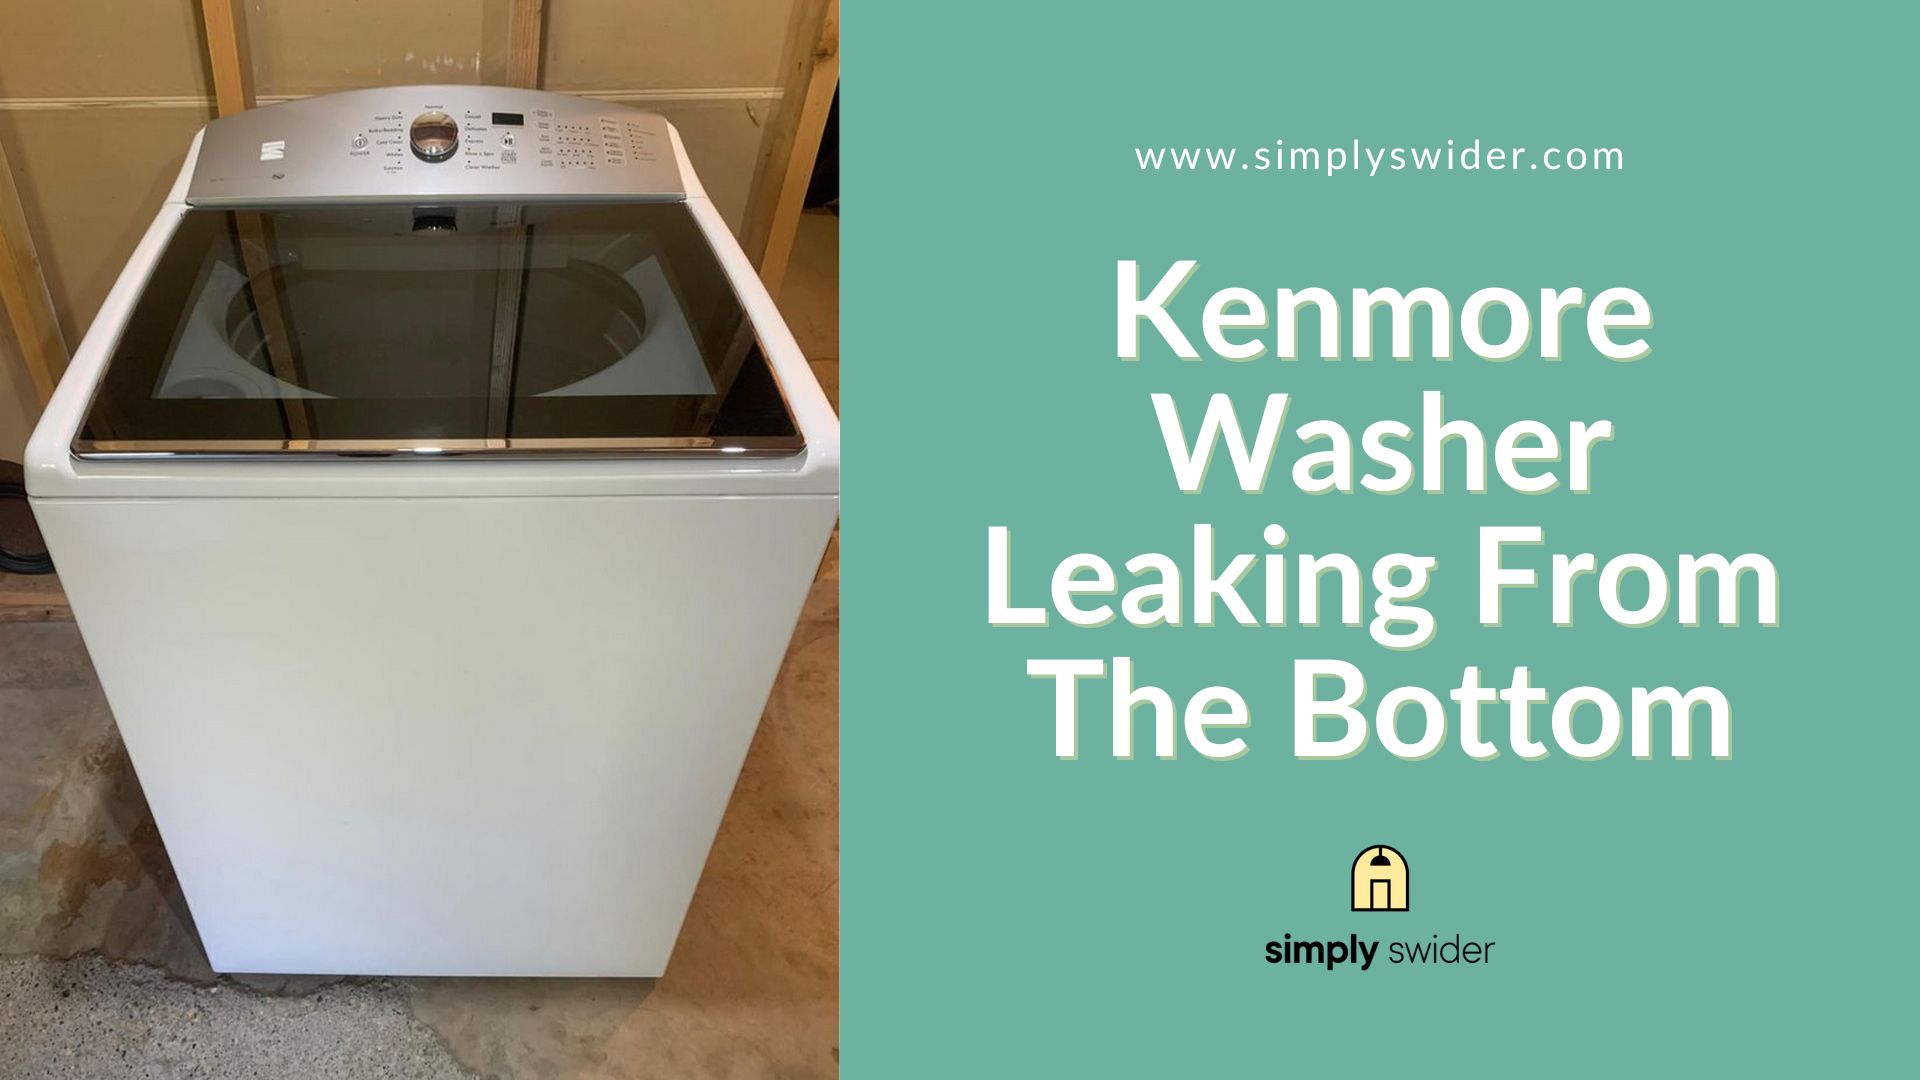
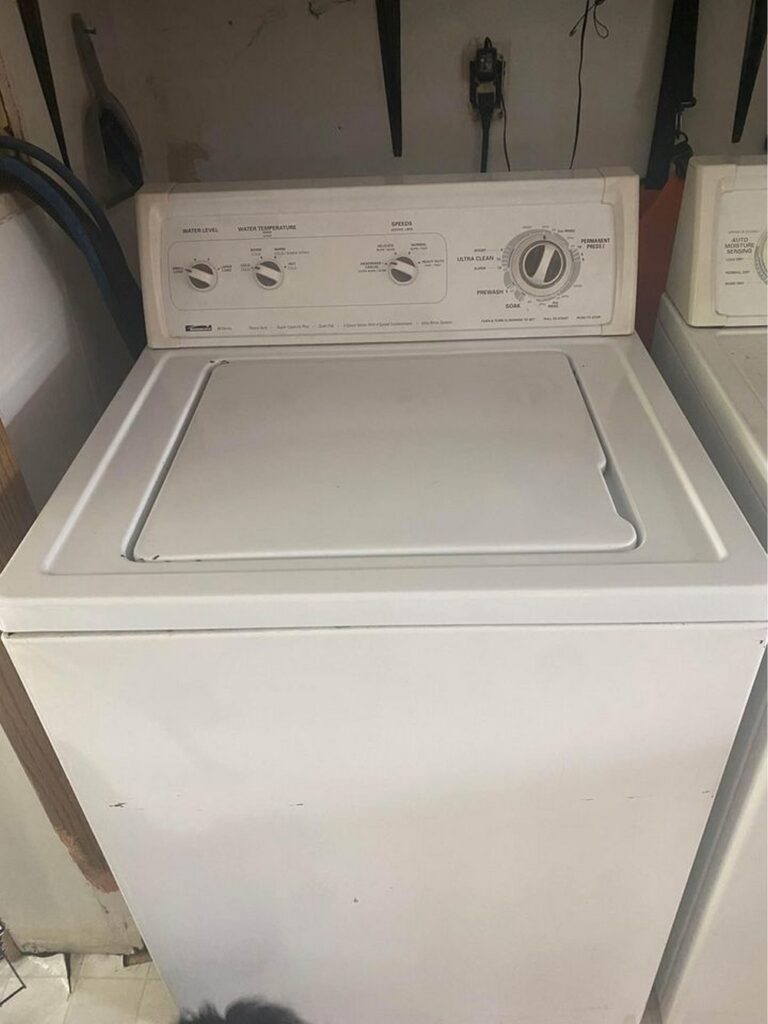
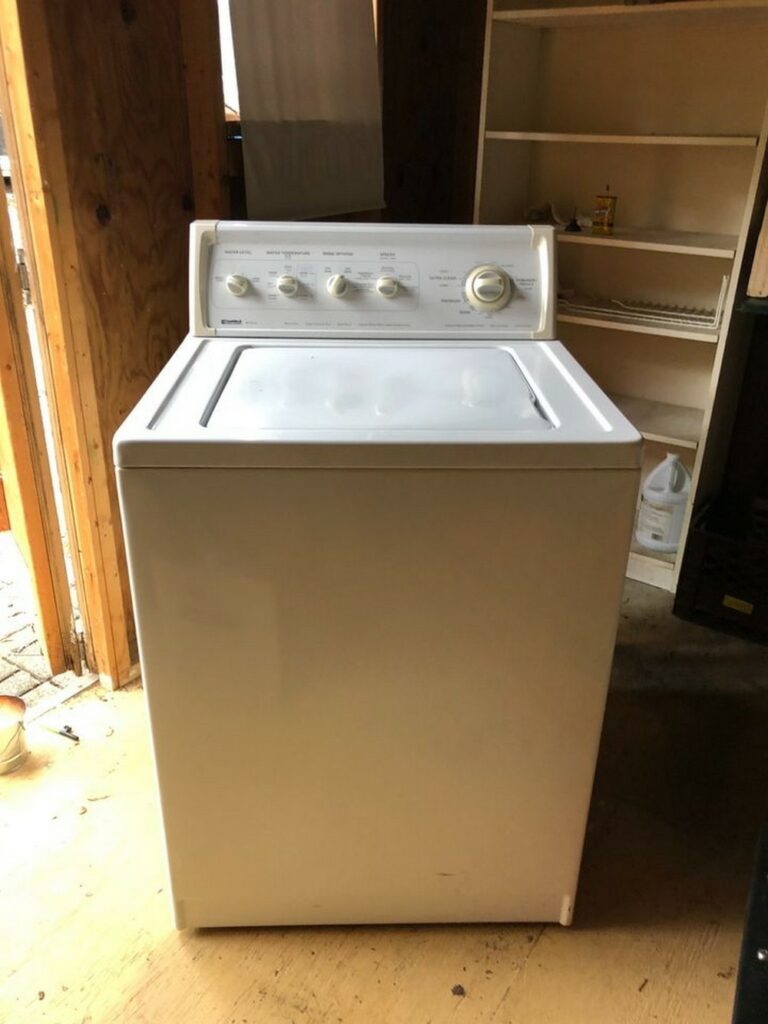
Kenmore Washer Leaking From The Bottom
A Kenmore washer leaking can cause serious damage to your house. However, you can resolve this by changing the tub seal if it’s torn or replacing a damaged drain pump or hose. You can also check the door latch for your washer and ensure the washer’s door is properly closed when running a wash cycle.
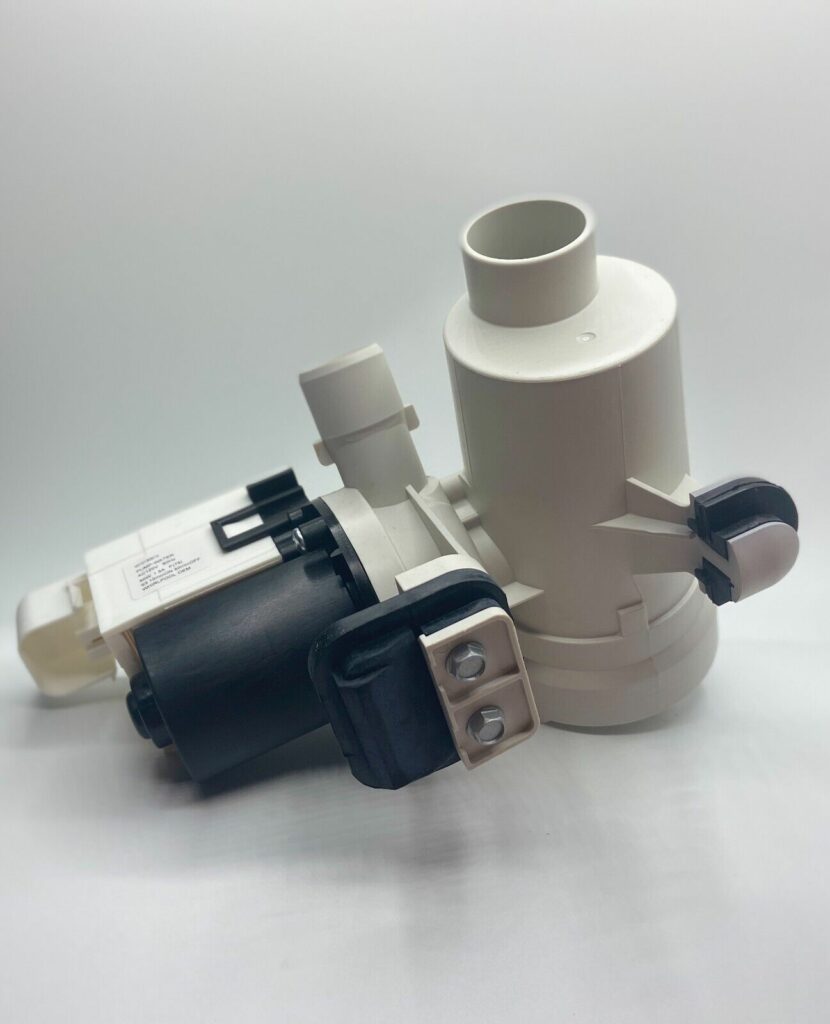
1. Replace Cracked Drain Pump
Fact:
The main function of the drain pipe is to pump water out of the drain hose. So if the drain pump is broken or cracked, your Kenmore washer will leak.
Now:
The drain pump can get damaged if a sharp object enters the washer’s filters and travels to the drain pump. It can also become worn from use.
Note:
The drain pump is not repairable, you have to replace it if it is broken
In that case:
To replace the drain pump of your Kenmore washer, you have to follow these simple steps:
- Step 1: Unplug your Kenmore washer from its power source and turn off the water supply valves.
- Step 2: Uninstall the access panel.
- Step 3: Locate the drain pump and disconnect the hoses attached to it.
Tip: There would be a water spillage at this point, make sure to get towels to wipe them off.
- Step 3: Carefully remove the damaged drain pump and set it aside.
- Step 4: Install and secure the new drain pump.
- Step 5: Connect the hoses to the drain pump. Make sure you do not have any loose connections.
- Step 6: Turn on the water valves and plug your washer back into its power source.
Note:
If your Kenmore washer’s drain pump model is electrical, you can also test it with a digital multimeter. There will be no continuity if it is damaged.
Pro Tip: It is advisable to wear work gloves when carrying out this repair because your washer has sharp parts that could hurt you.
Well done!
2. Replace Torn Tub Seals And Bearing Kits
Get this:
The location of the tub seals is determined by the type of loader your Kenmore washer is.
So:
If your Kenmore washer is a top loader, the tub seal is located at the bottom of the washer. However, if your Kenmore washer is a front loader, you would find the tub seals in between the front and outer rear tub of your washer.
Note:
If the tub seal is torn, water will leak from the seal, which would ultimately leak into the tub bearing and cause it to fail.
But beware:
This particular repair is very complicated and would require disassembling most parts of your Kenmore washer. As such, It’s better to contact Kenmore Customer Support for assistance.
3. Change Broken Door Latch Or Door Seal
Clearly:
This is a problem that is unique to front-load washers. If the door is not closed properly, it may open during a wash cycle and spill water everywhere.
Ideally:
The door latch and seal secure the door when closed to prevent water from getting out.
In that case:
If any of them fail, your Kenmore washer’s door won’t close properly.
Now:
If your door seal is worn and you can replace it with the help of the steps below:
- Step 1: Unplug the washer from its power source.
- Step 2: Unscrew the front panel.
Alternatively:
You can unscrew and remove the lid if your washer does not have a removable front panel. Gently lay your washer on its back, so the drum lowers slightly away from the door.
Tip: Make sure to lay a cardboard or towel on the floor to protect your washer from scratches.
- Step 3: Detach the retaining band from the rubber door seal’s outer edge.
- Step 4: Use your fingers or a flat-head screwdriver to carefully remove the door seal away from the edge of the drum.
- Step 5: Remove any screws or nuts holding the door seal in place.
- Step 6: Pull the seal away from the drum to remove it.After the seal has come off, use a damp towel to clean the attachment area.
- Step 7: Rub the seal with a lubricant to make the attachment easier. If your washer model requires the door seal to be glued to the drain hose, you can use a specialized adhesive.
- Step 8: Align the new door seal over the drum and secure it back in place with the screws or nut you removed earlier.
- Step 9: Reattach the retaining band to the door seal’s outer edge.
- Step 10: Screw back on any components you had to remove to access the door seal.
- Step 11: Plug your Kenmore washer back into its power supply.
Pro Tip: Make sure you use the appropriate door seal for your washer’s exact make and model.
Then again:
If it’s the door latch that is faulty, you can replace it with these easy steps:
- Step 1: Disconnect your Kenmore washer from its power source.
- Step 2: Open your washer’s door and use your fingers or flat-head screws to peel the door seal carefully.
- Step 3: Remove the screws or nuts, securing the door boot in place.
- Step 4: Pull out the latch assembly and carefully detach the wire connectors.
- Step 5: Attach the wire connectors to the new door latch.
- Step 6: Install the new door latch
- Step 7: Reattach the screws holding the door boot in place.
- Step 8: Put the door seal back in place and check to see if the door closes properly.
- Step 9: Connect your washer back to its power source.
And you’re done!
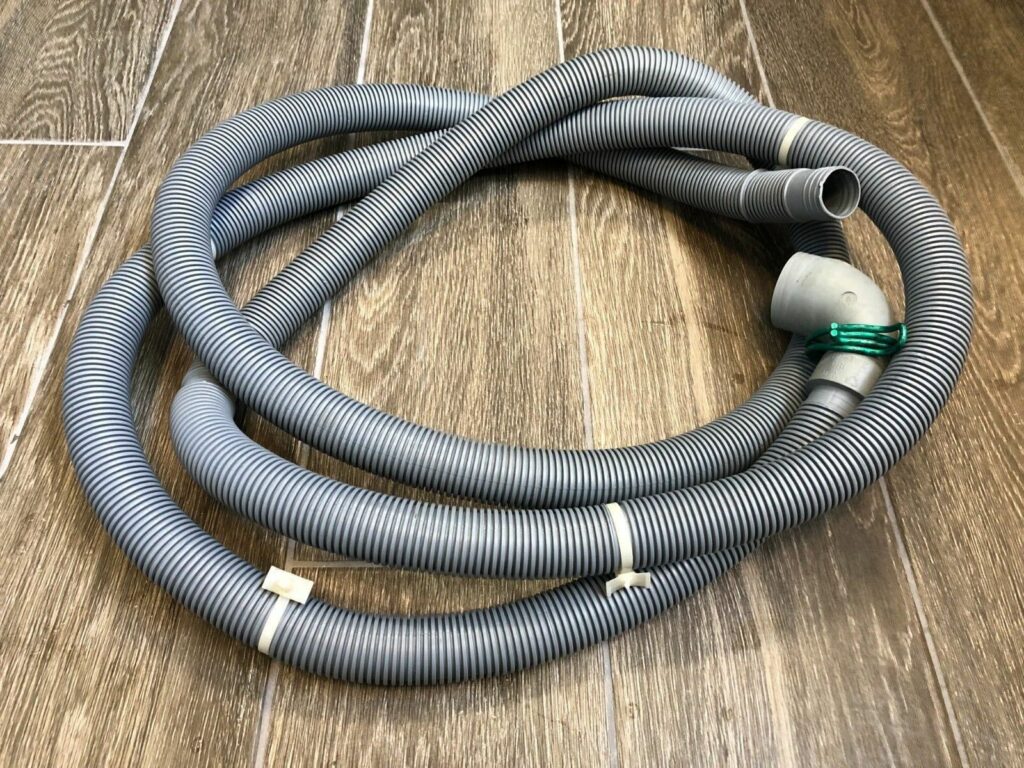
4. Replace Damaged Drain Hose
To begin with:
The drain hose is usually at the back of the washer, alongside two separate hoses for cold and hot water supply.
Now:
If there is a kink or puncture in the drain hose, it could cause the drain hose to leak.
Also:
If the washer is placed too close to the wall, the continuous vibrations will eventually damage the drain hose, which could result in a leak.
What should you do?
Move the washer from the wall and check to see if the drain hose is loose. If that’s the case, all you have to do is tighten the connections.
However:
If you notice any signs of tears or punctures on the drain hose, you will have to replace it.
To replace the faulty drain hose, all you have to do is:
- Step 1: Unplug the power cord of your Kenmore washer.
- Step 2: Turn off the water supply valves. Remember to disconnect the hot and cold water supply lines.
Tip: Prepare towels to clean up water spillage.
- Step 3: Remove the drain hose by detaching the retaining clamp.
- Step 4: Attach the retaining clamp to the straight end of the replacement drain hose.
- Step 5: Install the new drain hose and secure it with the retaining clamp.
- Step 6: Put back the hot and cold water supply lines, then turn the water supply valves on.
- Step 7: Reconnect the power cord of your Kenmore washer.
Note that:
Some Kenmore washer models will require you to disassemble the washer to access the drain hose. It is advisable to consult your owner’s guide on what to do or contact Kenmore Customer Support for assistance.
Pro Tip: Do not place your washer too close to the wall to avoid damaging it too often.
Easy Right?
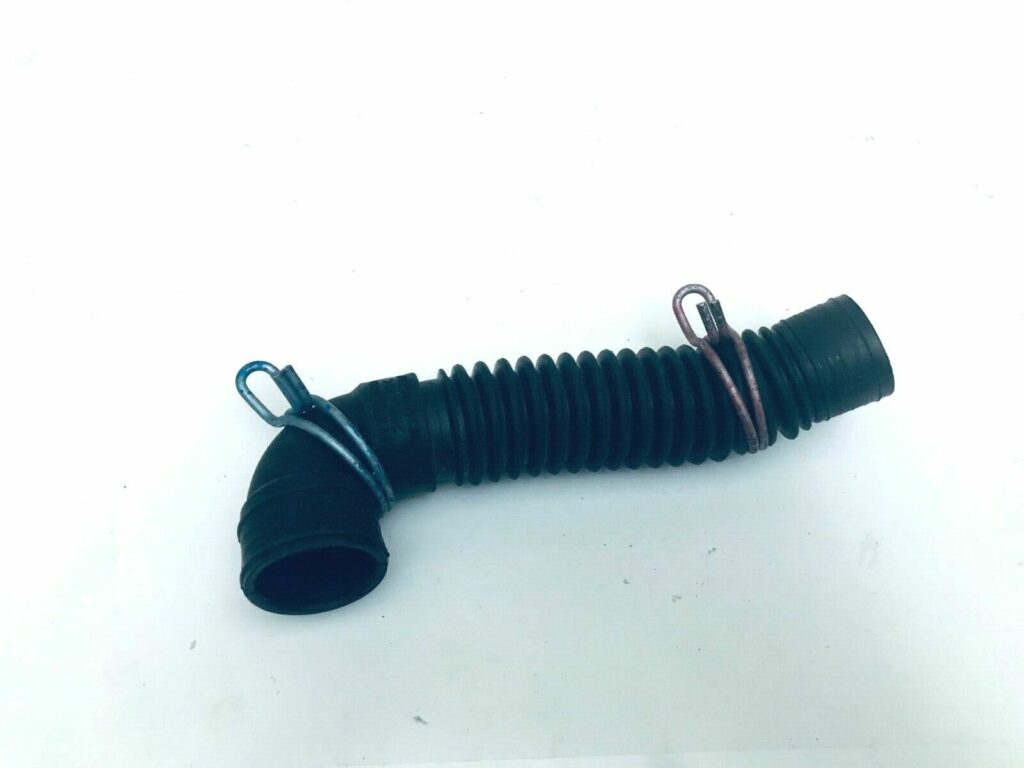
5. Change Faulty Tub-to-Pump Hose
Fact:
The tub-to-pump hose connects your Kenmore washer’s outer tub to the drain pump inlet.
Get this:
If you notice a large puddle of water that seems to be coming from underneath the washer, then it is most likely that the tub-to-pump hose is faulty.
Here’s the thing:
Sometimes foreign objects like pins could get through the washer filters and damage the tub-to-pump hose.
Now:
If the tub-to-pump hose of your washer is faulty, you will have to replace it. It is not ideal to cut off the damaged part of the hose and stretch the rest to fit the pump.
Changing the tub-to-pump hose is a very simple repair and should not take too much of your time.
In that case:
You can change the tub-to-pump hose by simply following the steps below:
- Step 1: Disconnect the washer from the power source.
- Step 2: Make sure you turn off the water supply valves.
Step 3: Uninstall the rear access panel.
Tip: Make sure you are wearing work gloves during this repair to protect your hands from getting hurt.
- Step 4: Tilt your washer forward. Make sure to put cardboard or a towel on the floor to protect the washer from scratches.
- Step 5: Locate the tub-to-pump hose and carefully detach the clamps holding it in place.
- Step 6: Remove the old tub-to-pump hose. It would be best to place a towel underneath to clean up any water spillage.
- Step 7: Put in the new tub-to-pump hose and carefully secure it in place using the retaining clamps.
- Step 8: Put your washer back in position and reinstall the rear access panel.
- Step 9: Turn on the water supply valves.
- Step 10: Reconnect your washer back to its power source.
Easy Peasy!
Most Affected Models:
Fact:
It is common for Kenmore washers to develop leakage problems. However, some models are more susceptible to this than others.
In that case:
Let us take a look at the commonly affected models.
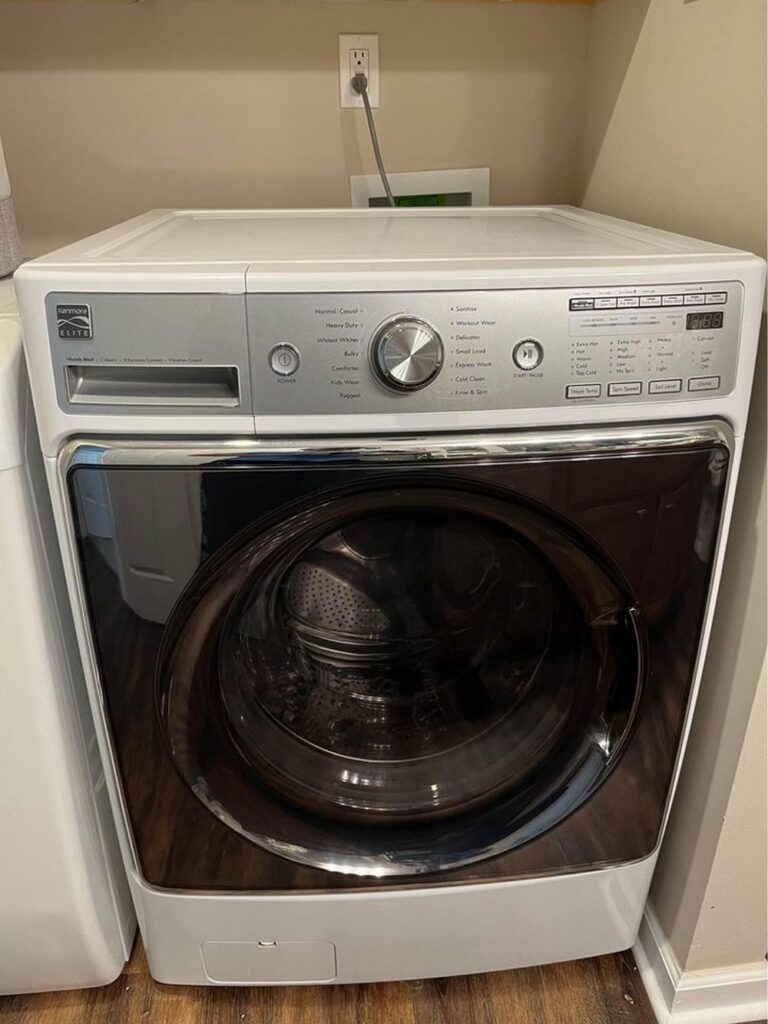
1. Kenmore Front Load
Here’s the thing:
The Kenmore front loaders are known for their low water usage. They are energy efficient, and wash large laundry loads as opposed to a top loader.
In addition:
They are better than top-load washers in terms of cleaning performance.
Sadly:
It is common for front loaders to leak, especially if the door latch or seal is compromised. They are also very expensive to maintain.
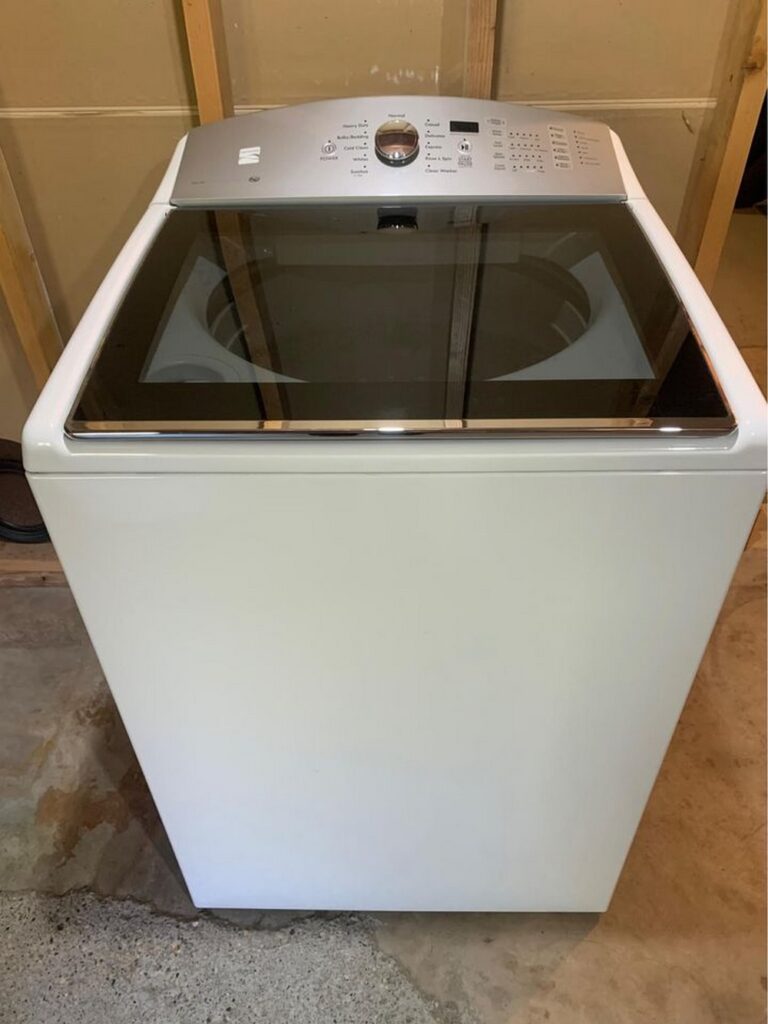
2. Kenmore Top Load
Fact:
Top loaders have faster wash cycles compared to front loaders. They also provide a variety of wash cycles in a largely ergonomic way.
However:
Your Kenmore top load washer can develop a leakage issue if the hoses are not connected tightly or the drain pump is broken or clogged. They also leak if you use too much detergent during a wash cycle.
3. Kenmore Elite Oasis
Now:
The Kenmore Elite Oasis washer models are user-friendly and very easy to use. They also have a larger load capacity compared to standard washers.
In addition:
They are energy efficient, and their wash cycles consume less time.
Unfortunately:
These models don’t usually last longer than three years, and their parts are very difficult to repair once they get damaged.
Now:
If your Kenmore Elite Oasis washer leaks, it’s most likely that the tub seal is bad, and you will need to replace it.
4. Kenmore 80 Series
Interestingly:
Customers say this particular Kenmore washer model is very simple to use and it is not expensive to maintain. It is energy-saving and cleans out very tough stains.
Sadly:
Washing large laundry loads with this particular Kenmore washer model could cause the washer to start leaking.
5. Kenmore 90 Series
Now:
The Kenmore 90 washer models are very cost-effective, and they have a large laundry load capacity.
Sadly:
They are one of the common models with leakage issues.
6. Kenmore 100 Series
The Kenmore 100 series has a triple-action impeller that washes your clothes thoroughly.
However:
These models are also prone to water leakages.
Conclusion:
Generally:
It could be very inconvenient to have to clean water puddles around your washer every time you run a wash cycle.
But the silver lining is:
You can follow these troubleshooting guides to stop your Kenmore washer from leaking at the bottom
- Change cracked or broken drain pumps.
- Replace torn tub seals
- Change broken door latch or seal.
- Replace damaged or worn hoses.
Or any of the solutions provided above.
In addition:
You can check the water inlet valves for cracks or loose connections, inspect the detergent dispenser for suds and examine the water level switch.
You can also:
Contact Kenmore Customer Service for any repair you need clarification on for assistance.
Finally:
We would love it if you leave your questions and contributions in the comment section below.
Frequently Asked Questions
Typically, if your Kenmore washer leaks from the bottom, it is most likely due to a loose or worn drain hose, a broken drain pump, or a torn tub-to-pump hose.
Yes. Most of the issues that cause leaks can be easily fixed by you and are usually very inexpensive to repair. An active warranty could be an added bonus.
You can start by locating the source of the leak. You can also tighten loose connections, replace torn or punctured hoses, use appropriate detergent for your washer model, and change broken drain pumps.
It is dependent on the cost of repairing your washer. The repair rule is that if the repair costs more than half of what a new washer would, you should invest in a new one. Also, if your washer is more than 10 years old, you should think about replacing it.
If the washer leaks during the spin or drain cycle, it’s possible that the drain hose is loose and needs to be tightened or simply needs to be replaced. If you notice the washer leaking from the back when your washer is filling with water, the water supply hose most likely needs to be replaced.