
Fact:
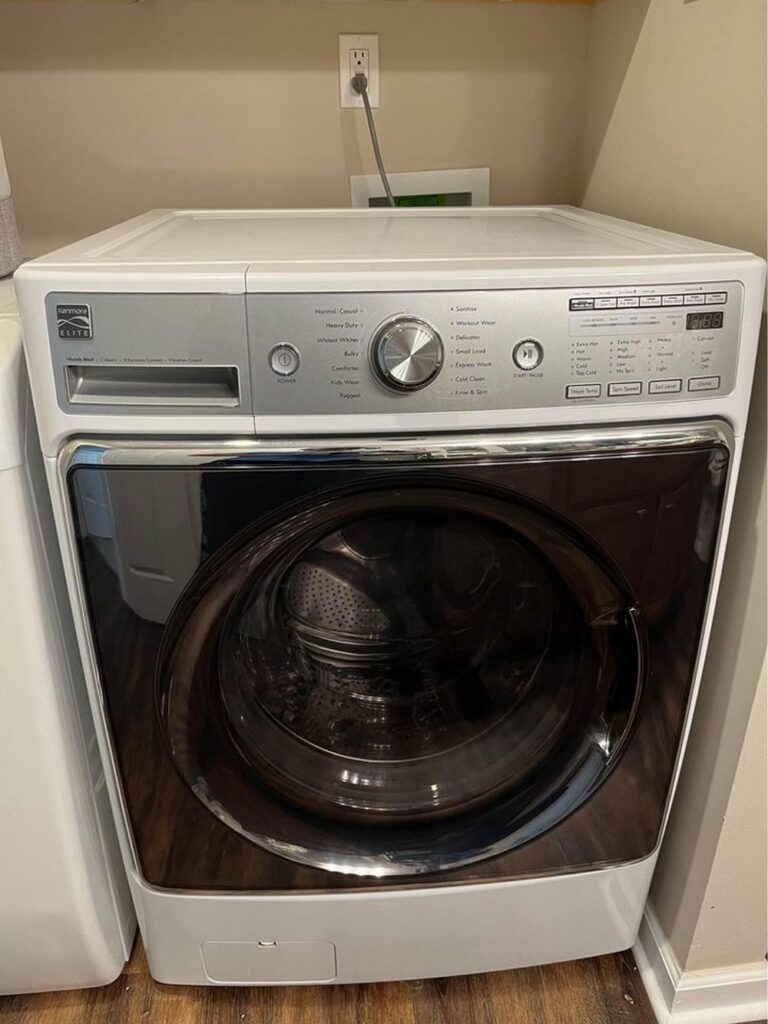
Kenmore manufactures high-quality washers in a variety of load sizes to make your washing experience as smooth as possible.
Nevertheless:
Just like any home appliance, it is normal for these washers to develop faults occasionally.
Luckily:
These faults have easy fixes, and most of them can be done by you! Simply follow the steps in this guide to get your Kenmore washer running again.
Let’s dive in!
Table of Contents
Kenmore Washer Not Draining
If your Kenmore washer is not draining, you should check if the drain pump is clogged and remove the object causing it. You can also change the door lock or lid switch assembly if it is defective, replace worn pump belt, clean the coin trap, or repair your washer’s water level.
1. Replace Faulty Drain Pump
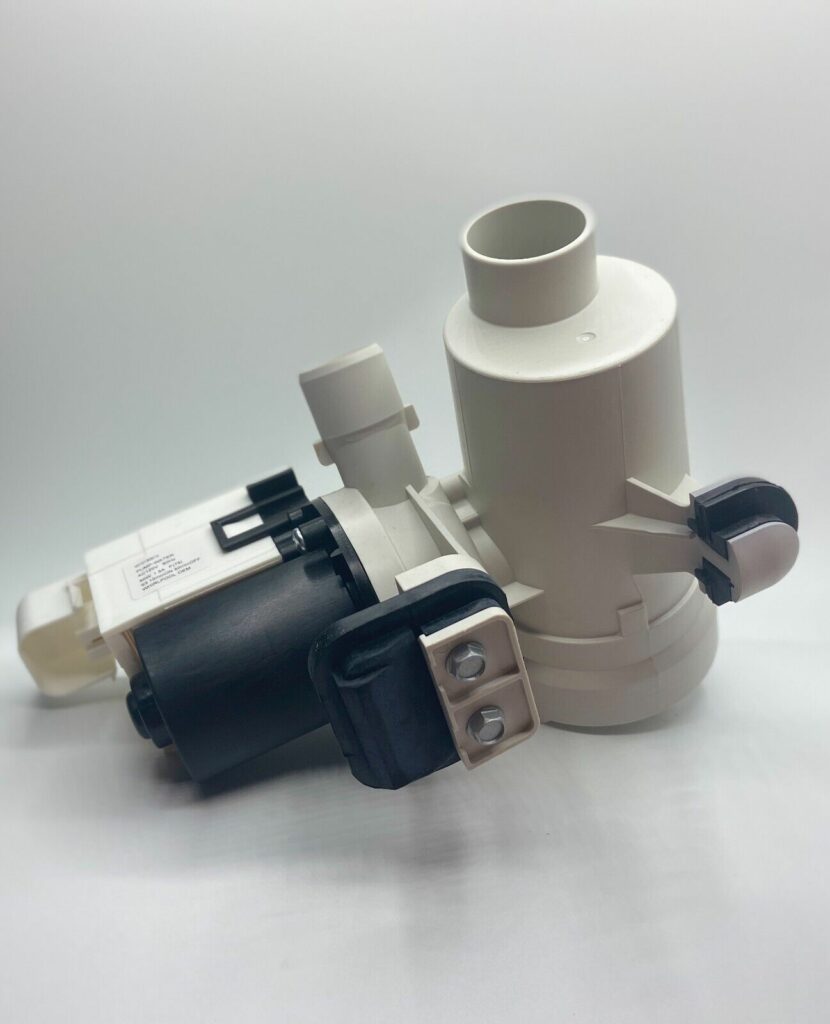
Fact:
The drain pump is often the cause of your Kenmore washer not draining. A small cloth or object may be stuck inside it causing it to get clogged.
What you should do is:
Check the drain pump to see if it is clogged, and then clear out the objects causing the blockage.
However:
If there are no obstructions in the drain pump, it is faulty and you will need to change it.
Fortunately:
This is a straightforward fix, and you should be able to complete it with these simple steps:
- Step 1: Unplug your washer from its power supply and turn off the water supply valves.
- Step 2: Disconnect the hoses. You should expect some water to pour out.
Tip: Ensure to get a towel to clean up any water spills to avoid tripping.
- Step 3: Move the washer to an area you can work on it. Carefully tilt the washer forward so you can access the drain pump at the bottom of the washer. To protect the washer from scratches, place a cardboard or towel in front of it.
- Step 4: Carefully remove the drain pump and set it aside for disposal.
- Step 5: Install the new drain pump and secure it with a spring clamp.
- Step 6: Carefully set the washer upright and reinstall the hoses. Don’t forget to tighten the connections firmly by using a pair of channel lock pliers.
- Step 7: Turn on the water valves and reconnect your washer to its power supply.
Pro Tip:
Ensure you are wearing work gloves to protect your hands throughout this repair.
At this point:
Your washer should be as good as new.
Amazing right?
One last thing:
The steps might be slightly different for you if your washer is a front loader. Don’t worry, we’ve got you covered!
2. Change Faulty Lid Switch

To begin with:
The lid switch acts as a safety device that prevents your washer from spinning when the lid is open.
Note that:
Your Kenmore washer may not drain if the lid switch is bad.
Luckily:
Replacing the lid switch is an easy task that can be completed within an hour with the help of this guide. It is located at the front of your washer, as a result, you will not move your washer for this repair.
Before you begin:
You should open the lid and see if the washer stops. If the washer continues to spin, the lid switch is faulty and should be replaced.
Also:
You can test the lid switch by using a multimeter to check for continuity. If it doesn’t have continuity, it is faulty.
To change the lid switch of a Kenmore washer, the first thing to do is:
Disconnect the washer from its power source and remove the screws keeping the lid switch in place.
Then:
You can replace the old lid switch with the new one. Ensure you align the screw holes before fitting in the replacement lid switch.
Finally:
You can connect the washer to its power source and test it.
Pro Tip:
If your Kenmore washer still doesn’t drain, you should check the wiring for any loose connections.
Easy peasy!
3. Unclog the Drain Hose
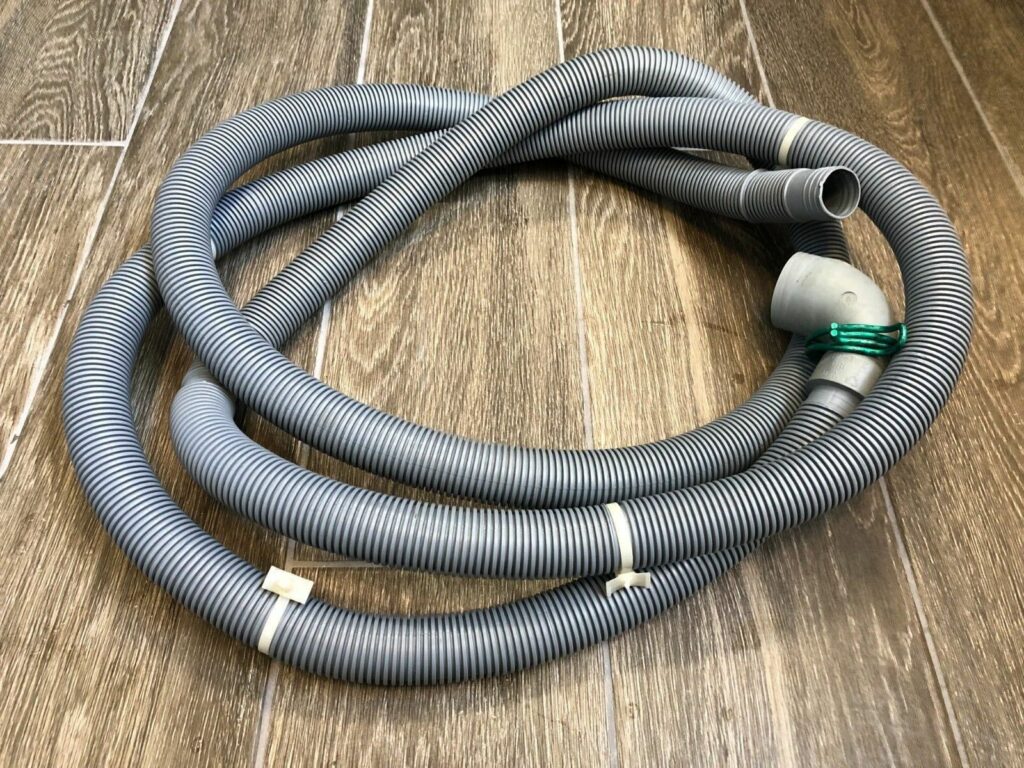
Now:
The drain hose is responsible for channeling the water from the washer into the drain pipe. As long as the hose is blocked, your Kenmore washer will have drainage issues.
First:
Check the drain hose to see if it is twisted or bent. You can just straighten it out if that’s the case.
Conversely:
You can remove the drain hose and check if it’s clogged. If so, follow these simple steps below to remove the obstructions:
- Step 1: Disconnect your Kenmore washer from its power source.
- Step 2: Pull out the drain hose from the drain pipe.
- Step 3: Clear out any obstructions from the hose. You can use a straightened cloth hanger for this.
- Step 4: Flush the hose with water.
- Step 5: Fasten it to the drain pipe.
- Step 6: Reconnect the washer back to its power source.
Alternatively:
You can replace the drain hose if necessary.
See how simple that was!
4. Replace Worn Water Pump Belt
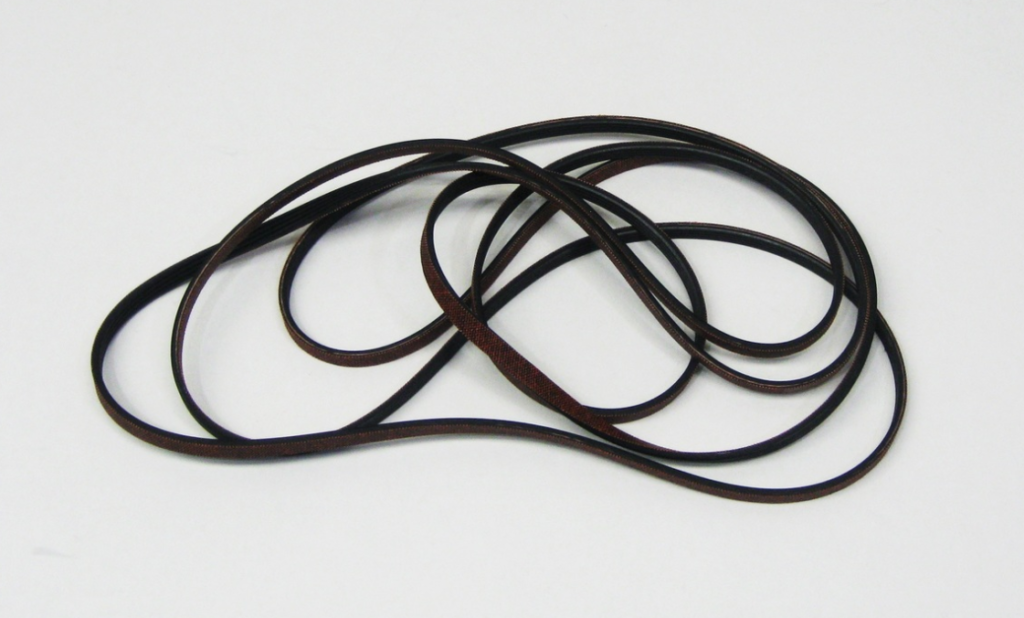
Listen:
Your Kenmore washer will stop draining if the pump belt is showing signs of extreme wear or damage.
What should you do?
Remove the panel from the back of the washer to access the pump belt. If the belt is torn or worn out, you will have to get a replacement.
Fortunately:
It’s a simple repair that should take roughly 30 minutes. You can follow these steps to make the fix:
- Step 1: Unplug the Kenmore washer and turn off the water valves by removing the cold and hot water feed lines from the back of the washer. It is advisable to have an extra pair of hands when you’re doing this repair.
- Step 2: Lay a cardboard or towel on the floor and gently push the washer forward till it’s resting on it.
- Step 3: Unscrew the belt cover with a nut driver and remove it.
- Step 4: Remove the old pump belt. You should apply side pressure to the belt as you push it over the top and off the pulley. It might take a few revolutions to get the belt off.
- Step 5: Attach the new belt over the pulley.
- Step 6: Rotate the large pulley in several revolutions to ensure that the belt is completely engaged and sits straight between the two pulleys.
- Step 7: Replace the belt cover. Ensure that you don’t screw it too tightly as the cover is plastic and could break.
- Step 8: Carefully lift the washer upright and turn on the water valves. Don’t forget to reconnect the hot and cold water lines.
- Step 9: Connect the washer to its power source.
Lastly:
Ensure to run a wash cycle with the machine with no load inside. It’s a good sign if there is no squeaking or burnt rubber smell during the spin cycle.
It’s that simple!
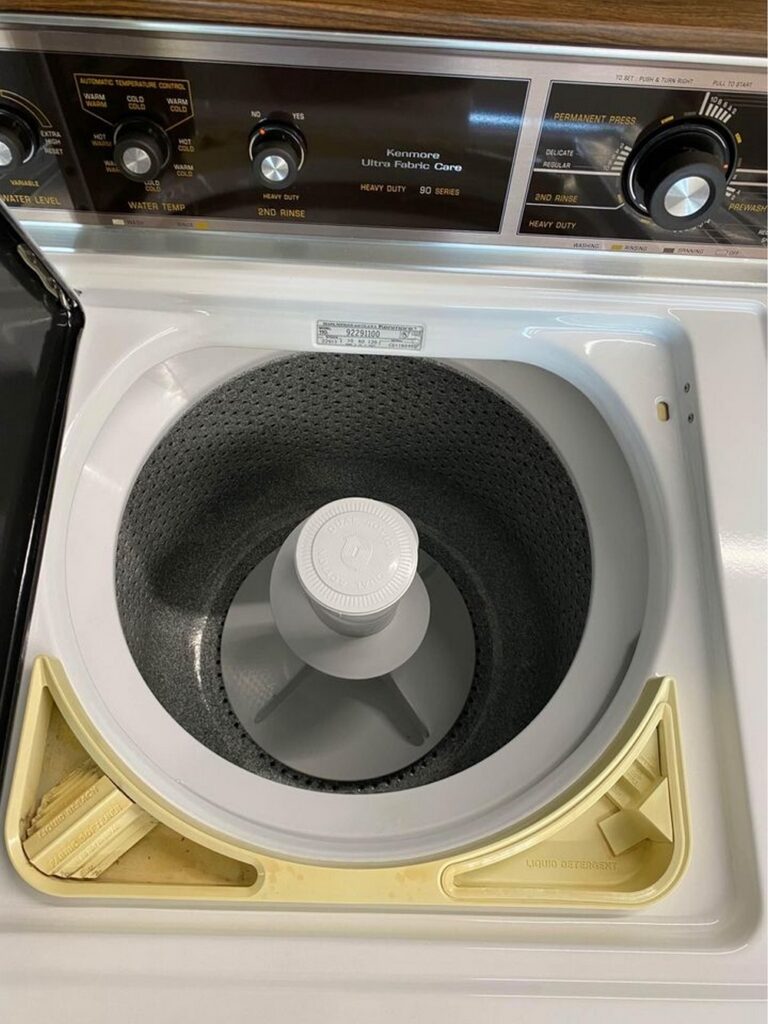
5. Clean The Coin Trap
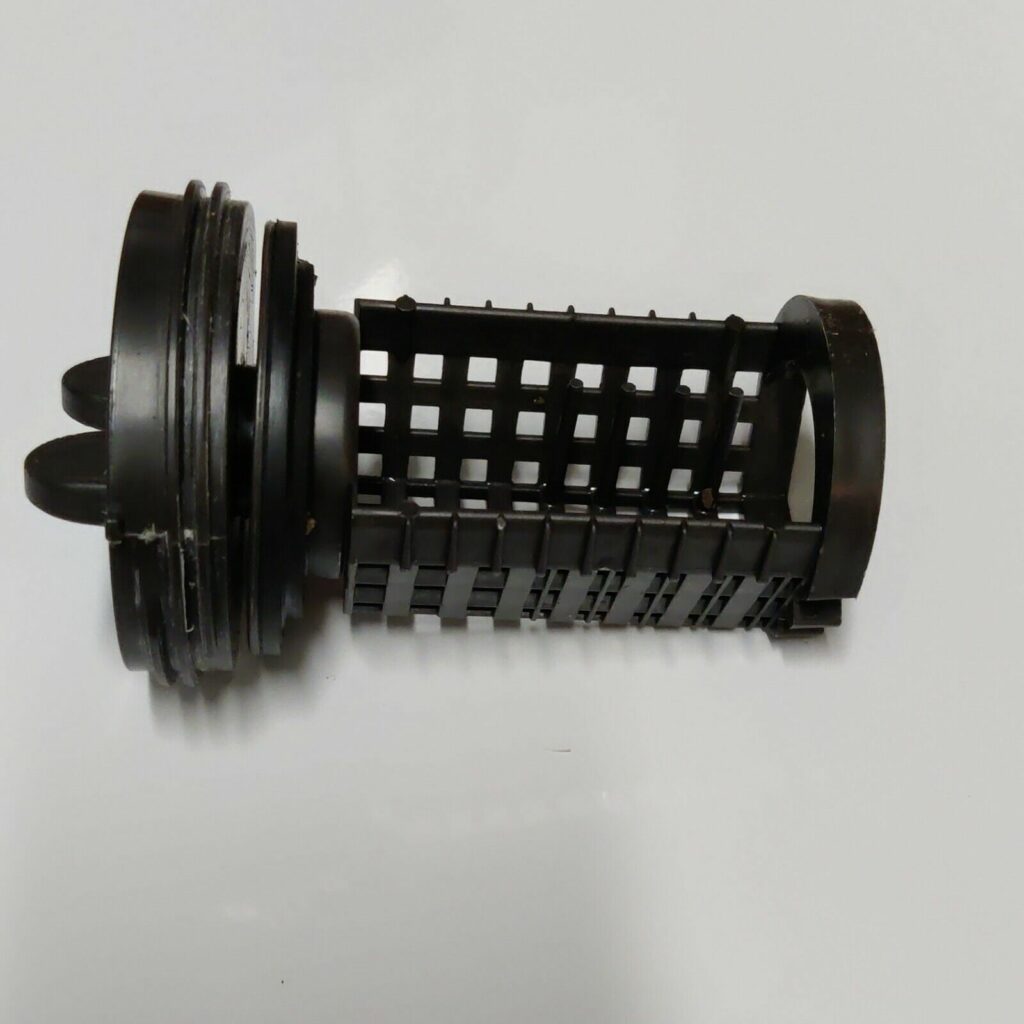
Get this:
The coin trap is a component of your Kenmore washer that traps any object that may possibly block the drain. The object could be a coin, safety pin, jewelry, money, or key.
Therefore:
Endeavor to check and clean the coin trap often. If debris continues to accumulate, the coin trap will become blocked, and your Kenmore washer will have drainage problems.
Usually:
The coin trap is located behind the door at the lower right or left corner of the washer’s front access panel. This is subject to the washer model.
The best part:
It has an intuitive design, and you can follow these easy steps to clean out the coin trap of your Kenmore washer.
- Step 1: Disconnect the washer from its power source.
- Step 2: Open the access panel and remove the coin trap.
Pro Tip: You can insert a block of preferably 2 inches under the washer to tilt it backwards a bit. It makes it easier for you to access the screws.
- Step 3: Drain out the water. You can do this by removing the plastic stopper in the tube or slowly turning the coin trap cover counterclockwise.
- Step 4: Remove the coin trap and pull out the items clogging the coin trap. You should also use a flashlight to check inside the drain assembly. There might still be items stuck inside.
- Step 5: Insert the coin trap in the drain and tighten the coin trap cover by turning it clockwise.
- Step 6: Put back the access panel and replace the screws.
- Step 7: Plug your Kenmore washer back into its power source
Once you’re all done:
You should test for leaks andif the washer is still not draining.
If the washer is still not draining, you can contact Kenmore Customer Services for more support.
And you’re good to go!
6. Replace the Door Lock Motor and Switch
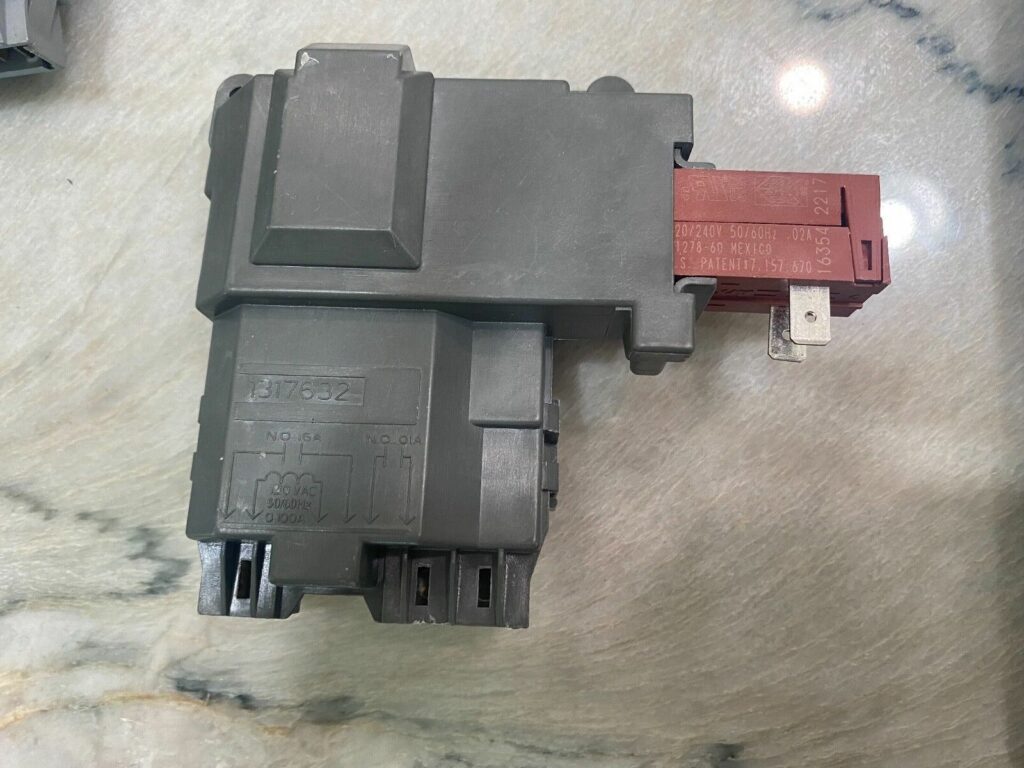
Fact:
The door lock and switch assembly are manufactured to keep the door of your Kenmore washer from opening while it’s running.
Now:
Another reason your Kenmore washer is not draining could be due to a defective door lock or switch. You will have to replace it because it’s impossible to repair.
Before you do that:
You should test the switches on the door lock with an ohmmeter. If there’s no continuity, then the switch is faulty.
In that case:
You have to replace the door lock switch using these easy steps.
- Step 1: Disconnect your Kenmore washer from a power source.
- Step 2: Gently unscrew and pull the top panel off the washer.
- Step 3: Remove the door lock assembly and disconnect the wire harnesses.
- Step 4: Connect the wire harnesses to the new door lock assembly.
- Step 5: Put the door lock assembly in position and secure it with the mounting screws.
- Step 6: Secure the back panel by screwing it back in place. Make sure not to screw in too tightly.
- Step 7: Reconnect your washer back to its power source.
Although:
The repair process might seem very easy, but ensure you use the proper equipment and follow all safety protocols.
Alternatively:
You can contact Kenmore Customer Service for more assistance.
7. Repair the Water Level Valve
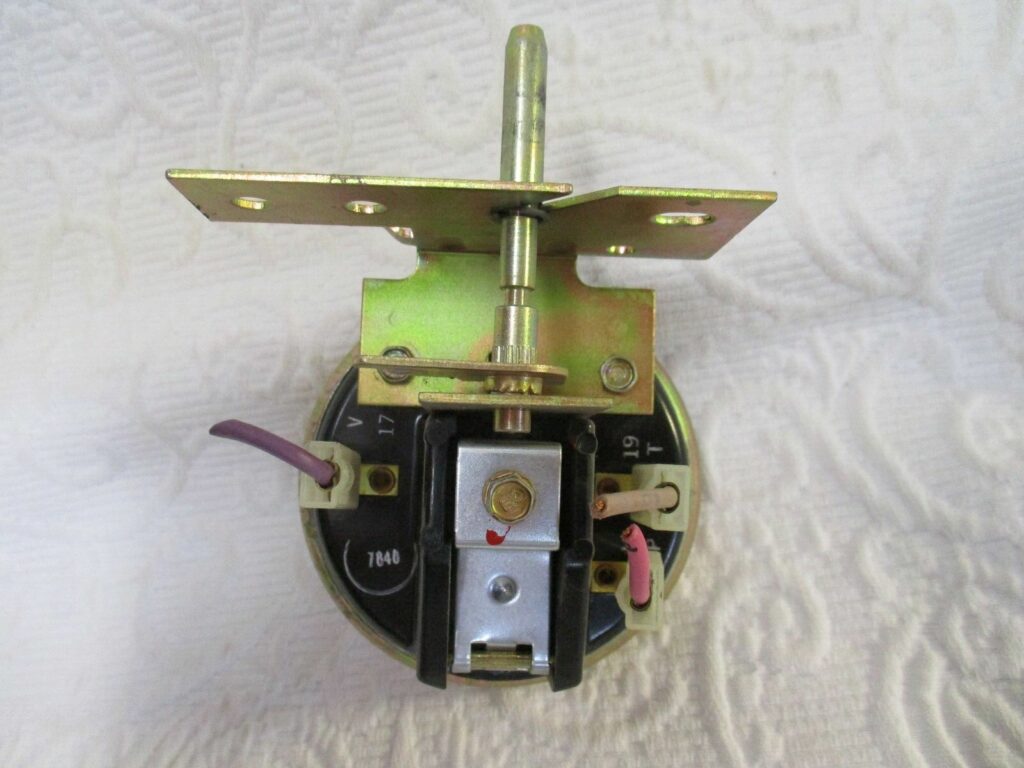
Did you know?
The water valve regulates the volume of water that enters the washer for each wash cycle.
It’s true!
So:
Once the water valves start malfunctioning, your Kenmore washer will not drain.
The good part is:
This is a relatively simple repair, and you should get your Kenmore washer running again in no time!
Now:
Let us go through what you need to do.
Step 1: Unplug your Kenmore washer from its power source and turn off the cold and hot water supply valves.
Step 2: Move the washer away from the wall and disconnect the hoses at the back.
Tip:
You should get towels that you would use to wipe off any water spillage, and be sure to mark which hose is used for hot water and which one is used for cold.
- Step 4: Remove the control panel.
- Step 5: Locate the old water valve and remove it.
- Step 6: Install the new water valve and secure it with the mounting clips.
- Step 7: Replace the control panels after attaching the two wire connectors.
- Step 8: Reconnect the hoses at the back and put the washer back in its regular position.
- Step 9: Turn on the water supply valves.
- Step 10: Connect your washer to its power source.
How simple?
Most Affected Models
Typically:
Kenmore washers are incredibly user-friendly and long-lasting, but that doesn’t prevent them from developing faults.
So:
Let us take a look at the most affected models to have the drainage problem:
1. Kenmore Front Load
Usually:
The Kenmore front load washer is relatively easy to use and has sensors that determine the load size and how strenuous or light your wash will be.
Unfortunately:
Customers complain that the washer always holds water in the rubber rings around the door, which starts to give off an unpleasant odor over time.
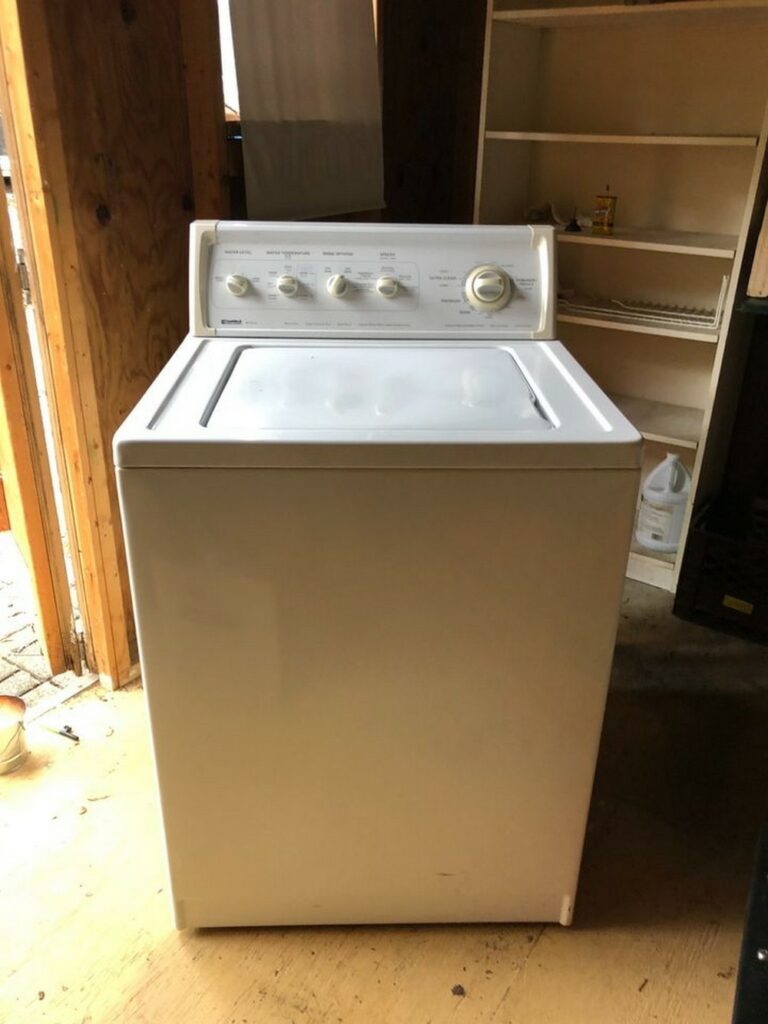
2. Kenmore Top Load
Fact:
This model is energy-saving, easy to load, and cleans very well on the normal and quick cycles. It has a longer life cycle than the Front load washer model.
Sadly:
It has a longer wash time compared to other models. Users also complain that this model often has lid switch problems which can cause your washer not to drain.
3. Kenmore Elite
Now:
This washer can handle very large laundry loads and has a vast selection of cycles. The Kenmore Elite 41072 offers a SteamTreat function that can clear stubborn stains.
However:
It is not energy efficient, so it consumes more water and power.
4. Kenmore 90 Series
Get this:
The Kenmore 90 series are reliable and quiet with super rinse functions. They are big enough to contain large laundry loads, and they have 10 wash cycles with three water levels. They are also price-friendly.
However:
If your Kenmore 90 series washer isn’t draining, the most likely reason is a clogged drain filter or hose. You might also want to check the drain pump.
Although:
The most common issue with the 90 series is that it stops spinning too frequently.
5. Kenmore 110 Series
Fact:
The Kenmore Series 110 has powerful motors and a deep tub that can contain multiple laundry loads. They also include up to four wash cycles with varying temperature and load combinations.
Unfortunately:
The washer makes very loud noises. Its failure to drain could result from a faulty lid switch or pump motor. You might also want to check that the drain pump is not clogged.
6. Kenmore 500 Series
This model is very easy to operate. It has a large load capacity that allows you to do your laundry in a short period with high energy efficiency.
Sadly:
Users complain that these washers are very noisy and do not correct themselves when the load goes out of balance.
Also:
Clothes come out wrinkled after washing with lints on them.
7. Kenmore 600 Series
The Kenmore 600 washer series has a number of settings to satisfy all laundry needs. It also has a user-friendly interface.
Sadly:
Customers often complain that clothes get tangled in the washer and that it also leaves white stains on black-colored clothing.
Conclusion:
Let’s be honest:
Everyone totally hates it when their washer starts to act up. Having to return to your clothes swimming in water after a wash cycle just because your Kenmore washer just won’t drain could be very frustrating.
What to do?
You can follow these troubleshooting guides to get your Kenmore washer draining again.
- Remove debris and obstructions from your drain pump.
- Replace worn water pump belt.
- Replace faulty door lock switch.
In addition:
Make sure that the drain hose to your Kenmore washer is not bent or twisted. Check the pipes for blockages often and clean out your coin trap from time to time.
Definitely:
Your Kenmore washer should be draining after trying out these useful recommendations. However, if nothing works for you, you can contact Kenmore Customer Service for more assistance.
Finally:
We would love your feedback on what solution worked for you. You can also share some tips and tricks that you might have discovered.
Don’t forget to leave your question and contributions in the comment section below!
Frequently Asked Questions
You can perform a master reset on your washer to get it working again. You can also adjust the position of the drain hose if it’s bent. Other options would be to clean out the coin trap, test the lid switch for continuity and replace it if faulty, and remove any objects clogging the drain pump.
Yes. Most of these repairs require simple tools and can be done by homeowners with limited appliance skills. However, some of these repairs, like replacing the door switch, require you to call a licensed professional. Ensure that you contact Kenmore Customer Support for such repair.
It is advisable for you to run the clean washer cycle once a month. Fill the dishwasher to the max line with chlorine bleach, place tablet cleaners directly into the drum, and run a complete wash cycle without any clothes. Do not use a detergent or a fabric softener for this.
The simplest way to drain your washer manually is by removing the drain hose and allowing the water to pour out. You can also drain it by performing a master reset on your Kenmore washer.
To clear out debris and objects clogging your drain pump, you should remove the drain pipe and pour hot water into the pipe. You can also use a plumbing snake by inserting it into the pipe and turning the handle clockwise any time you feel an obstruction.