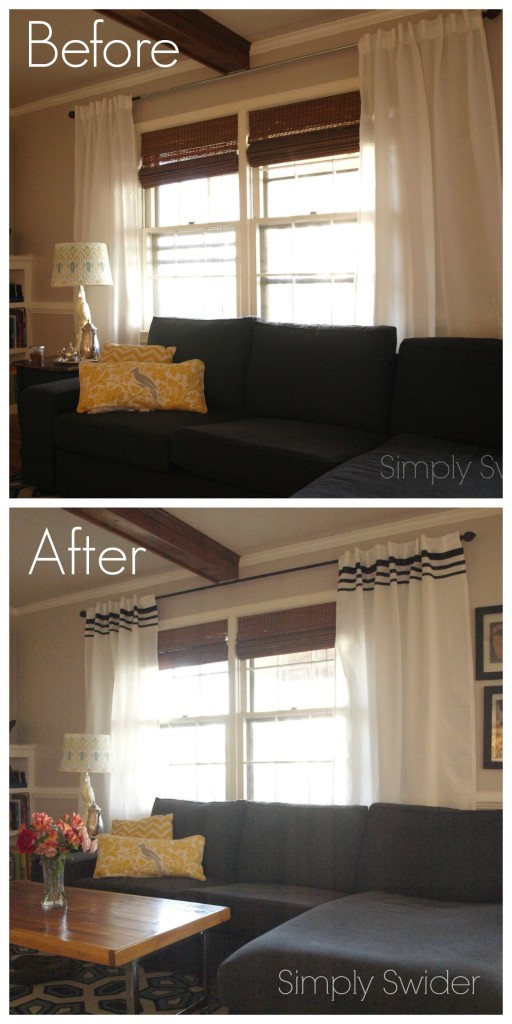
As Cody diligently works away on the foyer wainscoting, I’ve been finishing up some last details in the family room before the big reveal. One of those details was embellishing the otherwise plain white curtains (sort of like how I added the greek key trim to the curtains at our first house). Way back in September, we hung the new wood shades in the family room then quickly threw up these plain white curtains that I picked up at Ikea for 9.99 a pair (Vivan). Seriously they are such a steal that I bought two sets even though I haven’t decided what to do with the other ones yet. Here’s what we’ve been staring at for the last couple of months:
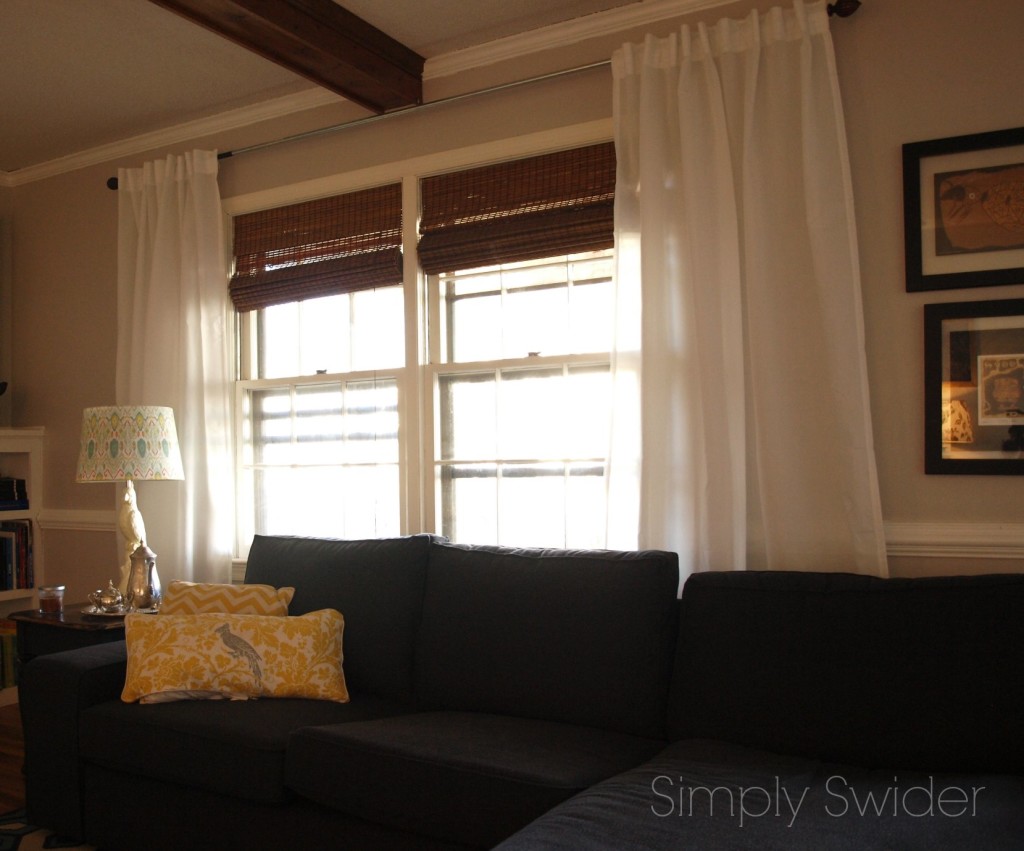
Now the windows didn’t look terrible, but I thought I could add a little pizzazz to them with ribbon without making too big of a statement in the room. Let me also bring your attention to the unpainted conduit pipe/curtain rod as well as the frayed screen and storm shutters stuck halfway up.
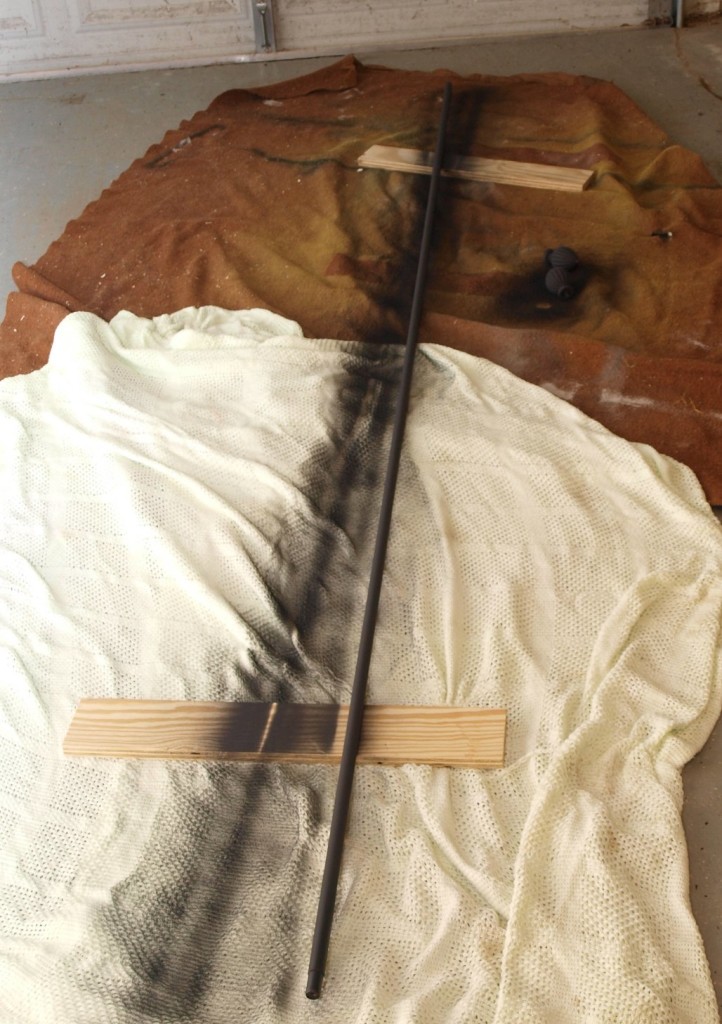
Because the windows required a large curtain rod, and I am really cheap, I made one out of conduit piping and finials. Before I started on the curtains I brought the curtain rod out to the garage and gave it a quick spray with the black paint left over from the fireplace doors project.
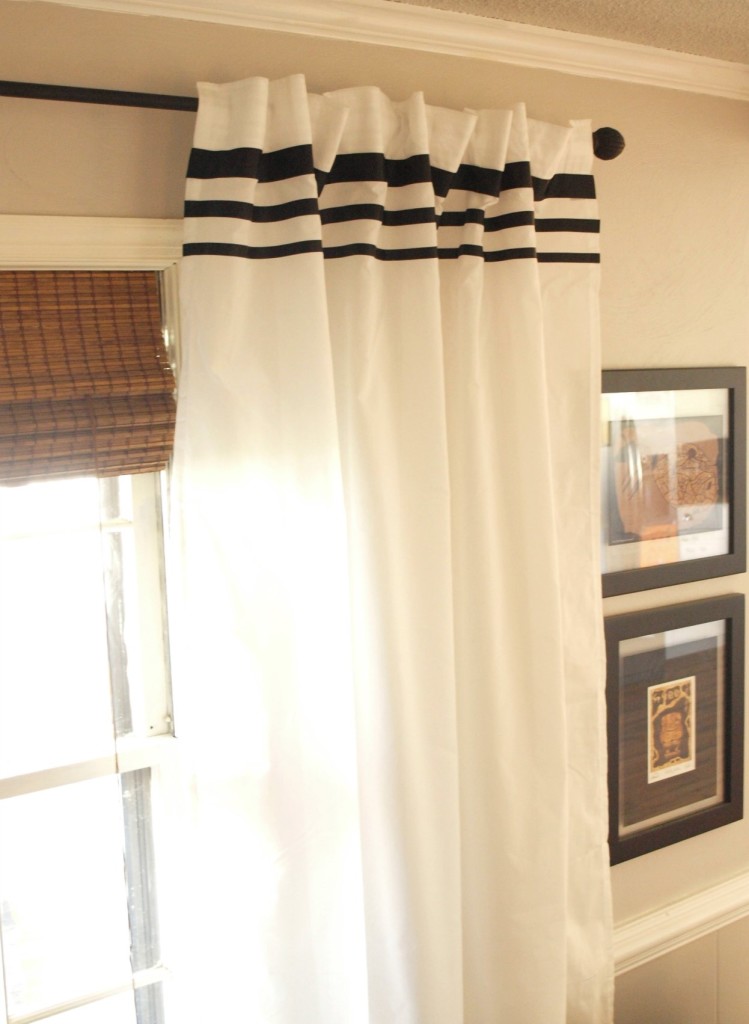
Now on to the curtains. I was inspired by these curtains that I saw on Pinterest to do three black stripes in different widths along the top portion of the curtain. I chose black because I wanted it to tie in with the frames on the wall as well as the fireplace doors. Here are the supplies I used:
- Black satin ribbon in 1 1/2 in, 7/8 in, and 5/8 in
- Stitch witchery*
- Iron and ironing board
- Damp cloth
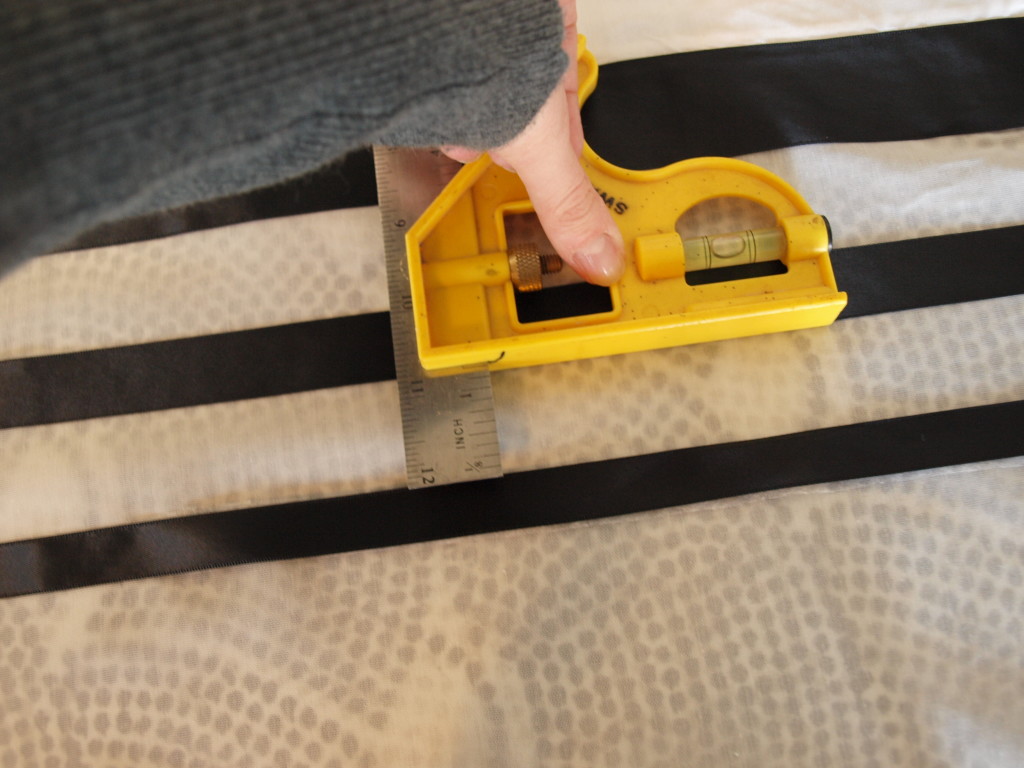
That’s right! This is a completely no-sew project! I started with the 1 1/2 in ribbon and lined it up with the seam under the pocket on the curtain. Because the ribbon was wide I used two strips of the stitch witchery. Stitch witchery is incredibly easy to use. All you do is place the stitch witchery between the ribbon and the curtain, cover it with a damp cloth, then press a hot iron on top of it for 10 seconds. That’s it! Just make sure that your cloth stays damp enough to make steam.

After I did the whole first row, I started the next row 1 1/4 in down using the 7/8 ribbon. The hardest part of this project was keeping the lines straight.
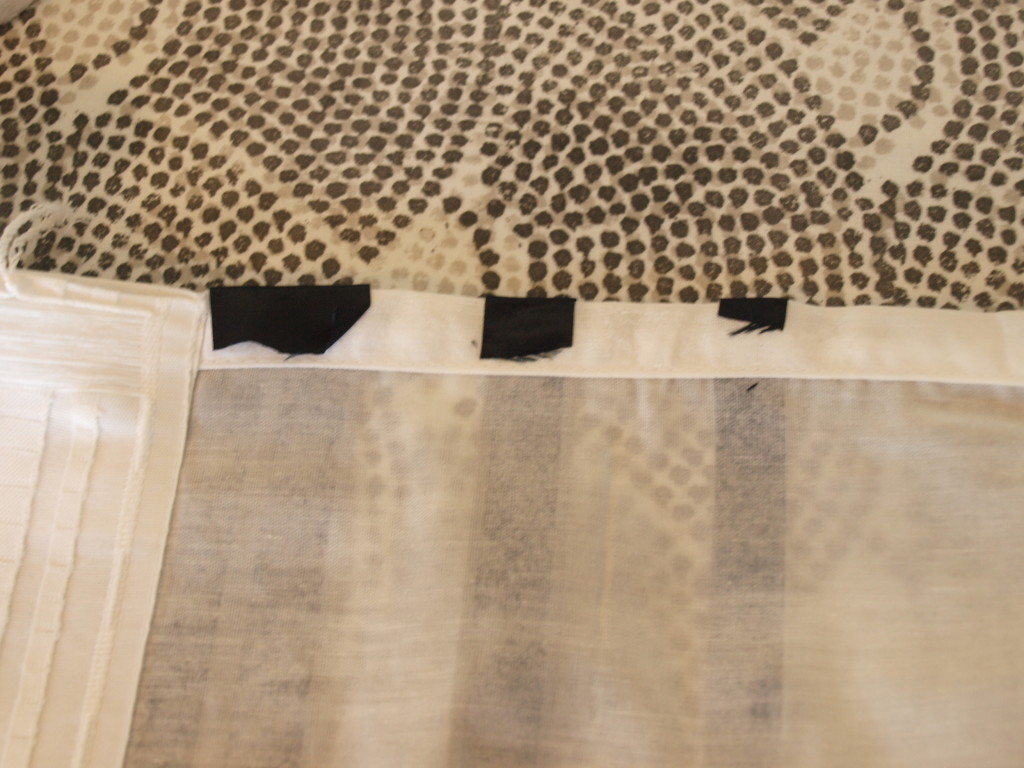
Make sure to leave an inch or so overhang on each end in order to wrap it around the back of the curtain. After I had finished the last row with the 5/8 in ribbon, I flipped the curtains over and wrapped the excess ribbon around to the back, and secured it with more stitch witchery.
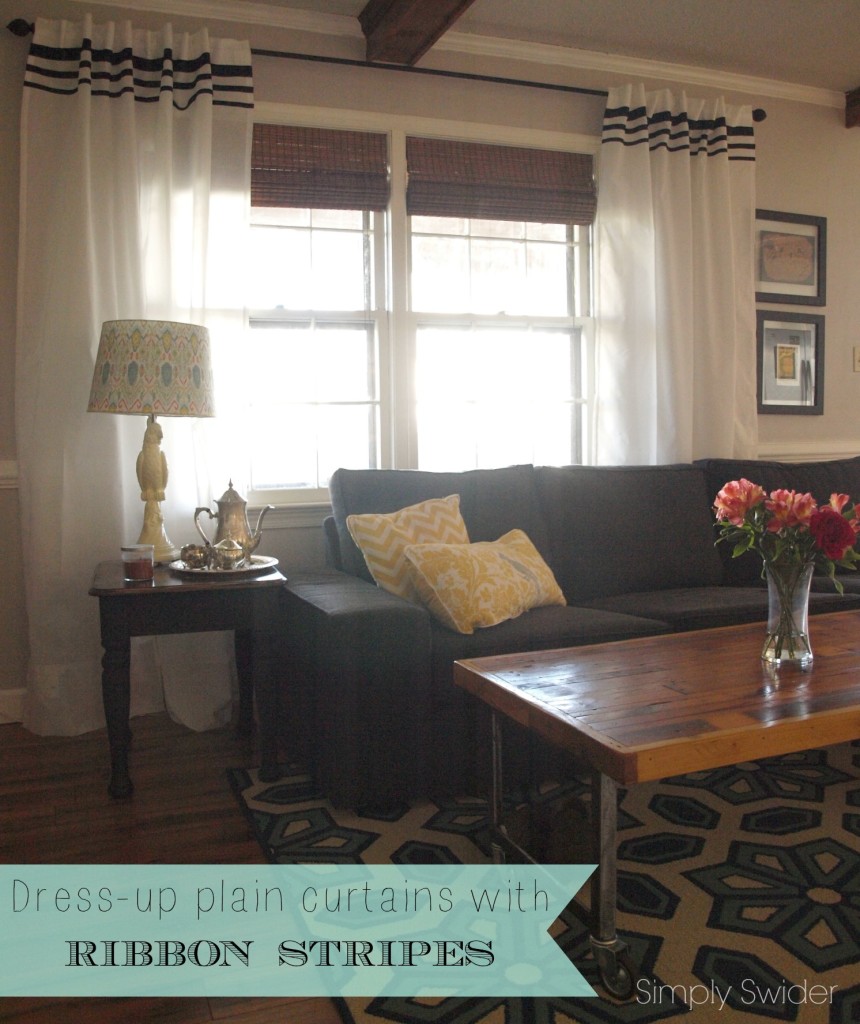
As you can see the curtains came out great! I love how they add just a little sophistication without really demanding any attention. I wanted the fireplace to stay the main focal point of the room.
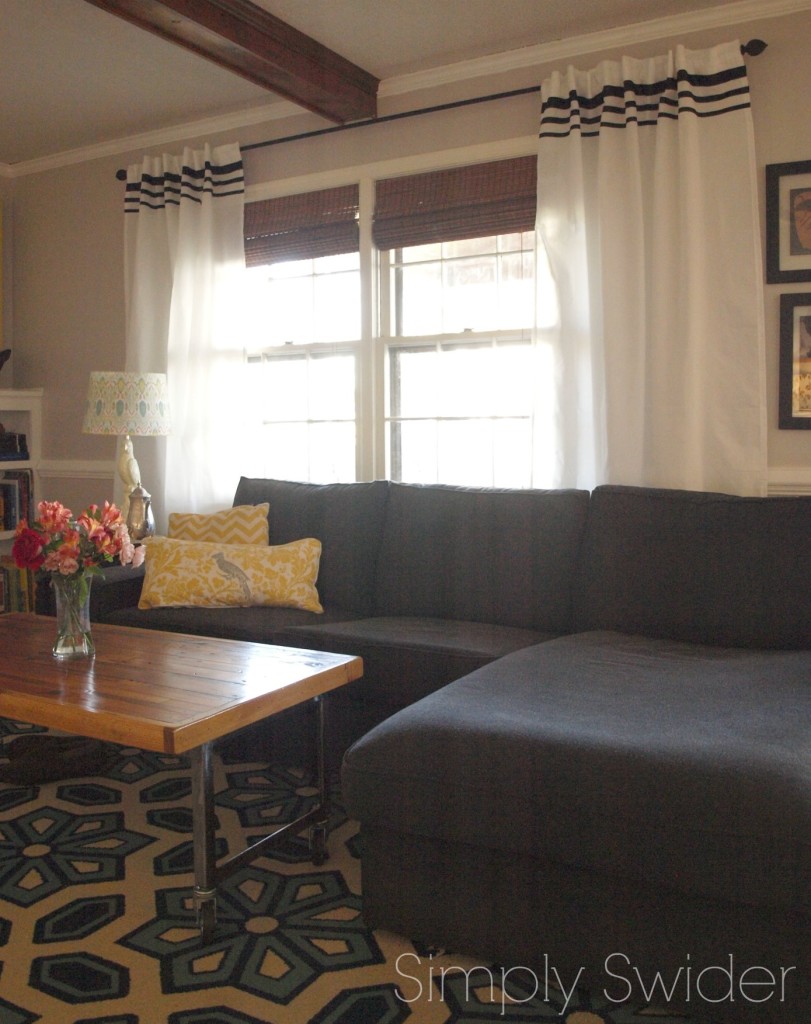
I think the stripes look like tuxedo stripes, especially with their satin finish, but Sophie calls them zebra stripes.
You probably can’t tell, but we did finally remove the old torn screens as well as lower the storm shutters completely. Also, notice how much more substance the curtain rod has now that it has been painted black.