
If you are not familiar with what subway art is then you have obviously been living under a rock (or don’t frequent Pinterest), but basically it is a typographical artwork where words are set in different typesets in order to create a visually appealing and thought-provoking piece of work. Usually, the words have some sort of themes such as a holiday, family rules, favorite quotes, or the birth of a baby. So, I had seen DIY subway art all over Pinterest for a while now, but I wasn’t really motivated to make my own until I saw Dria’s over at Dio Home Improvements. I loved how large hers was, and I just happened to need a large piece of art for over the bookcases in our new family room. This project also appealed to me because it’s completely customizable and personal.
I decided that subway art was exactly what I needed in my life, but I wasn’t sure how to achieve the look I wanted. A lot of other bloggers used Photoshop to create their pictures, but I don’t have access to Photoshop….whomp whomp. Then along came Courtney from the Ginger Penny Pincher with How to make Subway Art with Picmonkey! If you are not familiar with PicMonkey (affiliate), it’s free photo-editing software that you can get online and it’s what I already use to edit all the photos for this lovely blog. There is no registration and nothing to download. You can also upgrade to get more features for $33 a year (that’s only 2.75 a month). Many of the fonts I used for this project are available with the Royale upgrade, but you can still create beautiful subway art with the free fonts as well.
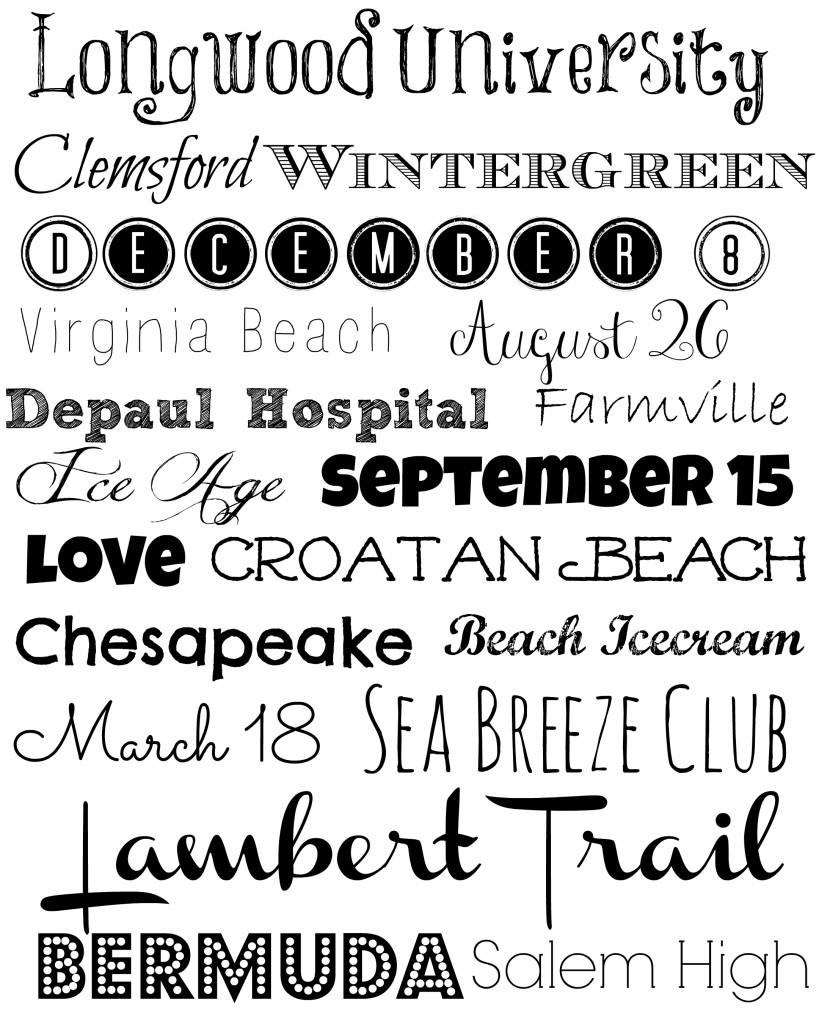
I decided that my theme would be places and times that defined our family. I knew I was going with the medium poster from Staples (18 x 24), so per their instructions, I re-sized the image on PicMonkey to 3238x 4288. Here was my first shot at it:
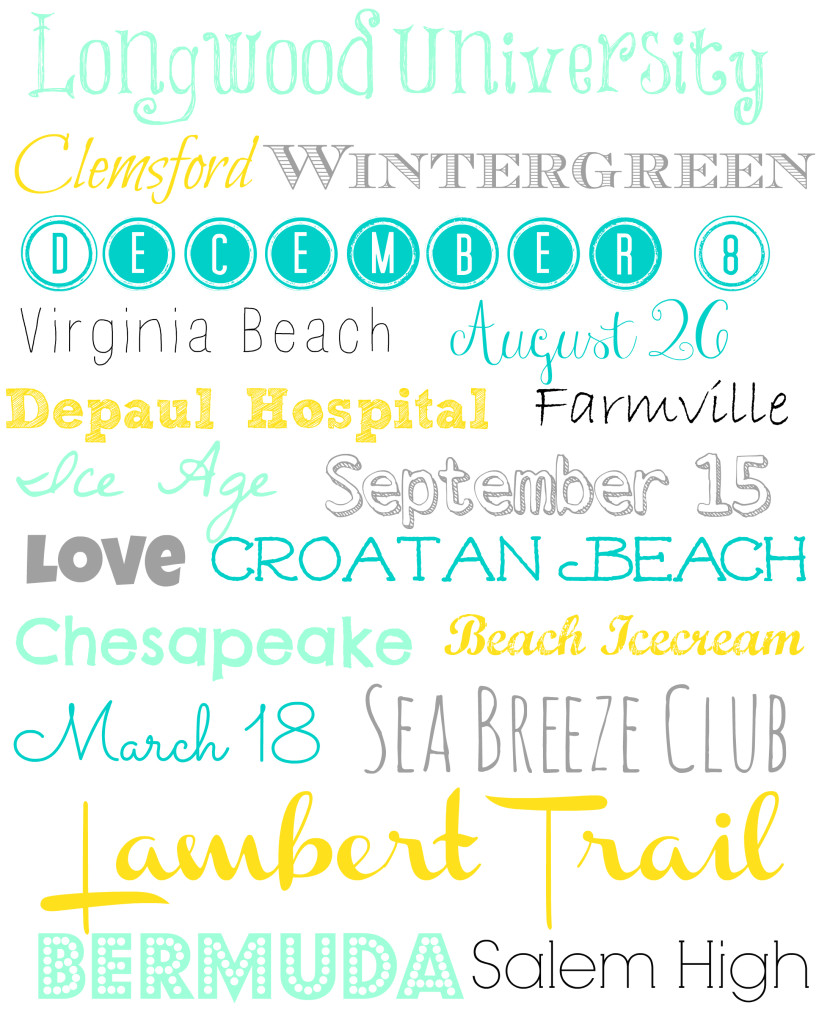
I used a different font for each word or phrase then simply moved them around and adjusted their size until they all fit the way I wanted them to. The project almost ended here because I simply LOVED IT! However, I had my heart set on a colorful piece of art that would brighten up the otherwise gray and white space, so after saving this version, just in case, I went ahead and started experimenting with color and I got this:
I’ll admit it took me a while to get the colors right and then to figure out how to lay out all the colors appropriately, but in the end, I am absolutely thrilled with how it looks! Make sure to leave a border around the edge of the page or else some of your words may get cut off in printing. If you forget (like I did) you can re-upload your image into PicMonkey and add the simple edge border. Change both colors to white and up the thickness to where you want. This did the trick for me.
Next, I ordered a poster print from Staples in 18 x 24 for $19.99. When it came in the mail I was so excited that I tacked it up to the wall to see how it would fit and there it stayed tacked to the wall for 3 months. Whomp Whomp….. Just like our Engineering prints, we hung in the room it took us a while to finally get around to building a frame for this custom artwork.
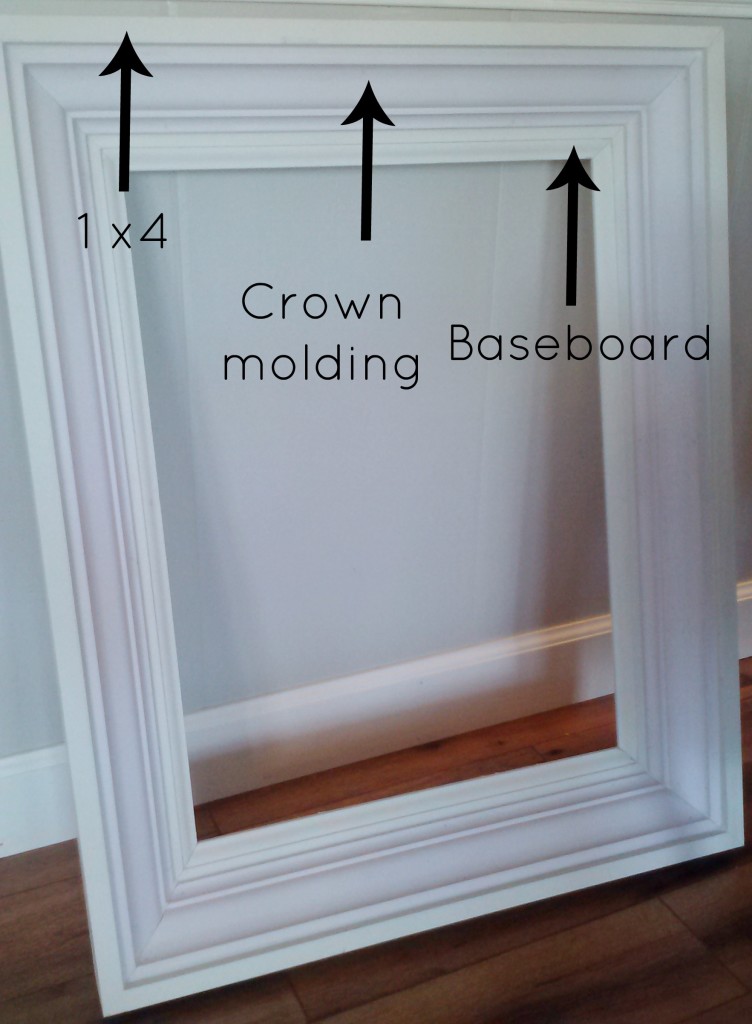
Cody used three different types of molding to make this frame: 1×4, baseboard, and crown molding. He literally just went to the molding section of Home Depot and layered the molding until he got the look he was going for.
Here’s a quick rundown of how he layered them. First, he cut the baseboard to size and 45ed the angles.
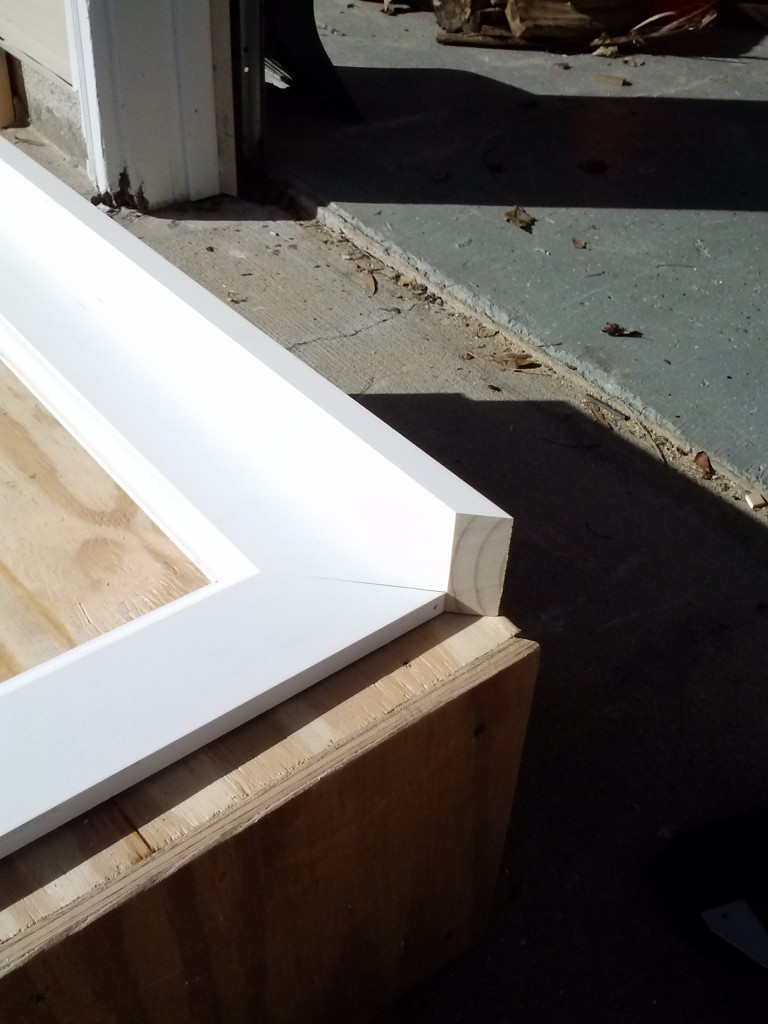
Next, he added the 1×4 to the edges of the baseboard also 45ing the angles.
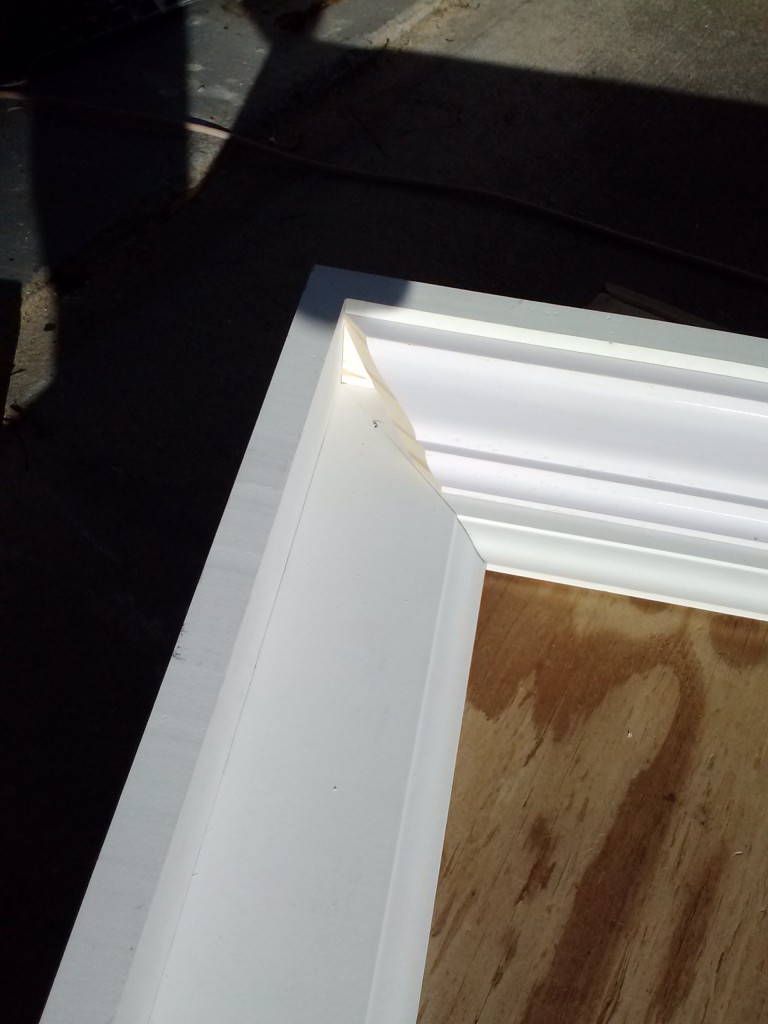
Finally, he added the crown molding to the area between the 1×4 and the baseboard. Once again the angles are 45ed and you can see how they all line up.
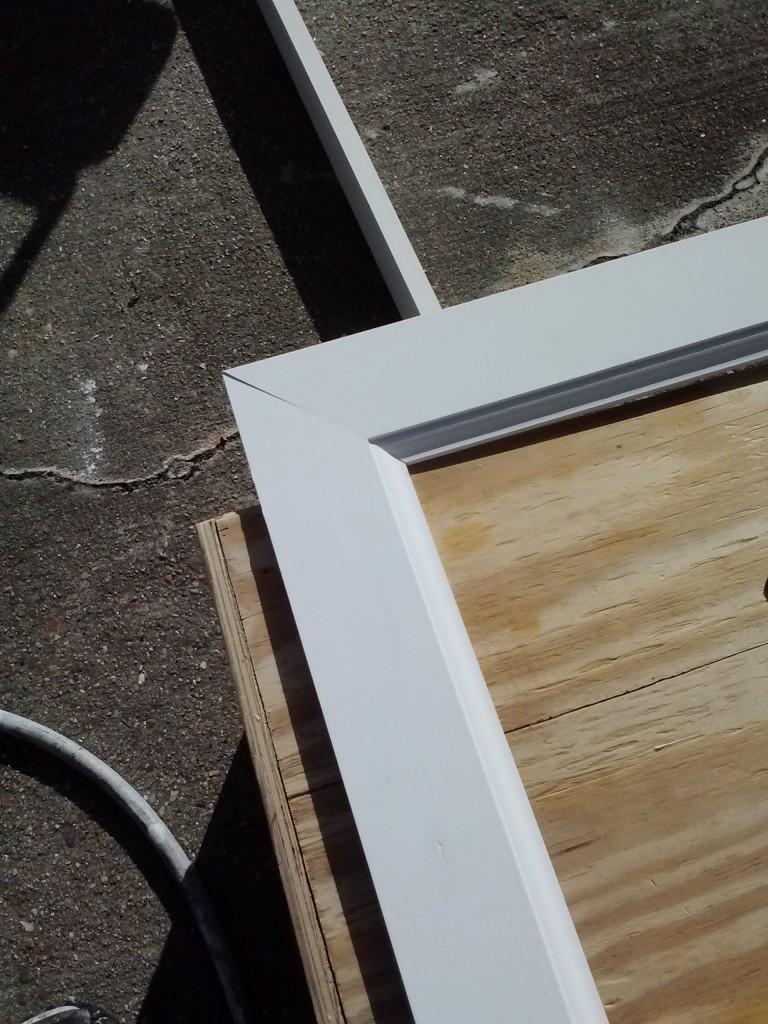
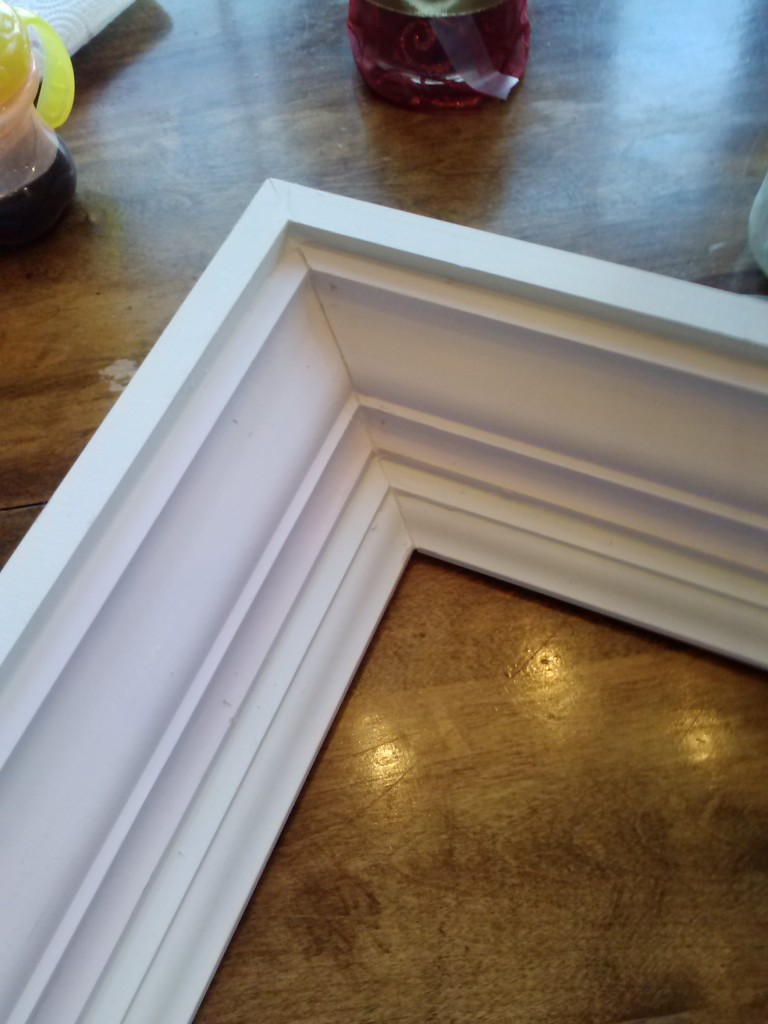
Here’s a close-up after all the seams had been caulked.
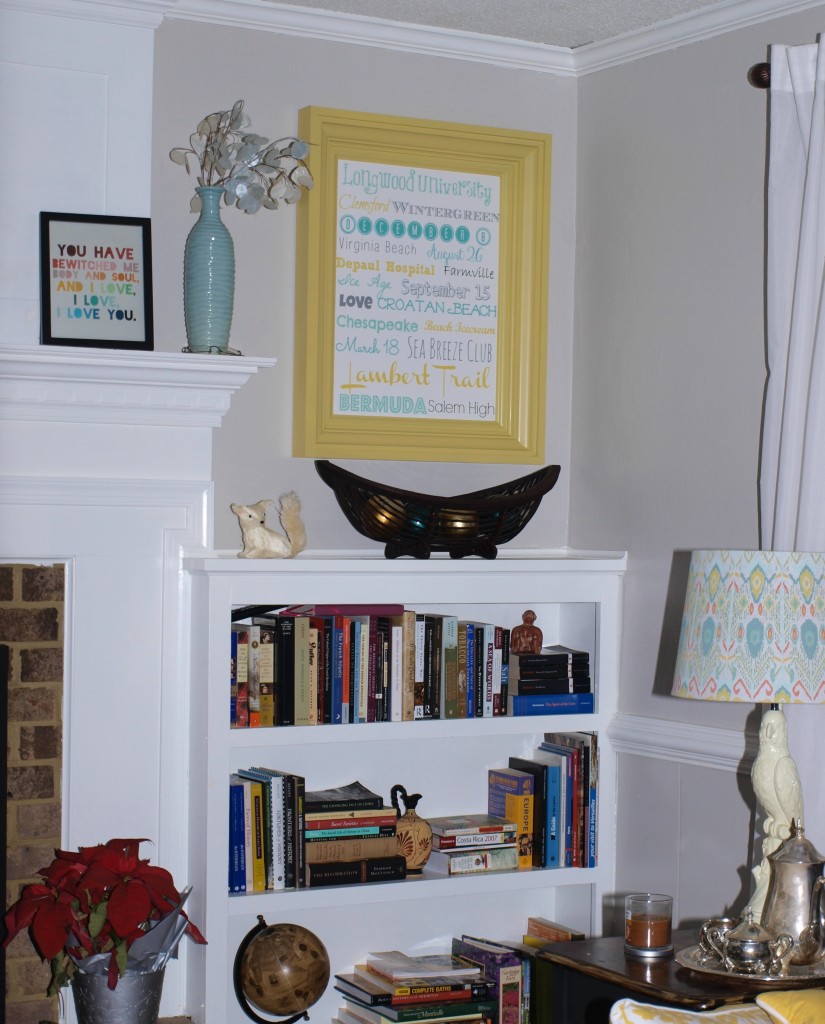
We had originally thought to paint the frame white, but then I thought that the area next to fireplace already seemed a little devoid of color so Cody decided on Rust-Oleum’s Lemon Grass. And here is the result!
I absolutely love it! Honestly, the frame is the real piece of art here. Even though we had the poster hanging in the family room for months, I cant’ even begin to tell you the number of people who hadn’t even noticed it until the frame was installed. Here’s a close-up of the frame painted although the color is way off. It looks much more like the above picture in person.

In the end, the frame cost us about $30 to build, so while it wasn’t necessarily cheap it sure beats the heck out of a custom frame job. In total with the print we spent $50 on this project. Not bad for a completely custom and personal piece of art!