
Last time I updated you on our master bedroom was when we painted it like 2 years ago. Well, we recently decided that we needed new curtains for our master bedroom; and I promptly fell in love with these ones from Restoration Hardware for $2000.
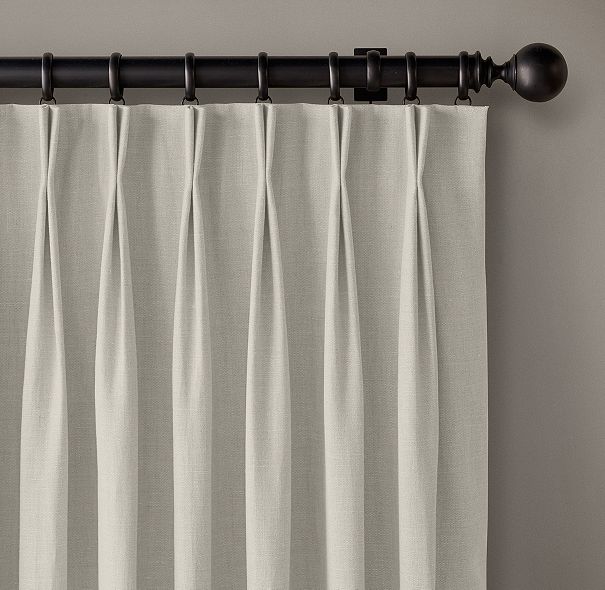
Ya, you read that right. $2000 for 4 panels. You’re probably laughing as hard as my husband did right now. When I started searching around for something similar but cheaper though I came up empty. That’s when I started playing with the idea of making my own. A couple of Youtube videos later and I convinced myself that I definitely did NOT want to make curtains from scratch. Damn that is a lot of work and still pricey.
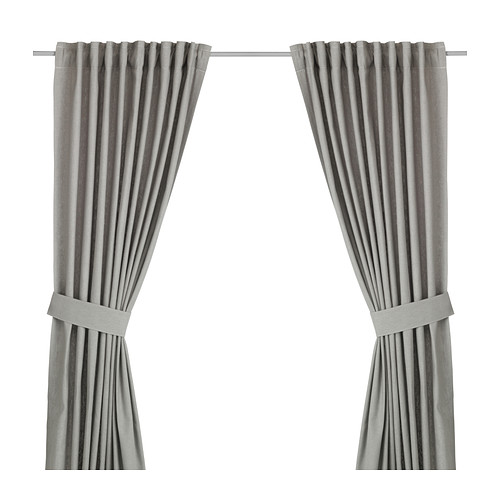
That’s when I decided I would just alter some store bought curtains into custom curtains. Specifically the Ikea Ingert curtains which are $40 a pair. Ikea curtains are great for altering. Remember when I added stripes to our family room curtains?
I obsessively stalked custom curtains on Pinterest and made of list of what I wanted my curtains to have.
- 2 finger pinch pleat
- Black out lining
- Hang heavy and straight
And here’s the materials I used:
- 2 sets of Ingert Panels
- 2 sets of ikea blackout liners
- heavy gauge stitch witchery
- needle and gray thread
- curtain weights
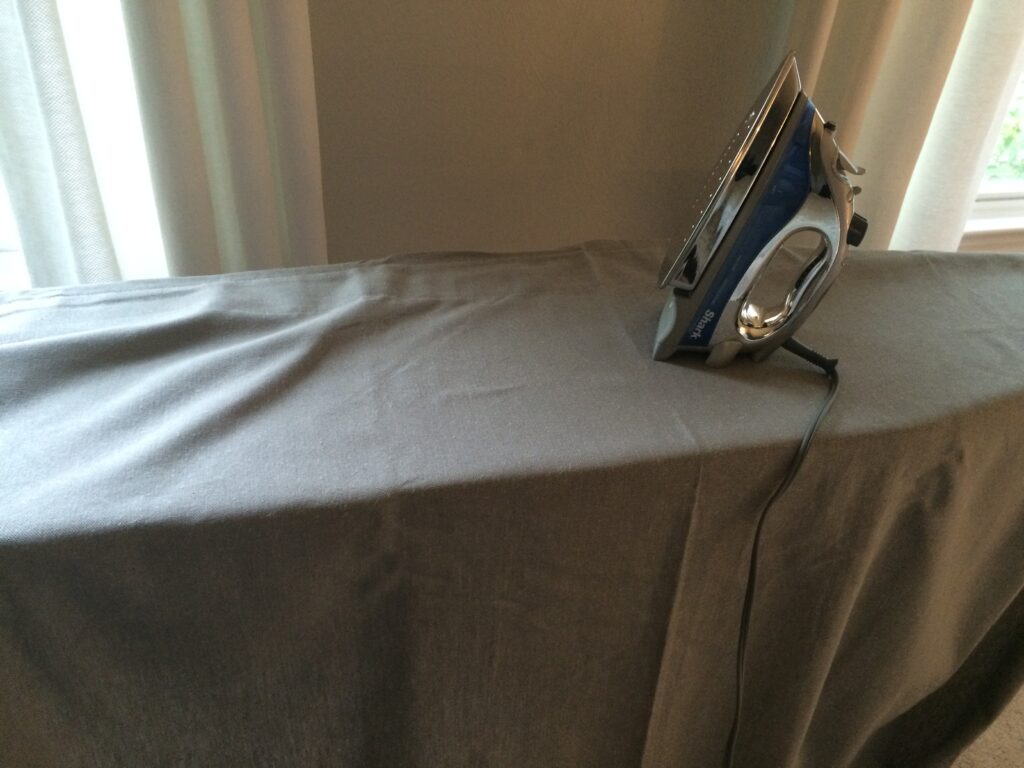
The first step was ironing out the curtains. This took forever.
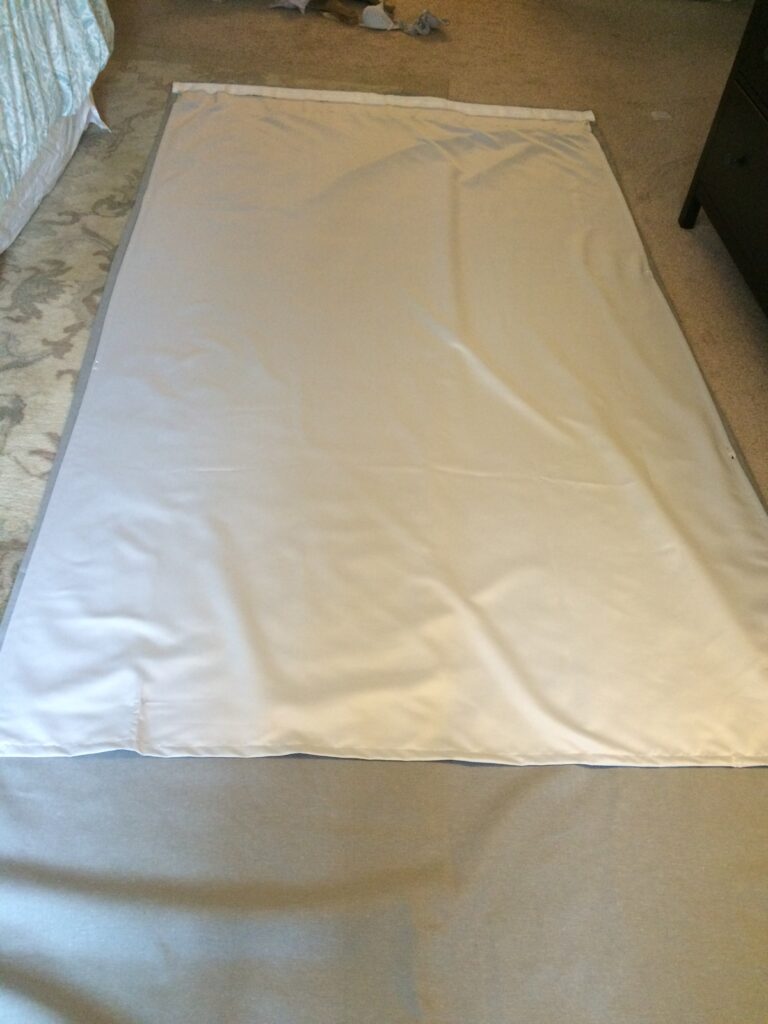
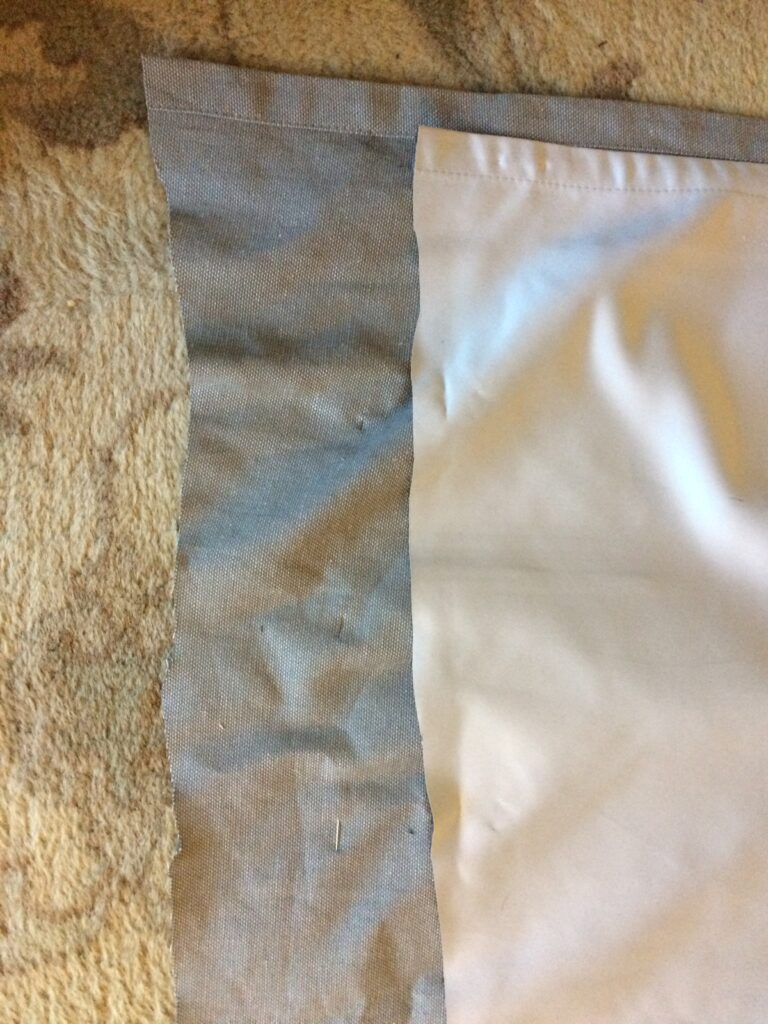
Next, I laid out the ironed curtain on the floor and placing the wrong sides together put the ironed blackout liner on top. The blackout liner is slightly smaller than the curtain.
I pinned the two pieces together along the top and two sides. Then using the stitch witchery and iron I attached the two pieces together.
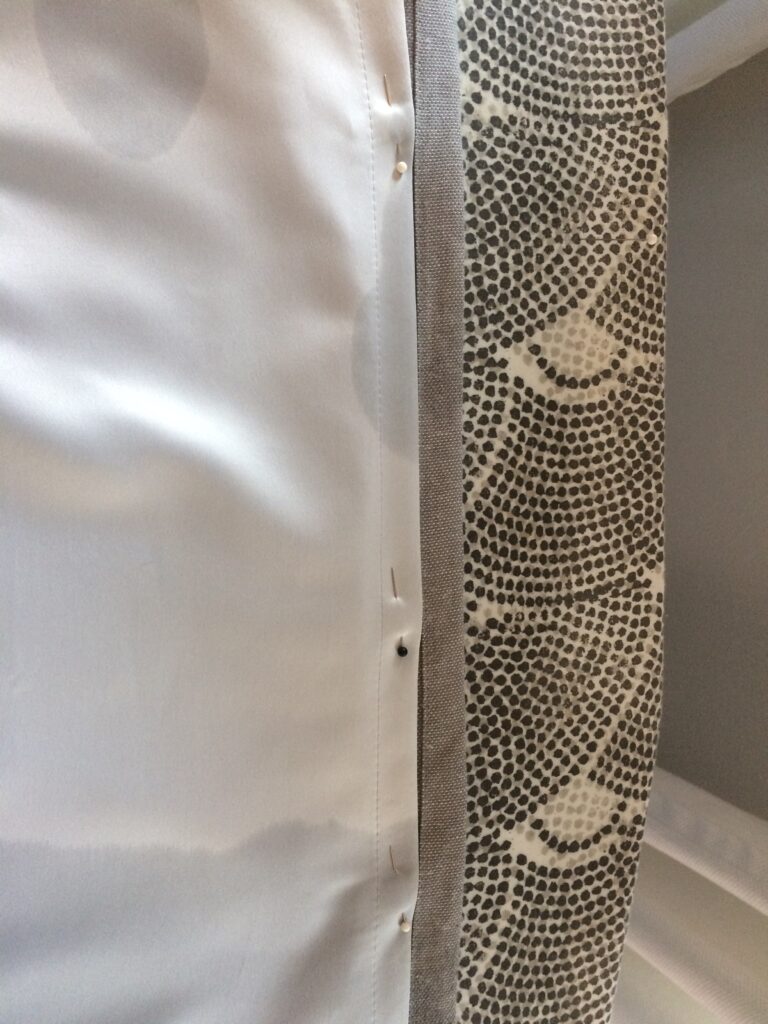
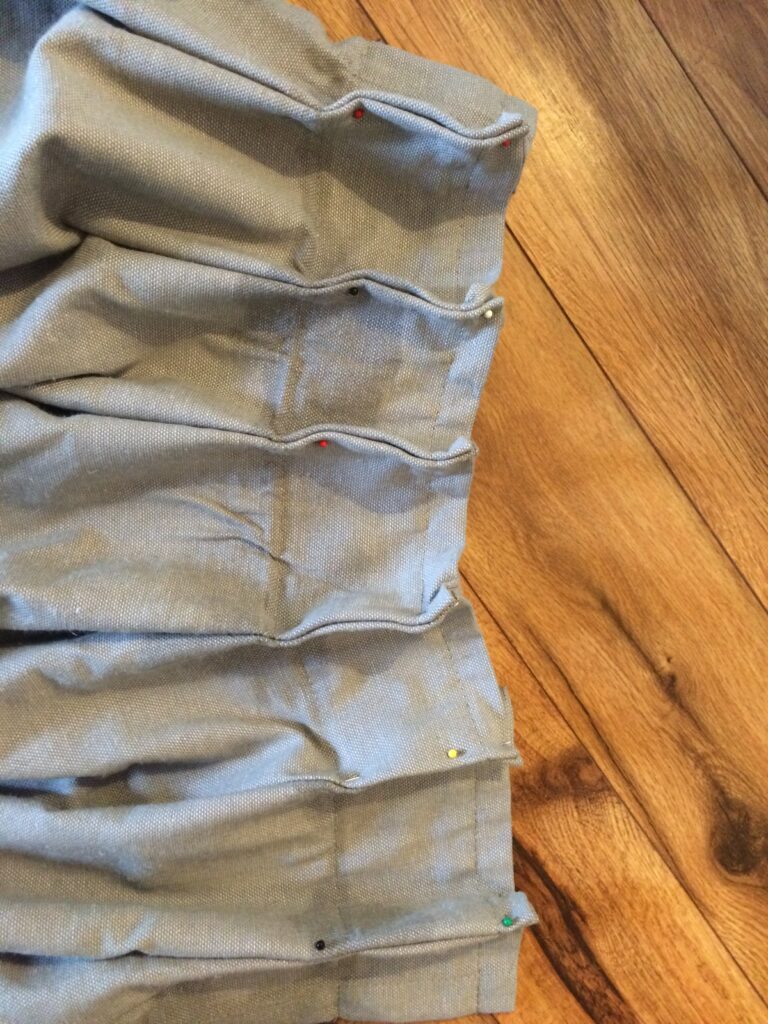
I attached all 3 sides together using stitch witchery leaving the bottom open. Next, I made the pinch pleats. This is where you just have to play with the fabric to figure out what you want. Once I figured out how many pleats I wanted I pinned them together and hand sewed them.
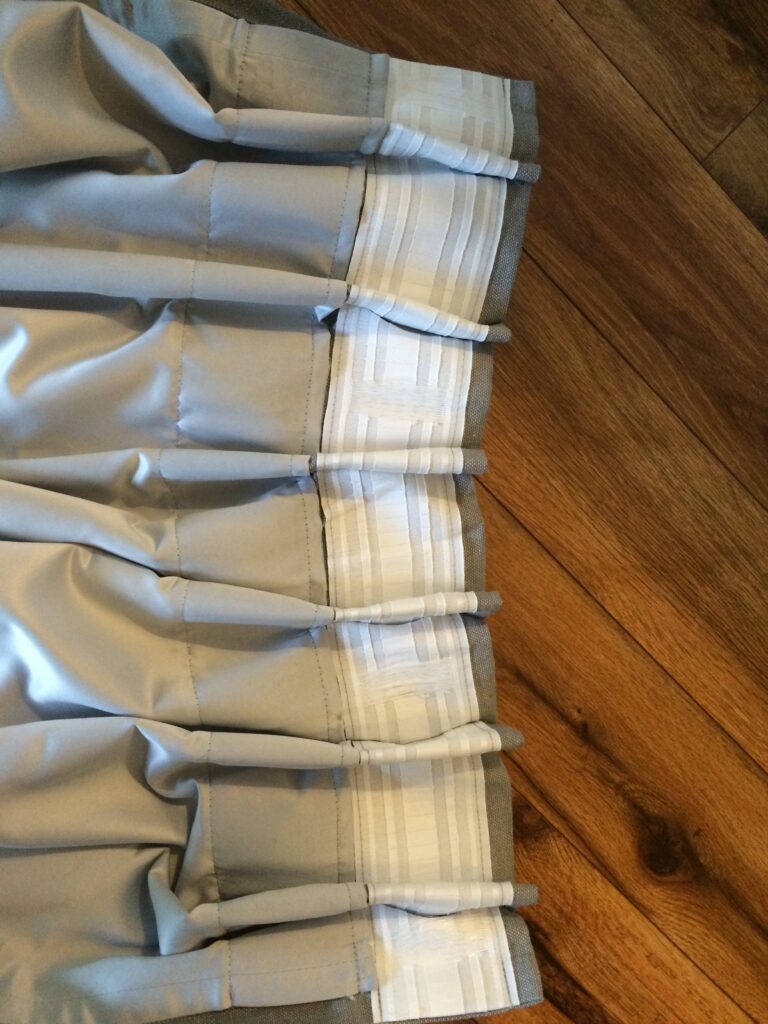
Here’s what they looked like from the front.
Once the pleats where completed I hung the panel from the new rods. Make sure that the rods are at the proper height and you like the way the panels hang from the rings. I played a while with this step as well.
Once the panels were hung I inserted pins where I wanted the hem to be. For me this was just gracing the floor. I then took the panels down and cut the fabric about 6 inches from the hem. I folded over the bottom by 1 in then ironed then folded the fabric to the hem and attached it to the blackout liner using the stitch witchery.
Before closing up the bottom I also inserted a drapery weight into the bottom hem on each side of the panel.
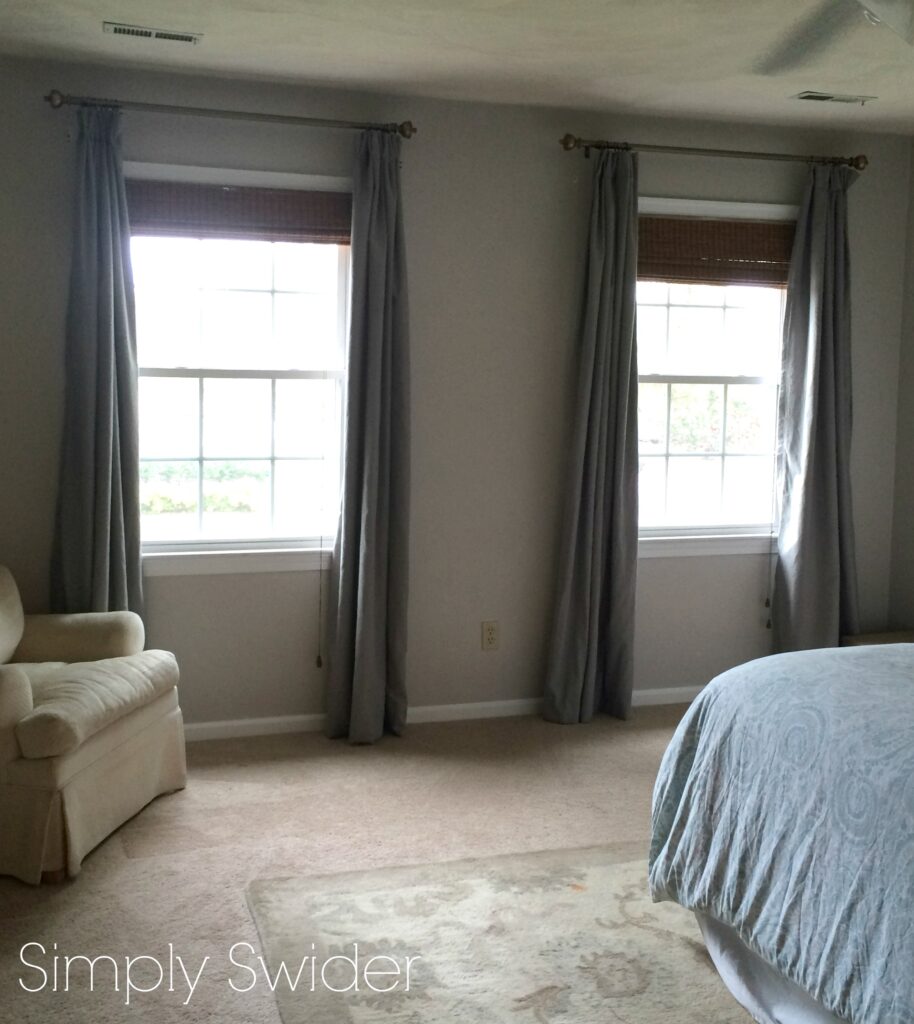
Here you can see how the new panels compare to the old ones. Not only are they longer but they hanger straighter and stay open wider.

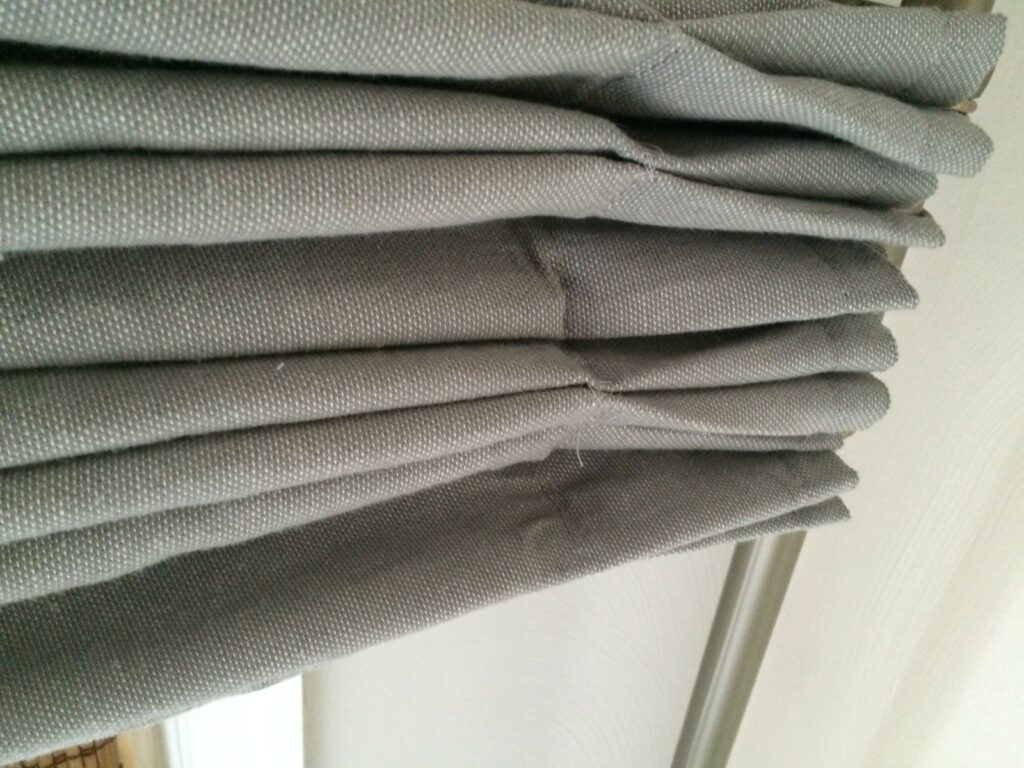
Here’s a close up of the pleating.
And here they are all done. I apologize for the terrible lighting. Taking pictures of windows is difficult.
And this gives you an idea of how much light the black out liners block.
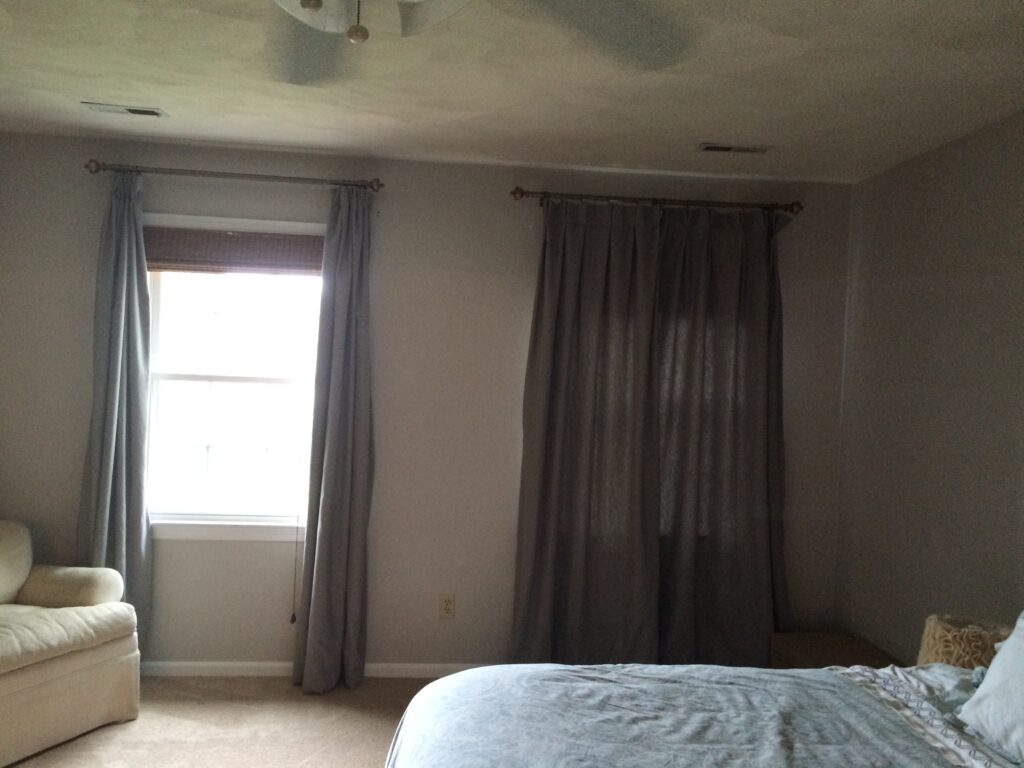
These pictures don’t so the curtains any justice, but we love how much more mature they make the room feel.
And as for cost:
Panels: $80
Blackout liners: $50
Everything else: $18
Total: $148
So while these curtains took me forever to make (I did the work over a couple of weeks) the savings (over $1800!) sure made it worth it!
We have more plans for the master bedroom coming up!