
This project started because I realized the one piece of art in our hall bath wasn’t really cutting it. I wanted something to stick with the vintage theme but didn’t want to spend a lot of money, so I came up with the idea to make antique looking cards spelling out a word and hung up by clothespins. I’m sure I saw something similar to this in one of the 1000 pins I look at each day on Pinterest, but I can’t remember where. You may be wondering why I referred to this antiquing process at easy. Well, I had no intention of reinventing the wheel so when I started this project I goggled “how to antique paper” and man was I bewildered when I started reading the 20 step process. Are these people serious? I spent a day or two thinking about this project as well as some trial and error before I came up with a simple and easy 3 step process.
Materials:
Paper (I used index cards)
Black tea
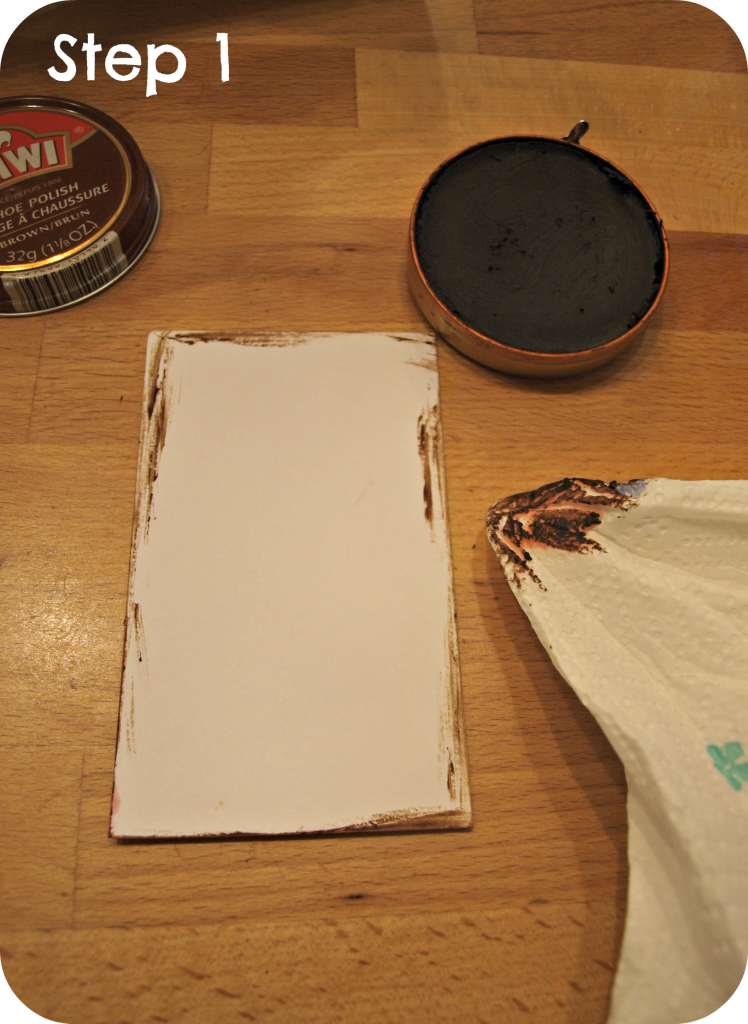
Brown shoe polish
Paper towel
Using a paper towel quickly apply brown show polish to all of the edges. I say quickly because you want to make mistakes and have overlap.
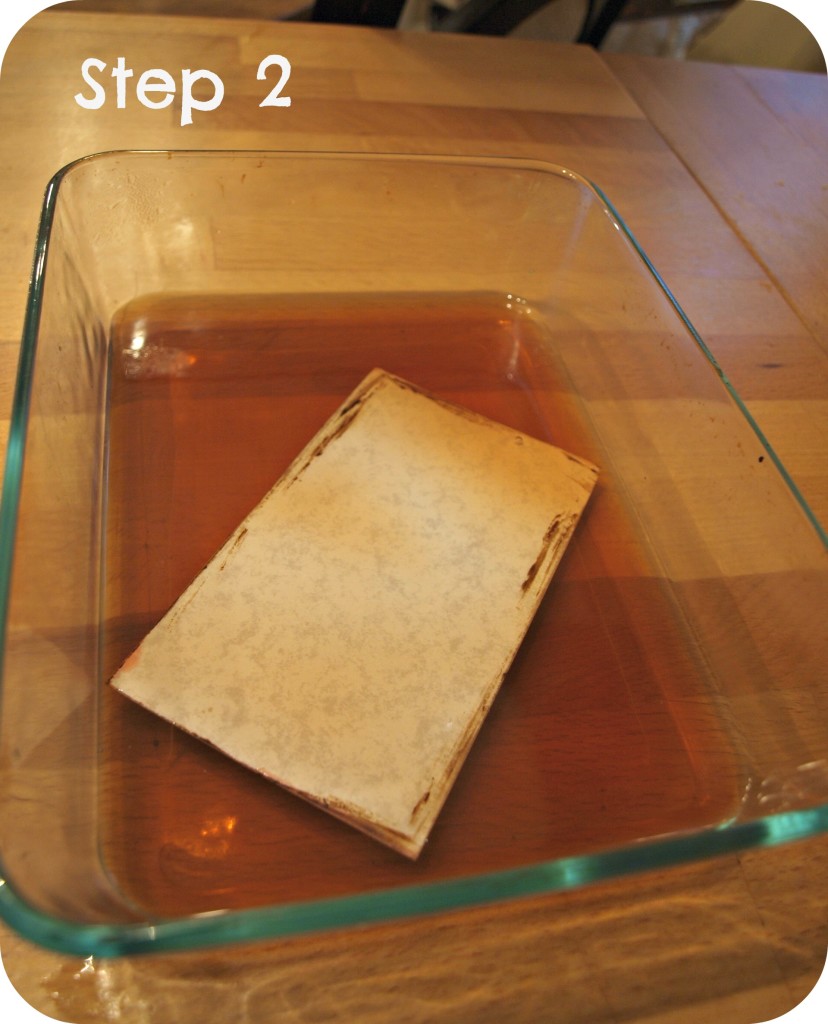
Place the paper into a black tea bath for a minute or two. I just poured hot water into a Pyrex container and added a tea bag for a few minutes to create the bath.
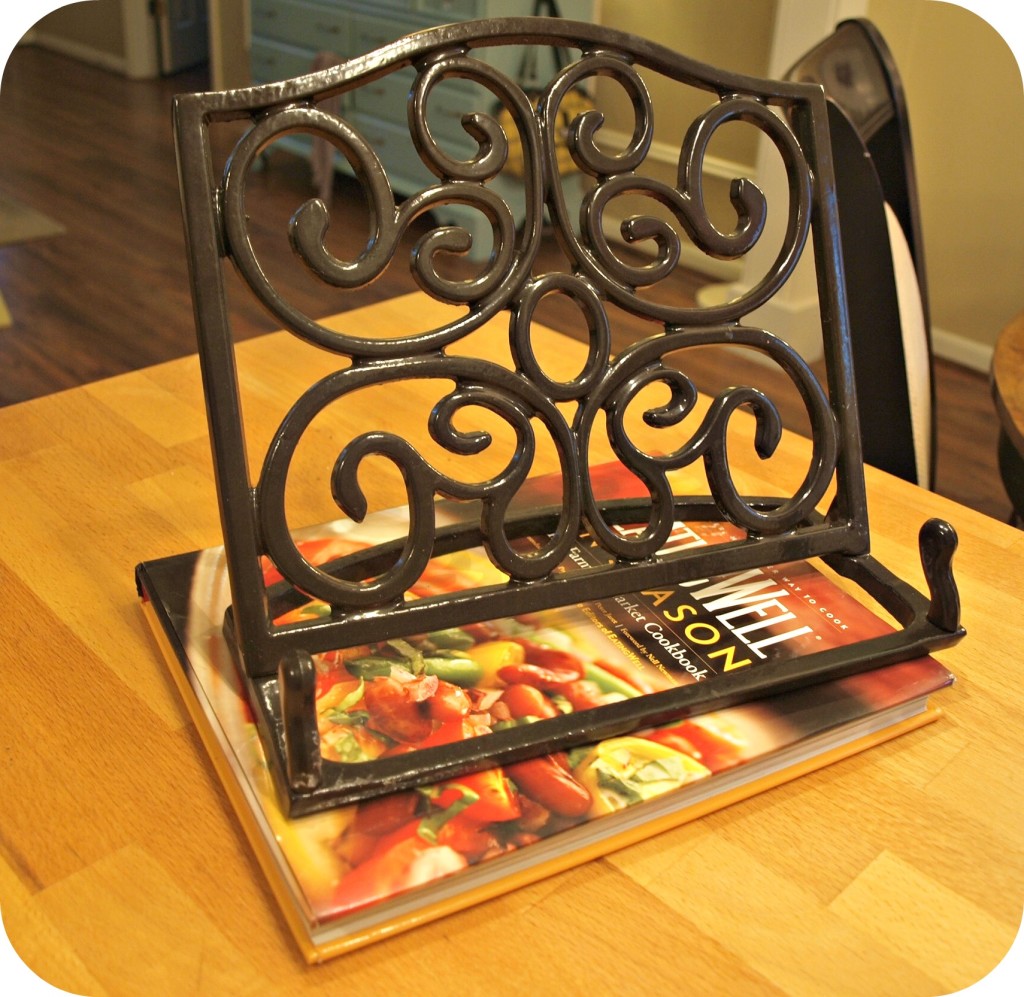
Place paper onto a baking sheet and put in the oven at 300 degrees for 2 minutes until the edges start to brown. And that’s it! I placed my cards in a book overnight to flatten them a little more (as seen below).
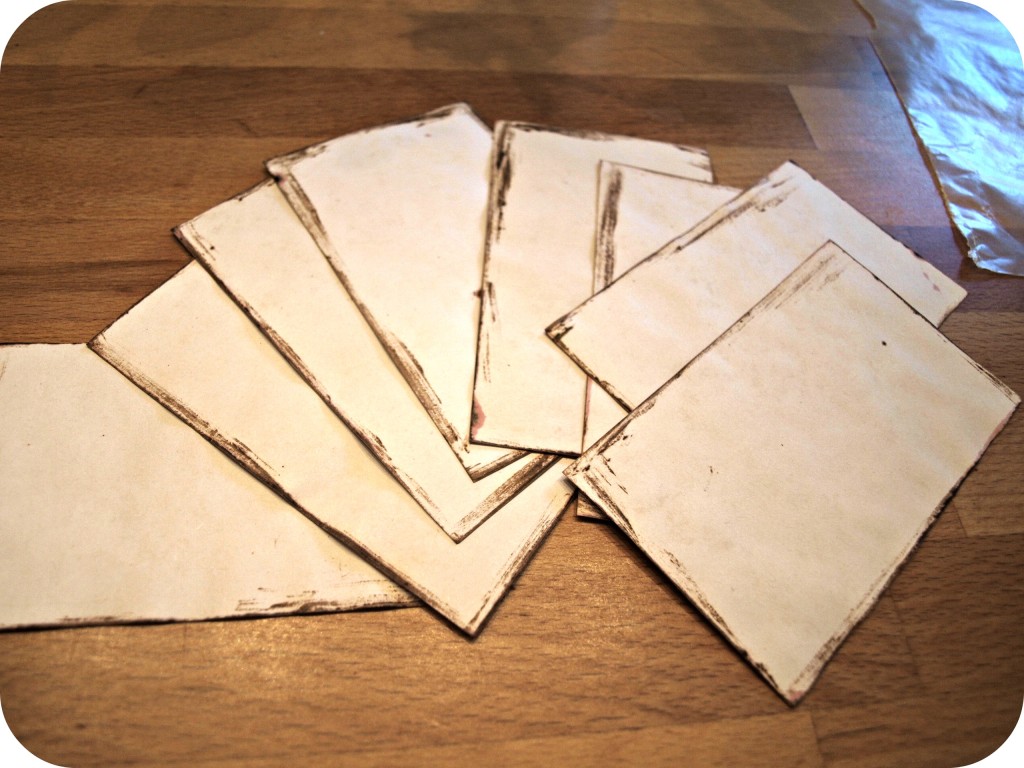
Here’s what they looked like all done.
Instructions to make clothes pin bathroom art
Materials:
Antiqued index cards
clothes pins
sisal rope (or whatever you have on hand)
2 wall hooks
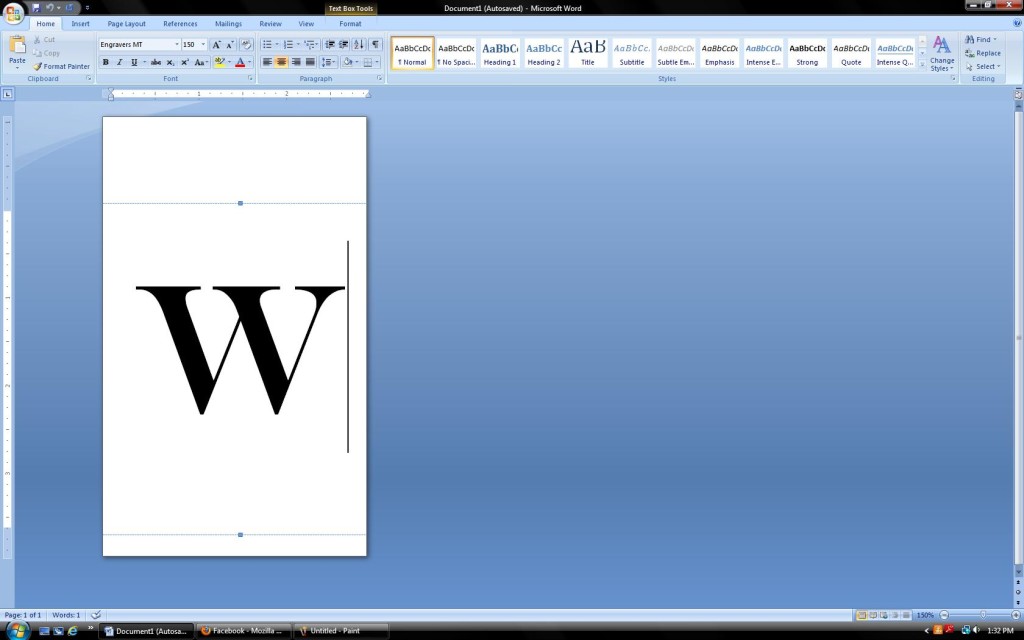
I highly recommend you antique the paper first and let it dry, then print on it. I tried printing on it first and it caused the ink to run a little when I put it into the tea bath. Open Ms Word and set your paper size to index card (page layout> size> index card). I played a while with different fonts and sizes but ultimately I choose Engravers MT in 150. One of the things I really love about this project is that it is fully customizable with any words in any font.
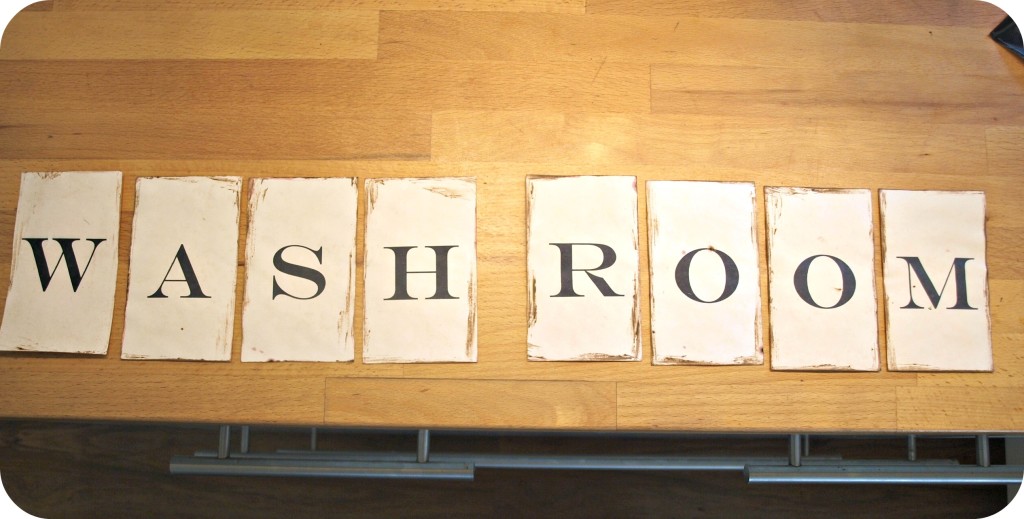
Next, stick your index cards in the printer and start printing. I had made a couple of extra cards to play around with just in case I stuck them in the printer wrong or didn’t like how they looked. Here they are all done.
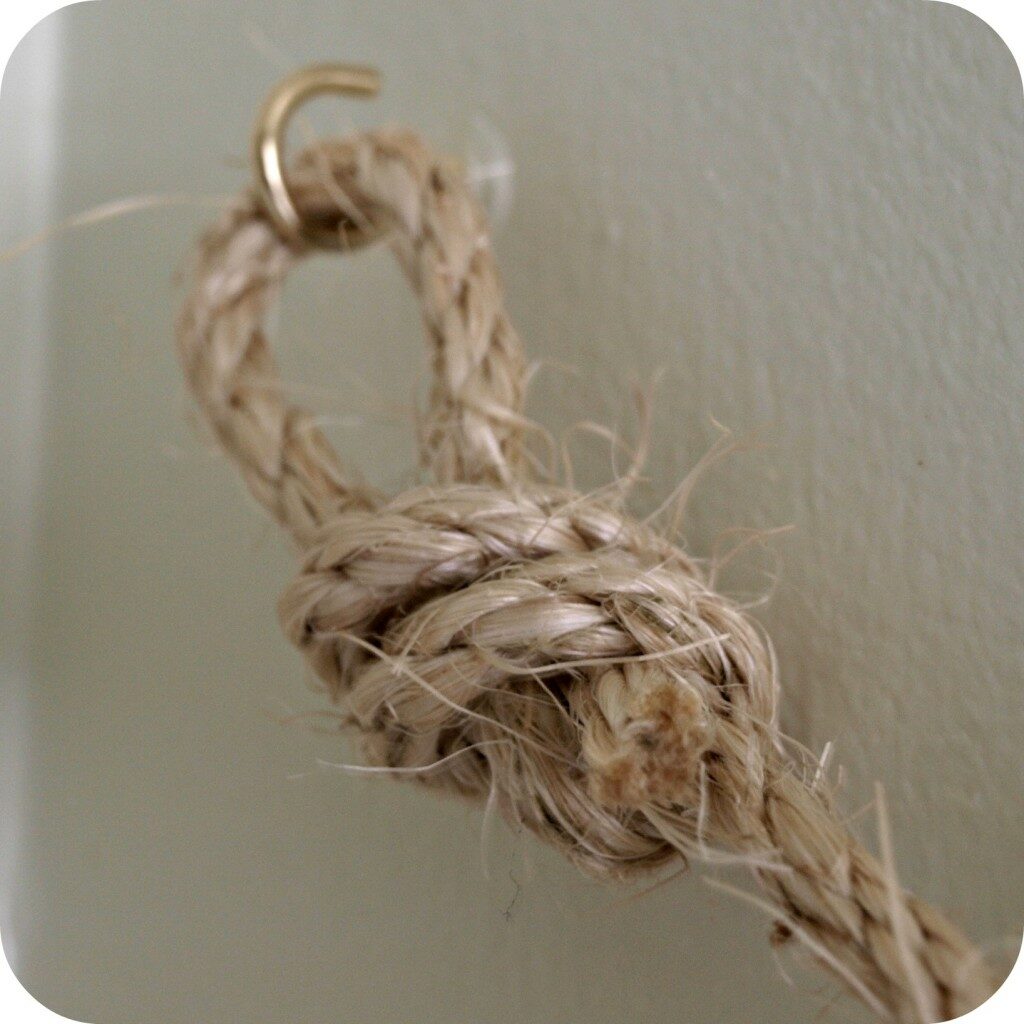
Then, we attached some left over hooks we had to the wall. This took some patience trying to figure out the right height and how far apart we wanted them. Once we had it all figured out we tied the ends of the sisal rope, that was left over from the lamp shade project, into cute loops and hung them from the hooks.
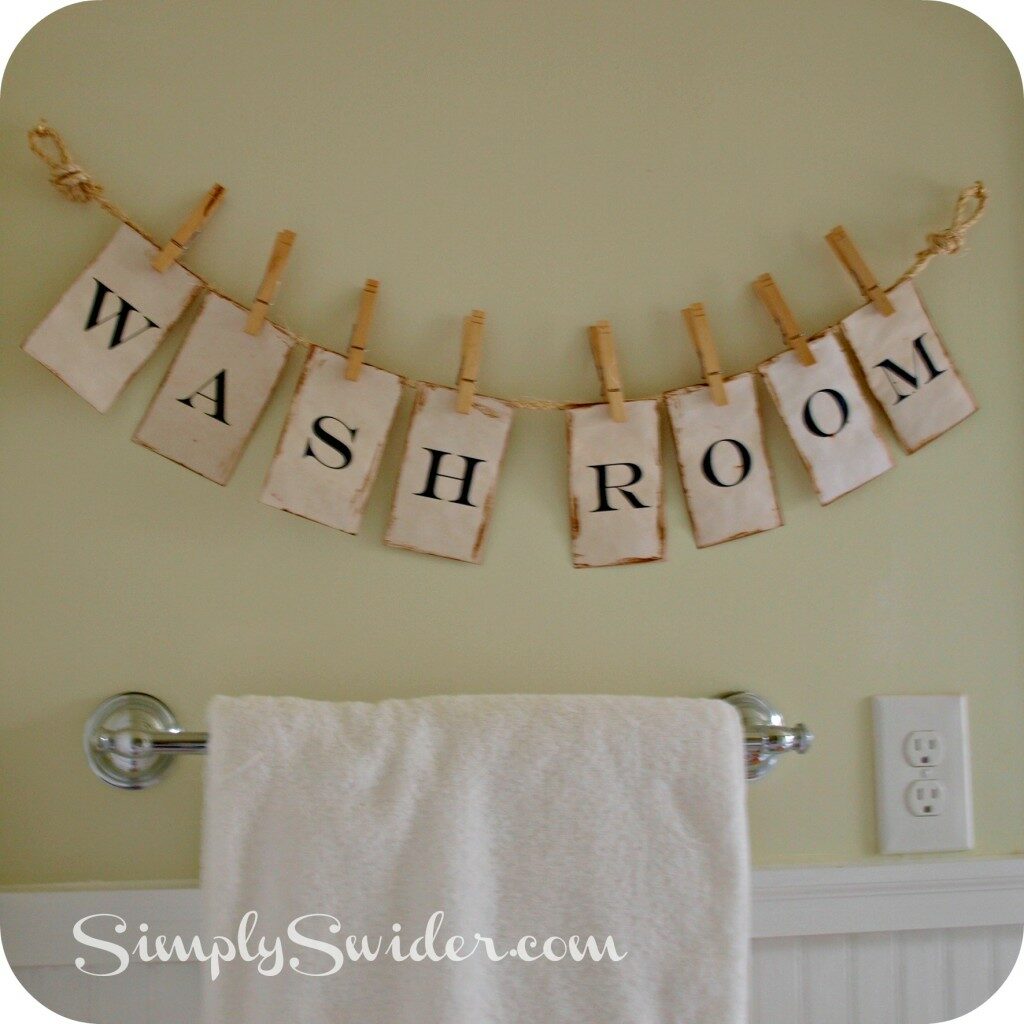
Finally, attach all of the index cards to the rope with clothes pins. I’m so happy with the way it came out. Oh and did I mention it was free?! Yep, we had all of the materials on hand from other projects.